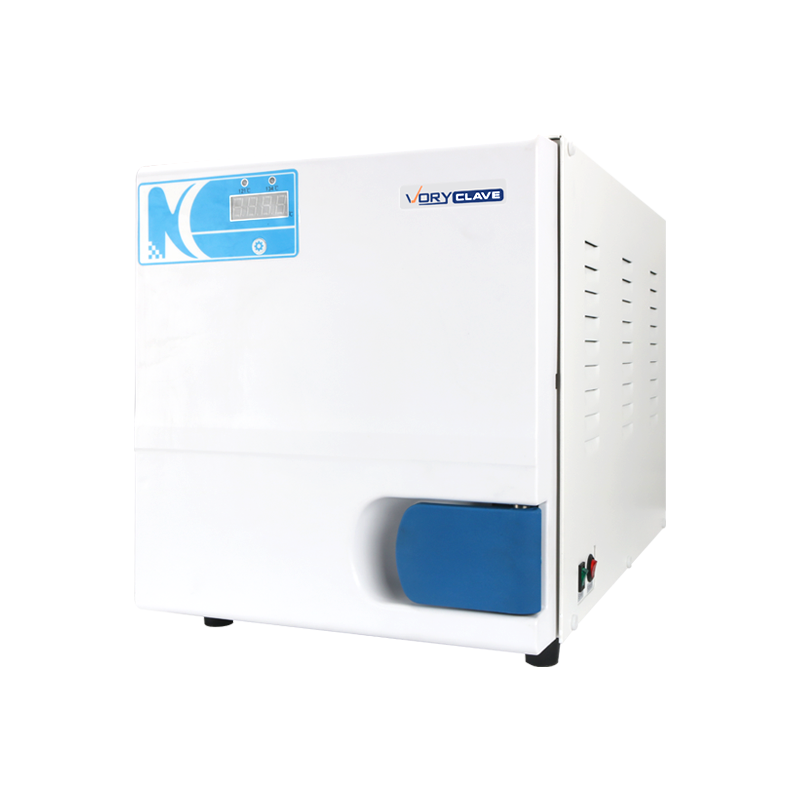
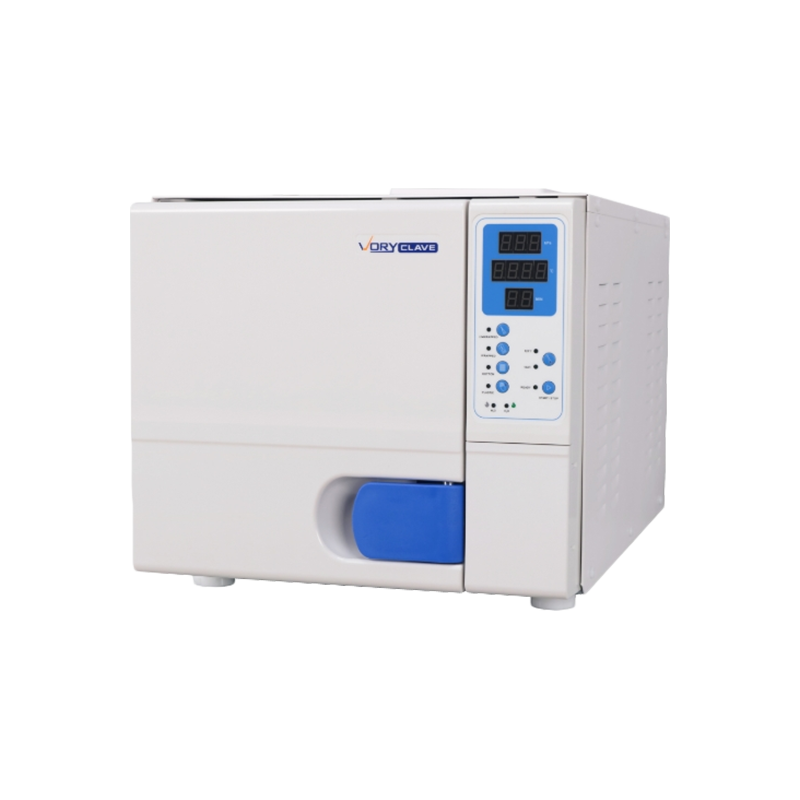
Here's a clear, step-by-step guide for using a tabletop dental autoclave:
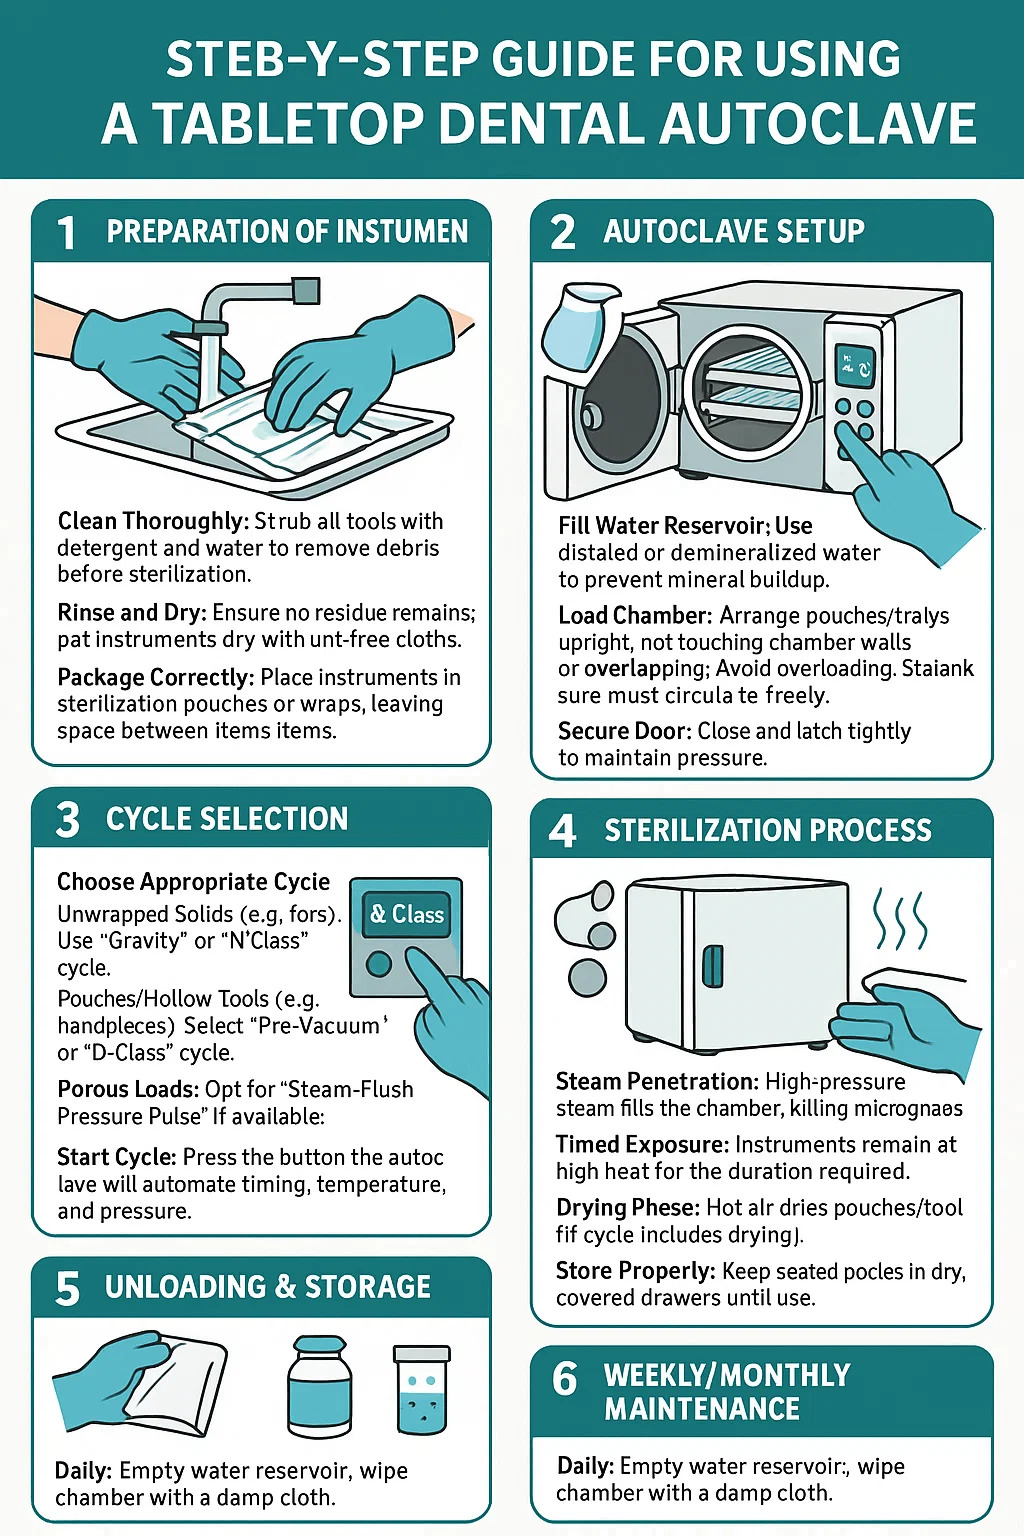
1. Preparation of Instruments
Clean Thoroughly: Scrub all tools with detergent and water to remove debris before sterilization.
Rinse and Dry: Ensure no residue remains; pat instruments dry with lint-free cloths.
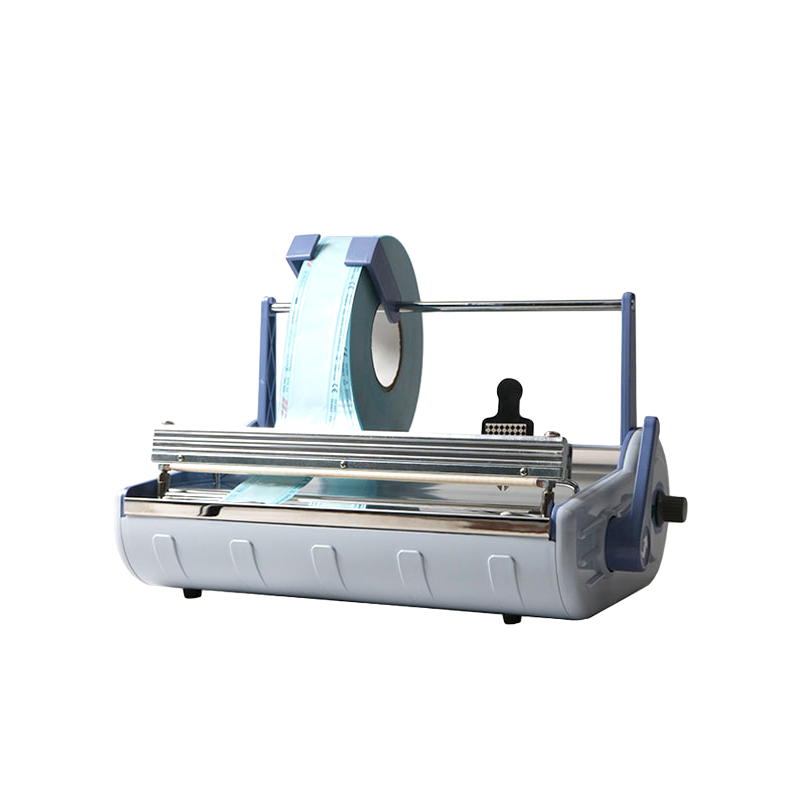
Package Correctly: Place instruments in sterilization pouches or wraps, leaving space between items.
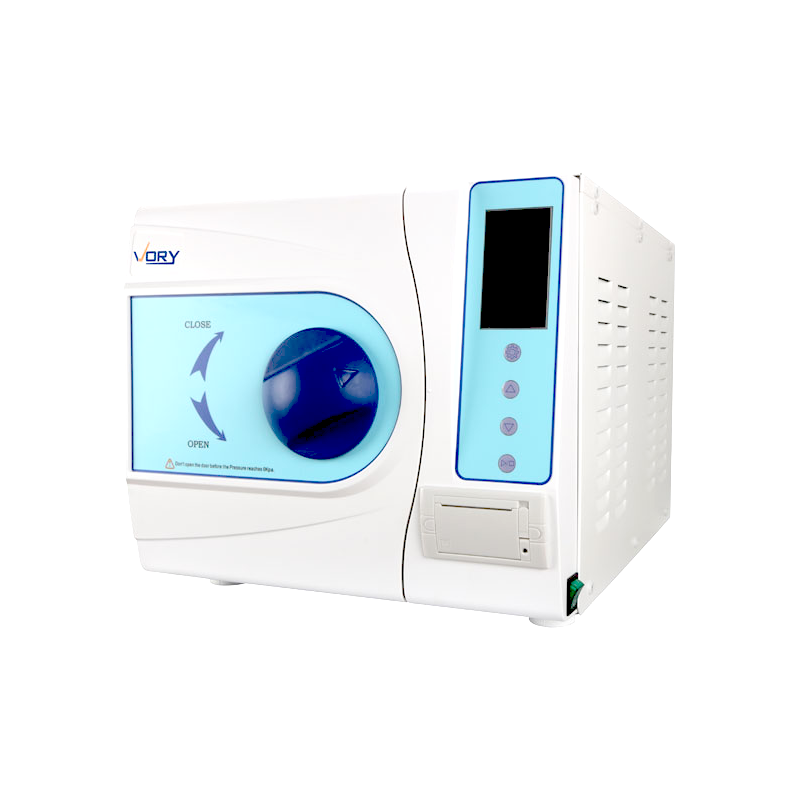
2. Autoclave Setup
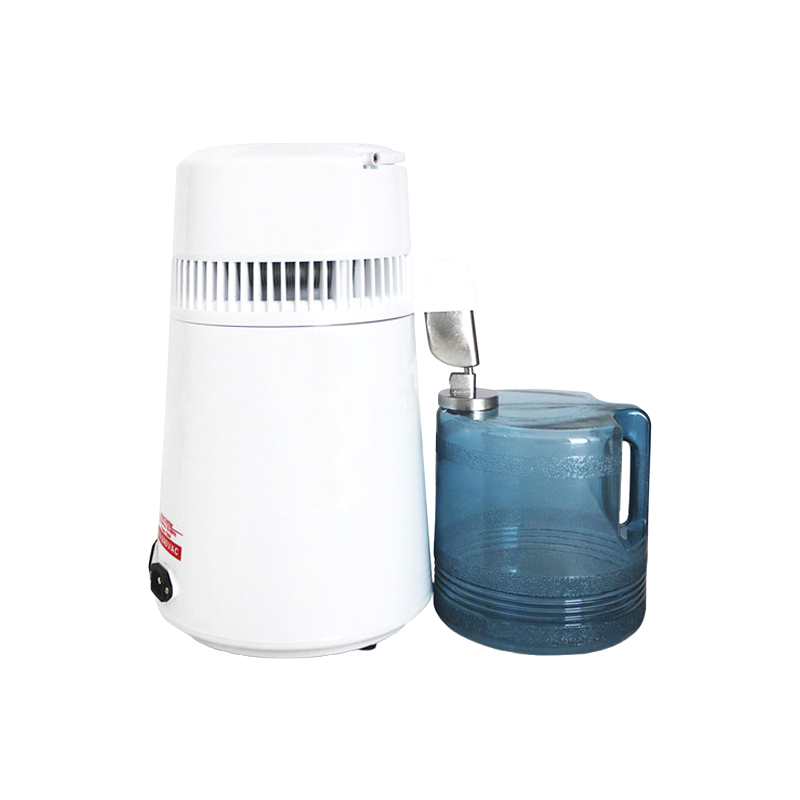
Fill Water Reservoir: Use distilled or demineralized water to prevent mineral buildup.
Load Chamber:
Arrange pouches/trays upright, not touching chamber walls or overlapping.
Avoid overloading; steam must circulate freely.
Secure Door: Close and latch tightly to maintain pressure.
3. Cycle Selection
Choose Appropriate Cycle:
Unwrapped Solids (e.g., forceps): Use "Gravity" or "N-Class" cycle.
Pouches/Hollow Tools (e.g., handpieces): Select "Pre-Vacuum" or "B-Class" cycle.
Porous Loads: Opt for "Steam-Flush Pressure Pulse" if available.
Start Cycle: Press the button; the autoclave will automate timing, temperature, and pressure.
4. Sterilization Process
Steam Penetration: High-pressure steam fills the chamber, killing microorganisms.
Timed Exposure: Instruments remain at high heat for the duration required.
Drying Phase: Hot air dries pouches/tools (if cycle includes drying).
5. Unloading & Storage
Wait for Completion: Do not open mid-cycle; allow automatic pressure release.
Cool Down: Let instruments sit inside for 5–10 minutes post-cycle to avoid burns.
Check Indicators:
Verify chemical strips on pouches changed color (e.g., stripes turn dark).
Inspect for moisture; wet packs are not sterile.
Store Properly: Keep sealed pouches in dry, covered drawers until use.
6. Weekly/Monthly Maintenance
Daily: Empty water reservoir; wipe chamber with a damp cloth.
Weekly: Run an empty cleaning cycle with autoclave detergent.
Monthly: Perform validation tests (e.g., spore tests) to confirm sterilization.
| Phase | Action | Important Notes |
| Instrument Prep | • Scrub tools with detergent & water• Rinse, dry fully with lint-free cloth• Place in sterilization pouches/wraps | • No debris left• Never sterilize unwrapped hollow tools• Leave space between items |
| Autoclave Setup | 1. Fill reservoir with distilled water2. Load pouches/trays upright3. Latch door securely | • Never use tap water• Avoid touching chamber walls• Ensure <5% empty space |
| Cycle Selection | Choose based on instruments: Gravity cycle: Solid tools (forceps, scalers) B-Class/Pre-Vacuum: Pouches/hollow tools (handpieces) SFPP: Dense packs | • Verify cycle compatibility with instruments• Start cycle per manufacturer instructions |
| Processing | • Autoclave automates: heating → steam exposure → drying• Wait for full completion (~15-45 mins) | • NEVER interrupt mid-cycle• Hands off until pressure & temperature drop |
| Unloading | 1. Wait 5-10 mins post-cycle2. Wear heat-resistant gloves3. Check: - Pouch indicators changed color - Zero moisture in packs | • Wet packs = NOT sterile• Discard torn pouches immediately• Cool tools on drying rack |
| Storage | Store sealed pouches:• In dry, covered drawers/cabinets• Away from sinks or moisture | • Use instruments within 30 days• Avoid direct sunlight |
| Maintenance | Daily: Empty reservoir, wipe chamberWeekly: Run empty cleaning cycleMonthly: Do spore test | • Record all tests• Always follow clinic hygiene protocols |
If you have any question for the installation
or need support, please feel free to contact us.
86-15728040705
86-18957491906
 English
 عربى
عربى