Sterilization Guide
What Every Dental Clinic Needs to Know About Dental Autoclaves
A dental autoclave is the single most critical piece of sterilization equipment in any dental clinic. It uses pressurized steam — typically at 121°C to 134°C — to eliminate bacteria, viruses, fungi, and the most resistant biological entities: bacterial spores. When used correctly, a dental autoclave achieves a sterility assurance level (SAL) of 10⁻⁶, meaning fewer than one in one million instruments carries a viable microorganism after processing.
The bottom line: every dental clinic that reuses instruments must have a functioning, appropriately sized dental autoclave. The choice between Class B, Class S, and Class N models — and decisions around chamber volume, cycle speed, water type, and documentation — directly affects patient safety and day-to-day workflow efficiency.
121–134°C Operating Temperature Range
10⁻⁶ Sterility Assurance Level
3–30 min Typical Sterilization Hold Time
How a Dental Autoclave Works: The Steam Sterilization Process
Understanding the internal mechanics of an autoclave for dental clinic use helps staff operate it correctly and troubleshoot problems before they escalate. The sterilization process occurs in three distinct phases:
01
Air Removal (Evacuation Phase)
Air is the enemy of steam sterilization. Trapped air pockets prevent steam from contacting instrument surfaces, leaving those areas non-sterile. In a gravity-displacement autoclave, steam pushes air out through a drain. In a pre-vacuum (Class B) autoclave, a vacuum pump actively removes air in repeated pulses, extracting roughly 99% of chamber air before steam is introduced. This mechanical evacuation is why Class B models reliably sterilize hollow and porous instruments.
02
Exposure (Sterilization Phase)
Once air is removed, saturated steam fills the chamber and pressure rises. The chamber reaches either 121°C at approximately 15 psi, or 134°C at 27–30 psi. The instrument load is held at this temperature for a defined hold time: 15–30 minutes at 121°C for standard gravity cycles, or as little as 3 minutes at 134°C in pre-vacuum cycles. The moist heat denatures proteins in microorganisms, destroying them irreversibly.
03
Drying Phase
After sterilization, steam and pressure are exhausted. In basic models, the door is cracked open and instruments air-dry passively. In more advanced dental autoclaves, a post-vacuum drying cycle actively removes residual moisture under vacuum. Proper drying is essential: wet instruments in sealed pouches create conditions for microbial regrowth during storage, potentially compromising the sterile status of the load.
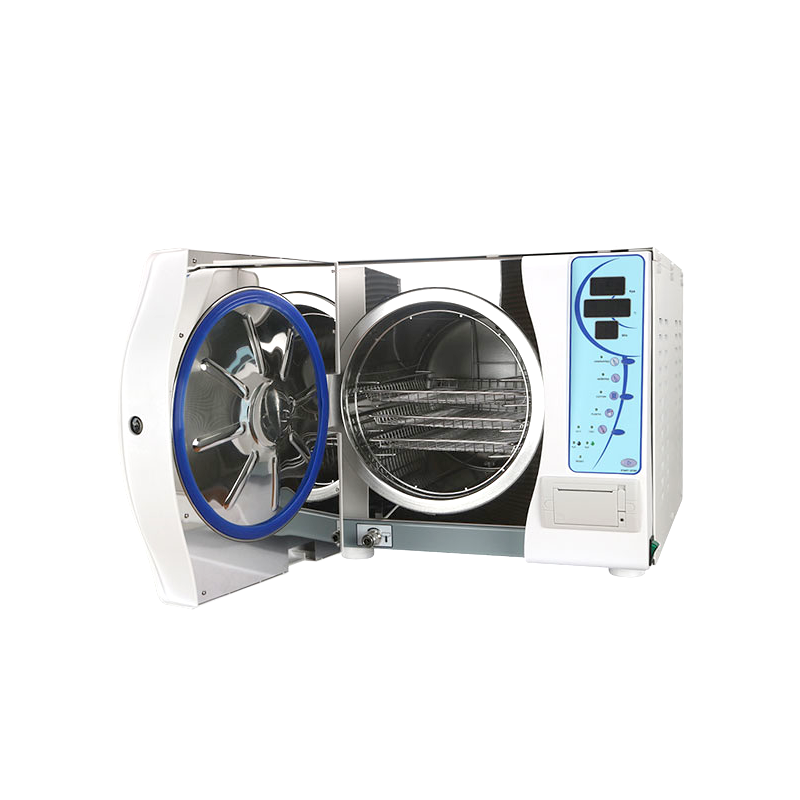
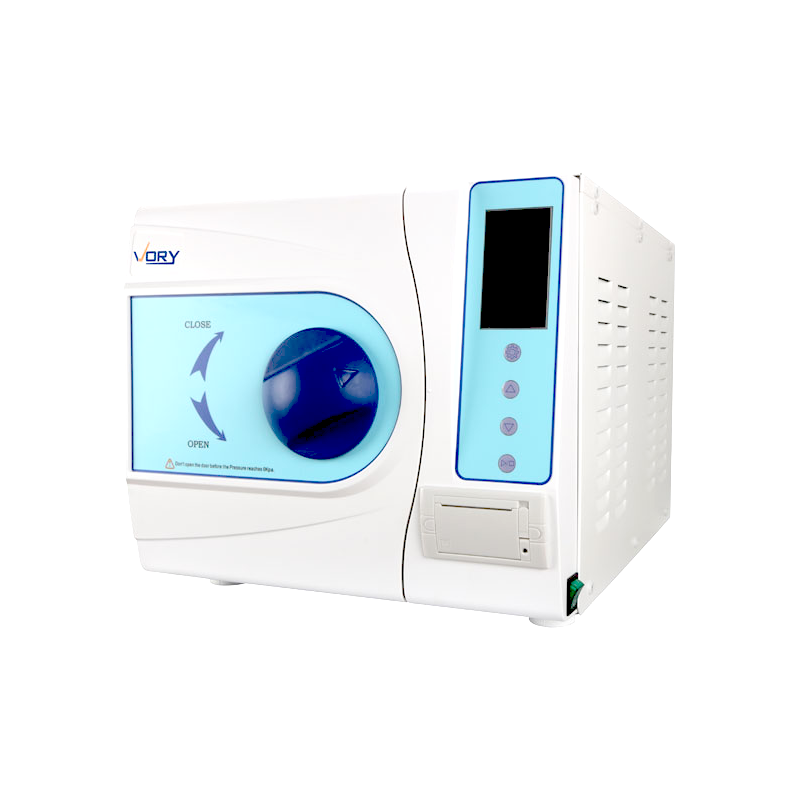
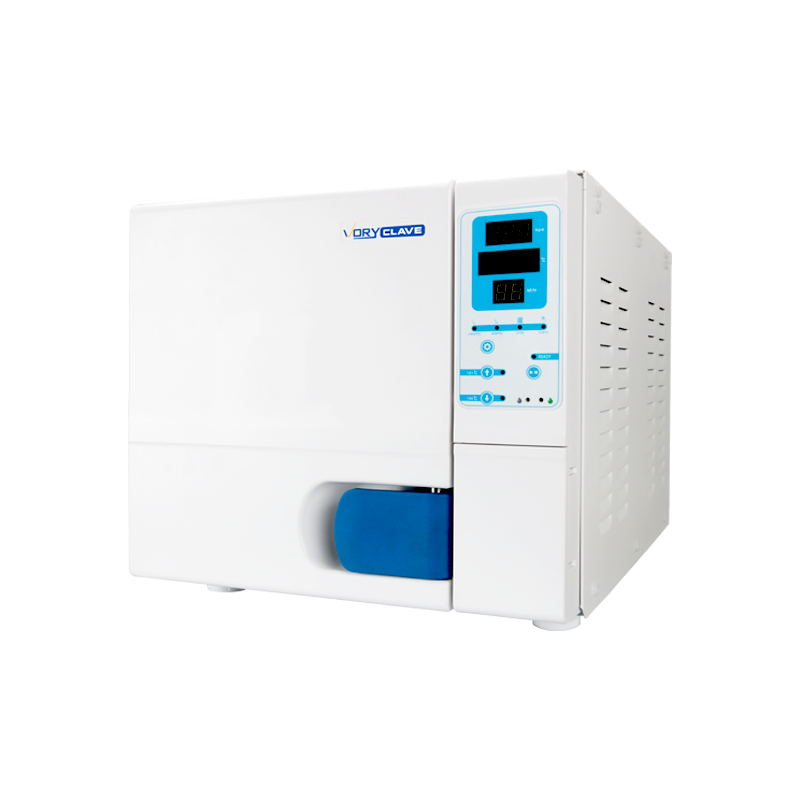
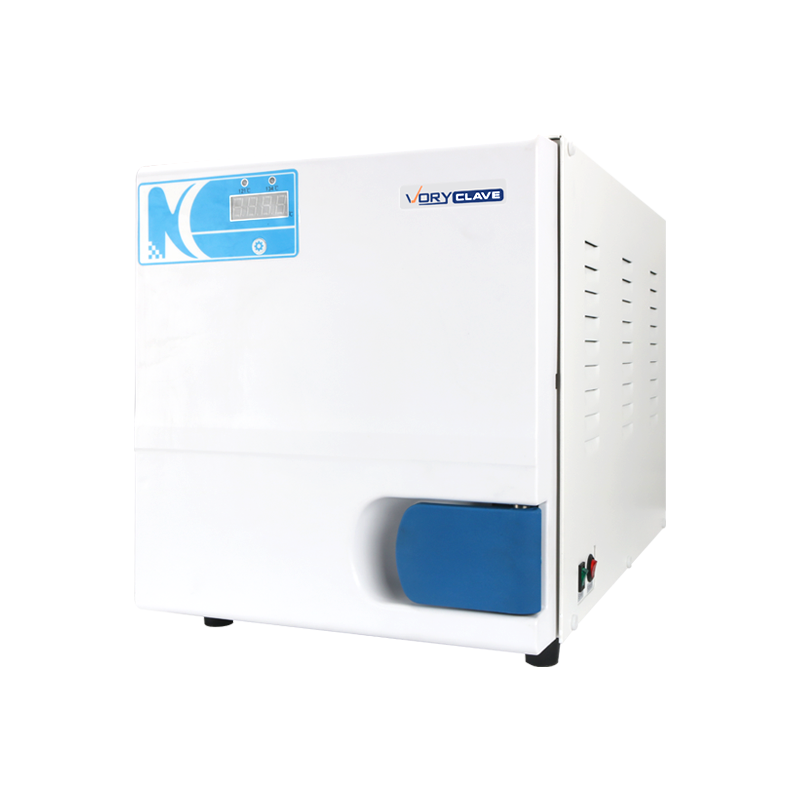
Class B vs. Class S vs. Class N: Choosing the Right Dental Autoclave Type
The three autoclave classes — defined by the European standard EN 13060 — represent fundamentally different engineering approaches. For a dental clinic, the class determines which instruments can be safely sterilized, and mismatching instrument type with autoclave class is a serious sterilization failure risk.
Comparison of Class N, Class S, and Class B dental autoclaves based on EN 13060
| Feature |
Class N |
Class S |
Class B |
| Air Removal Method |
Gravity/displacement |
Partial vacuum |
Fractionated pre-vacuum pump |
| Sterilization Temperature |
121°C |
134°C |
121°C or 134°C |
| Solid Unwrapped Instruments |
Yes |
Yes |
Yes |
| Wrapped/Packaged Instruments |
No |
Partial (defined loads) |
Yes |
| Hollow Instruments (e.g. handpieces) |
No |
Partial |
Yes |
| Porous Loads (textiles, sponges) |
No |
No |
Yes |
| Typical Chamber Size |
6–18 L |
12–22 L |
18–45 L |
| Best Suited For |
Low-volume, simple clinics |
General dental practices |
Full-service dental clinics |
Why Most Modern Dental Clinics Should Use Class B
A typical dental clinic uses a wide variety of instruments: solid metal scalers, hollow turbine handpieces, porous gauze, and packaged cassette trays. Class N autoclaves cannot sterilize hollow or wrapped instruments — they are limited to solid, unwrapped loads. This restriction makes Class N models unsuitable for most clinical settings today. Class B dental autoclaves, with their fractionated pre-vacuum systems, handle all load types and remain the gold standard for dental practice sterilization.
When Class S Makes Sense
Class S models occupy a middle ground: they can sterilize the specific load types declared by the manufacturer, which may include some wrapped instruments. They are simpler and less expensive than Class B, and in a clinic that primarily processes solid instruments with limited hollow load requirements, a Class S autoclave can be a cost-effective choice. The key is to verify the manufacturer's declared load types match the clinic's actual instrument mix.
Selecting the Right Chamber Volume for Your Dental Practice
Chamber volume — measured in liters — directly determines how many instruments can be processed per cycle. Undersizing leads to bottlenecks; oversizing wastes water, energy, and time waiting for a partially filled chamber to complete its cycle.
S
Small Practice (1–2 Treatment Chairs)
A 16–22 liter chamber typically meets the sterilization demands of a solo practitioner or small group practice. With 2–4 sterilization cycles per day, instruments can be turned around efficiently without a second unit.
M
Mid-Size Practice (3–5 Treatment Chairs)
A 22–32 liter autoclave, or two smaller units running in parallel, ensures sterilization keeps pace with patient throughput. Parallel units also provide redundancy — if one fails, the clinic is not forced to shut down sterilization.
L
Large or Specialist Clinic (6+ Chairs / Surgical Suite)
45 liter and above units are designed for high-volume environments. Oral surgery, orthodontic, or multi-specialty clinics that process large cassette loads, surgical packs, or textiles benefit from larger chambers that minimize cycle frequency and maximize throughput.
As a practical rule: a fully loaded dental tray cassette occupies roughly 2–3 liters of usable chamber space. A 22-liter autoclave can accommodate approximately 7–10 cassettes per cycle, which aligns well with the instrument turnover of a three-chair practice running 6–8 patients per day.
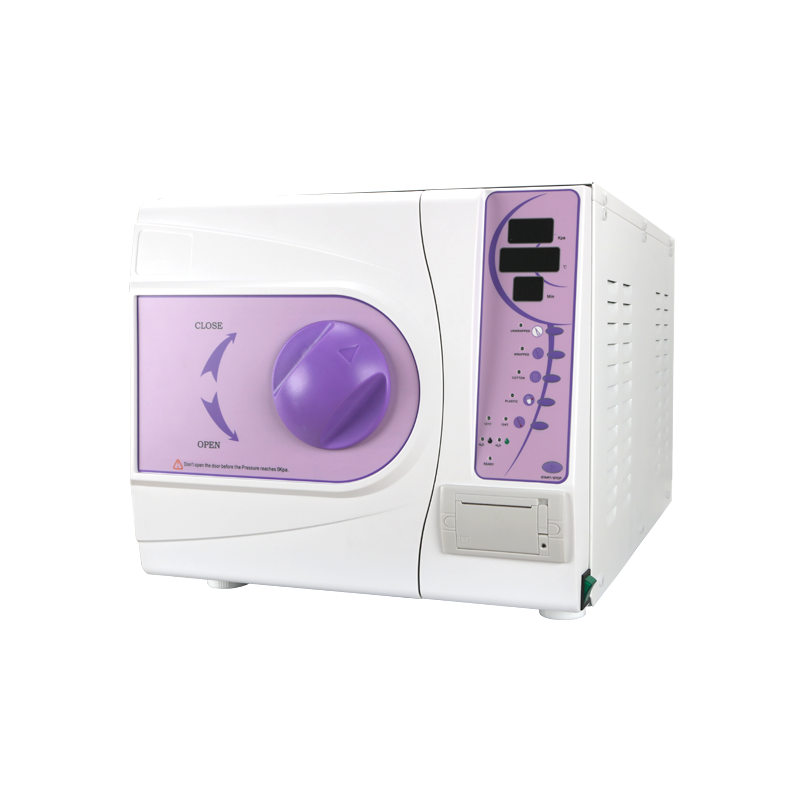
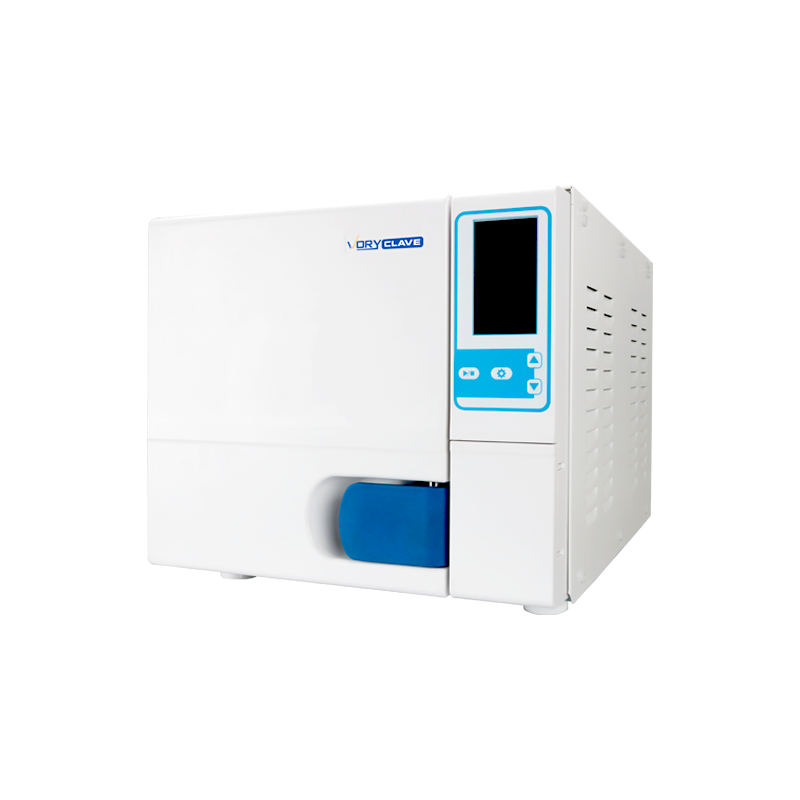
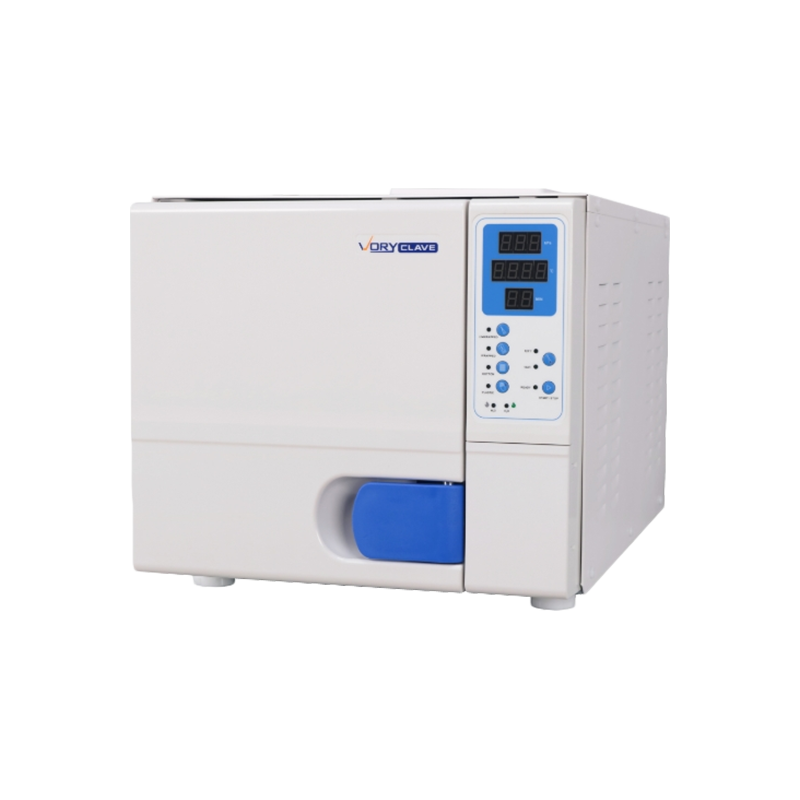
Key Features to Evaluate in a Dental Autoclave
Not all dental autoclaves are equal. Beyond the class designation and chamber size, the following specifications distinguish high-performance models from basic units and have measurable impact on workflow and reliability.
Cycle Speed
Full cycle time (pre-vacuum + sterilization + drying) varies widely. Entry-level models may take 45–60 minutes; premium Class B dental autoclaves with rapid programs can complete a cycle in under 20 minutes for unwrapped loads. In busy clinics, faster cycle times directly translate to greater instrument availability and reduced wait times.
Drying Performance
Active post-vacuum drying produces significantly drier loads than passive door-open drying. For pre-packaged instruments, dry packs are critical for maintaining sterility during storage. Look for autoclaves that specify residual moisture levels in their documentation — industry best practice is less than 0.2% moisture per unit load.
Water Feed System
Autoclaves require distilled or reverse osmosis water. Some models use a separate external reservoir; others have integrated water treatment systems. Tap water deposits minerals on chamber walls and heating elements, accelerating wear and compromising steam quality. Using distilled water extends chamber life significantly — many manufacturers void the warranty for mineral damage caused by non-distilled water.
Data Logging and Documentation
Modern dental autoclaves include built-in printers or USB/network data export for cycle documentation. A printed or digital record showing cycle temperature, pressure, time, and pass/fail status for every load is the evidence that sterilization was achieved. Some systems connect to practice management software, enabling automated cycle logs linked to patient records.
Safety Mechanisms
Look for door interlocks that prevent opening under pressure, overpressure relief valves, temperature cutoffs, and low-water alarms. These protections are not optional features — they are the baseline safety architecture of any properly designed dental autoclave. Units lacking multiple independent safety systems should not be used in a clinical environment.
Chamber Material
Stainless steel (typically 316L grade) is the standard chamber material. Some manufacturers use copper for its thermal conductivity. Avoid units with aluminum chambers, which are more susceptible to corrosion from steam condensate and instrument chemistry. 316L stainless steel offers the best balance of corrosion resistance, durability, and thermal stability for long-term clinical use.
Which Dental Instruments Can Be Sterilized in an Autoclave?
Not every instrument in a dental clinic is autoclave-compatible. Steam sterilization at 134°C can damage heat-sensitive materials, and some instruments require specific cycle types to achieve full sterilization throughout their geometry. Before loading any instrument into a dental autoclave, verify its material compatibility.
- Stainless steel hand instruments (probes, scalers, forceps)
- Turbine handpieces (require Class B pre-vacuum)
- Contra-angle and straight handpieces
- Impression trays (metal)
- Surgical instruments (chisels, elevators, curettes)
- Cassettes and stainless steel trays
- Gauze and textile drapes (Class B only)
- Glass syringes (borosilicate)
- Most fiber optic handpieces (heat damages fibers)
- Rubber items not rated for 134°C
- Plastic handles and instruments below 140°C heat resistance
- Electronic sensors and X-ray plates
- Intraoral cameras
- Carbon steel instruments (rust risk)
Handpiece sterilization deserves particular attention: turbine and contra-angle handpieces are hollow, lubricated instruments with internal channels. They require Class B pre-vacuum sterilization to ensure steam penetration into internal cavities. Using a Class N autoclave on handpieces does not sterilize the internal surfaces — it only addresses external contamination, which is insufficient for instruments that enter the patient's oral cavity.
Maintaining Your Dental Autoclave: Daily, Weekly, and Periodic Tasks
An autoclave is a pressure vessel operating under demanding thermal and chemical conditions. Consistent maintenance is not optional — it directly determines whether cycles achieve the specified sterilization parameters and how long the unit remains in reliable service. Most manufacturers specify a service life of 10–15 years with proper maintenance; neglect can reduce this to 3–5 years.
Dental autoclave maintenance schedule by frequency
| Frequency |
Task |
Purpose |
| Daily |
Wipe chamber interior and door seal with damp cloth; check water level; run Bowie-Dick test (Class B) |
Prevents residue buildup; confirms vacuum system integrity |
| Weekly |
Clean door gasket; inspect door seal for cracks; drain and refill water reservoir with fresh distilled water; run biological indicator |
Maintains seal integrity; prevents mineral deposits; validates sterilization efficacy |
| Monthly |
Descale chamber and door; check safety valves; inspect heating element condition; review cycle logs for anomalies |
Removes scale that insulates heating elements; validates safety systems; catches performance drift early |
| Annually |
Full service by qualified technician; pressure vessel inspection; replace door gasket; calibrate temperature/pressure sensors; performance qualification test |
Ensures unit meets original manufacturer specifications; detects component wear before failure |
Biological Indicators: The Gold Standard for Cycle Validation
Chemical indicators (color-changing tape or strips) confirm that a package was exposed to steam, but they do not prove that organisms were killed. Biological indicators (BIs) contain live spores — typically Geobacillus stearothermophilus — that are the most heat-resistant microorganisms likely to be encountered in a dental clinic. After a sterilization cycle, the BI is incubated: if no growth is detected after 24–48 hours, the cycle achieved the required killing conditions. Running biological indicators at least weekly, or with every load for implantable devices, is the most reliable method of ongoing cycle validation.
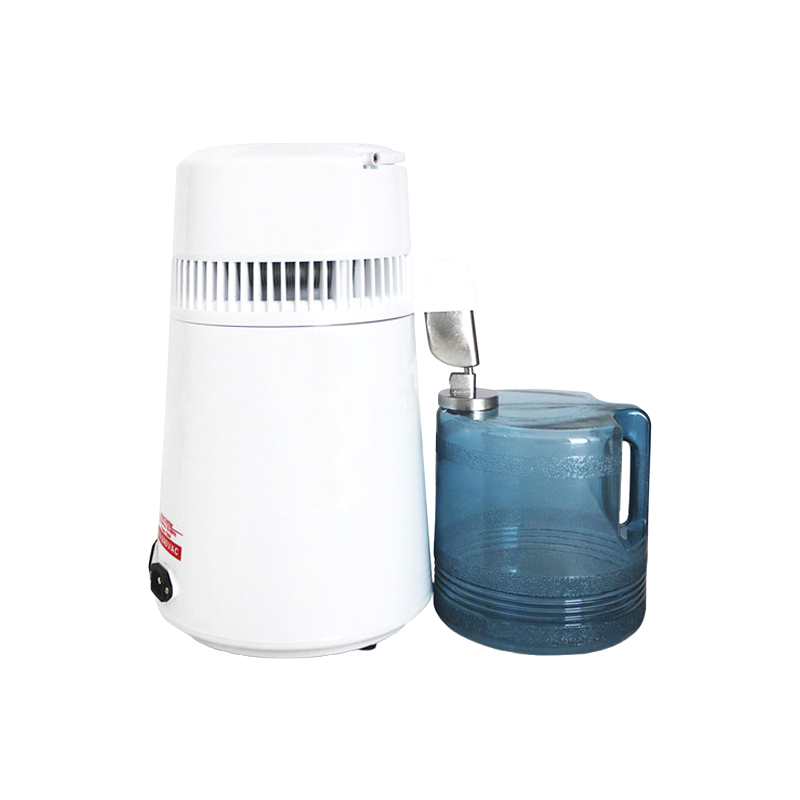
Water Quality: The Overlooked Variable in Dental Autoclave Performance
The quality of water fed into a dental autoclave affects steam quality, chamber longevity, and sterilization consistency. This is an area where many dental clinics cut corners — and where the consequences accumulate invisibly until a major failure occurs.
Distilled Water
Distilled water is free of dissolved minerals, salts, and organic compounds. It produces the cleanest steam, deposits no scale on chamber walls or heating elements, and is the recommended feed water for virtually all dental autoclave manufacturers. The cost is higher than tap water, but the protection it provides to a machine worth thousands of dollars makes it the correct choice for long-term cost management.
Reverse Osmosis (RO) Water
RO water removes a significant percentage of dissolved minerals but is not as pure as distilled water. It is acceptable for some autoclave models but may still contain trace minerals that accumulate over time. Check the manufacturer's specifications for acceptable conductivity levels — most specify feed water below 5 µS/cm conductivity.
Tap Water: Not Acceptable
Tap water contains calcium, magnesium, chloride, and other dissolved solids that deposit as scale when steam is generated. Scale acts as an insulator on heating elements, causing overheating and premature failure. Chloride in particular aggressively corrodes stainless steel under the high temperatures of the sterilization cycle. Using tap water in a dental autoclave typically voids the manufacturer's warranty.
Building an Efficient Sterilization Workflow Around Your Dental Autoclave
The dental autoclave is one step in a multi-stage instrument reprocessing workflow. Processing speed and sterility outcomes depend on how well each step feeds into the next. A poorly designed workflow creates delays, rework, and — in worst-case scenarios — the release of inadequately processed instruments into the clinic.
- Point-of-Use Precleaning: As soon as instruments are used, rinse or wipe to remove gross contamination. Dried bioburden is significantly harder to remove mechanically and can shield organisms from steam contact during sterilization. This step takes 10–15 seconds but meaningfully reduces downstream cleaning load.
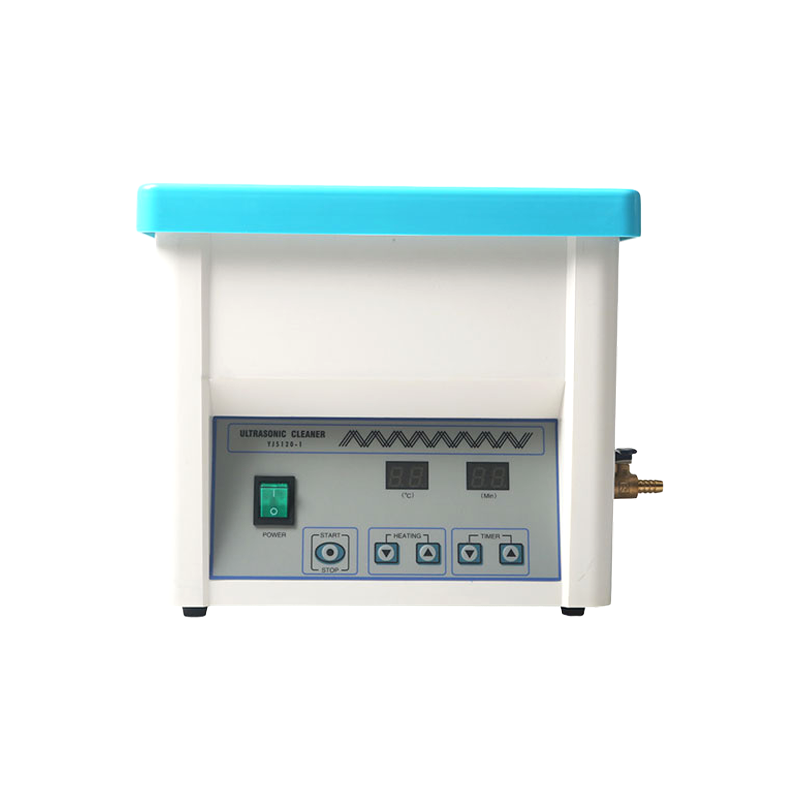
- Mechanical Cleaning: Transport instruments to the decontamination area. Clean in an ultrasonic cleaner for 5–10 minutes, or in a washer-disinfector if available. Ultrasonic cleaning uses cavitation to remove debris from complex instrument surfaces, including serrations, joints, and internal handpiece channels. After cleaning, rinse with distilled water.
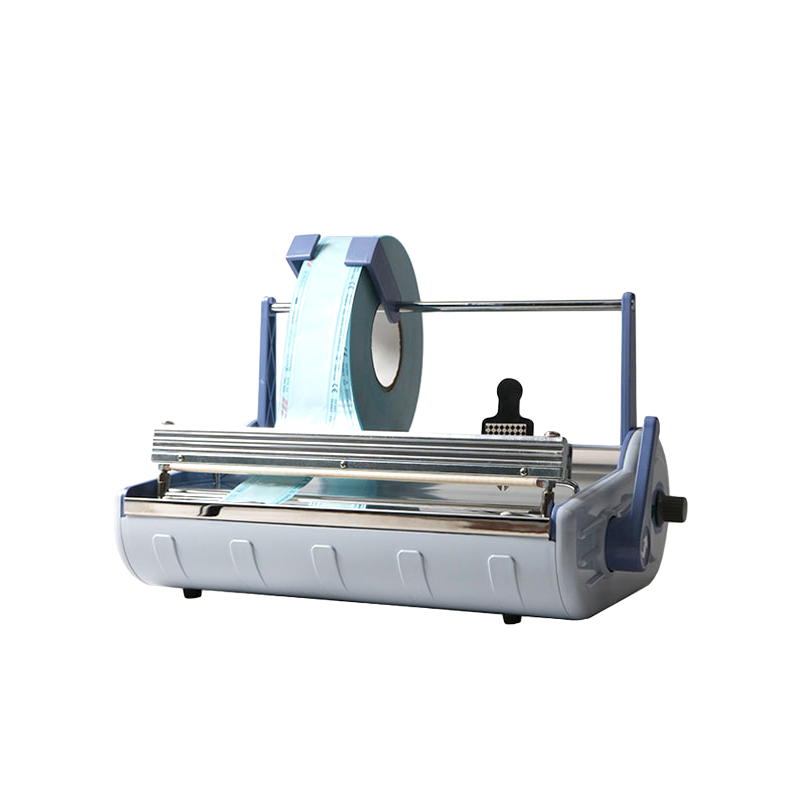
- Inspection and Packaging: Inspect instruments for residual contamination and damage. Package in single-use sterilization pouches or cassette wraps. Include a chemical indicator inside each package. Label with date, cycle number, and autoclave ID for traceability.
- Loading the Dental Autoclave: Arrange packages to allow steam circulation — avoid overlapping pouches, and position heavier items on lower trays. Do not overload the chamber; leaving 25–30% of tray space open improves steam penetration and drying performance.
- Cycle Selection and Run: Select the appropriate cycle (wrapped, porous, or hollow instrument program). Start the cycle and do not interrupt it. The autoclave will document time, temperature, and pressure automatically on units with data logging capability.
- Unloading and Storage: Only unload after the full drying phase is complete. Verify chemical indicators have changed correctly. Store processed instruments in clean, dry conditions. Most packaged instruments maintain sterility for 30–180 days, depending on packaging material and storage environment, though event-related (damage, contamination) rather than time-based expiry is the more defensible approach.
Common Dental Autoclave Problems and How to Address Them
Even well-maintained dental autoclaves encounter problems. Understanding the most common failure modes allows clinic staff to respond quickly, decide whether to call a technician, and prevent the clinic from releasing non-sterile instruments.
Wet Loads After Cycle
Instruments are damp after the drying phase. Causes include overloading the chamber, inadequate drying time, worn door gasket allowing air ingress, or using pouches that are too dense. Check loading practices first, then inspect the door seal. On Class B units, verify that the post-vacuum drying phase is completing fully — an interrupted drying phase is a common cause of wet loads.
Cycle Abort or Error Codes
Modern dental autoclaves display specific error codes that identify the failed parameter (pressure not reached, temperature deviation, door lock failure, water level low). Consult the manufacturer's manual for each code. Do not attempt to restart a failed cycle without understanding the failure reason — a cycle that did not complete may not have achieved sterilization.
Failed Biological Indicator
A positive BI result (growth detected) indicates the sterilization cycle did not achieve the required kill conditions. This is a critical finding. All instruments processed since the last passing BI should be considered non-sterile, recalled if used on patients, and re-processed once the autoclave has been inspected and the failure cause identified and corrected.
Scale Buildup on Chamber Walls
White or gray deposits on chamber surfaces indicate mineral scale from water with elevated dissolved solids. Switch to distilled water immediately. Descale with the manufacturer's recommended descaling agent — do not use acidic household cleaners that can damage stainless steel. Severe scale buildup on heating elements requires technician service.
Door Seal Leaks
Steam escaping around the door during a cycle indicates a worn or damaged door gasket. This compromises the chamber's ability to reach and maintain correct pressure — meaning sterilization parameters may not be met. The door gasket should be replaced immediately. Gaskets are consumable items; most manufacturers recommend replacement every 12–18 months, though actual wear rate depends on cycle frequency.
Practical Buying Guide: What to Look for When Purchasing a Dental Autoclave
The dental autoclave market ranges from entry-level tabletop units to advanced connected systems with remote monitoring. The right choice depends on practice size, instrument mix, budget, and how the unit fits into the broader sterilization workflow.
1
Define Your Instrument Mix
List every type of instrument the clinic sterilizes. If the list includes handpieces, wrapped packages, or any porous materials, a Class B dental autoclave is non-negotiable. If the clinic processes only unwrapped solid instruments, a Class S model may suffice — but Class B provides future flexibility as the practice grows or adds procedures.
2
Calculate Required Throughput
Estimate the number of instrument sets processed per day. Multiply by average cassette volume, then divide by usable chamber capacity (approximately 70–75% of stated volume). This gives the number of cycles per day required. If that number exceeds 6–8 cycles for a single unit, consider a larger chamber or a second autoclave.
3
Evaluate Cycle Time vs. Throughput
A 30-minute cycle autoclave processing 5 loads per day contributes 2.5 hours of cycle time to the workflow. A faster unit with 18-minute cycles reduces this to 1.5 hours. In high-volume practices, the cycle time difference between models translates directly to staff time and instrument availability.
4
Assess Service and Support
A dental autoclave that cannot be serviced promptly is a liability. Verify that the supplier or manufacturer has local service technicians, that spare parts are available with a reasonable lead time, and that the warranty covers both parts and labor. A 2-year warranty minimum is standard for quality units; extended service contracts are worth considering for high-volume practices.
5
Consider Total Cost of Ownership
The purchase price of an autoclave is only one component of cost. Factor in consumables (biological indicators, chemical indicators, pouches, distilled water), descaling agents, annual service, and eventual replacement of the door gasket and heating element. A mid-range unit with low consumable costs and reliable service support often costs less over 10 years than a cheaper unit with high consumable costs and poor reliability.
 English
 عربى
عربى