Content
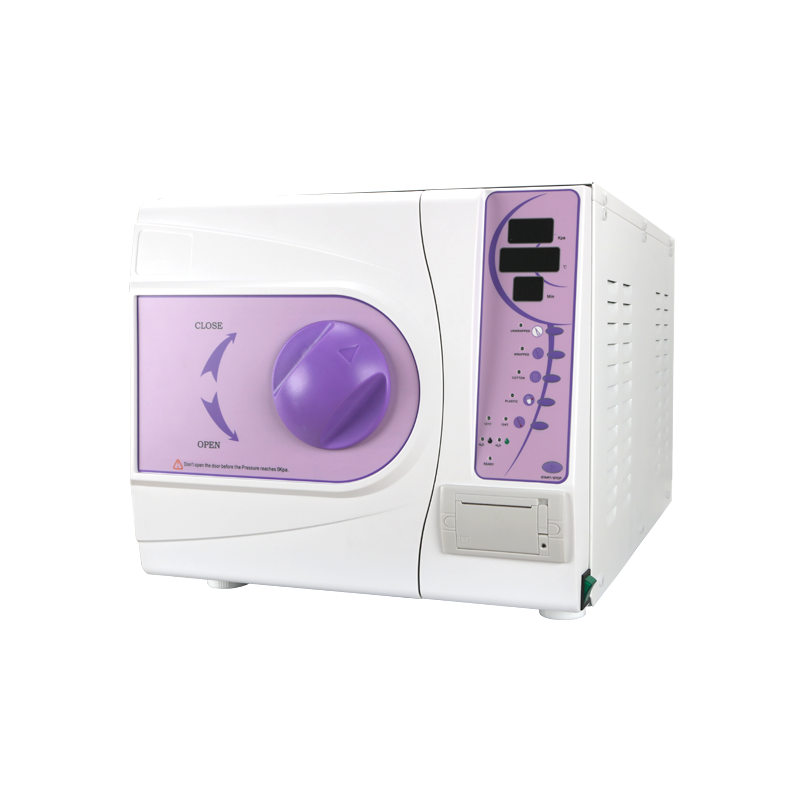
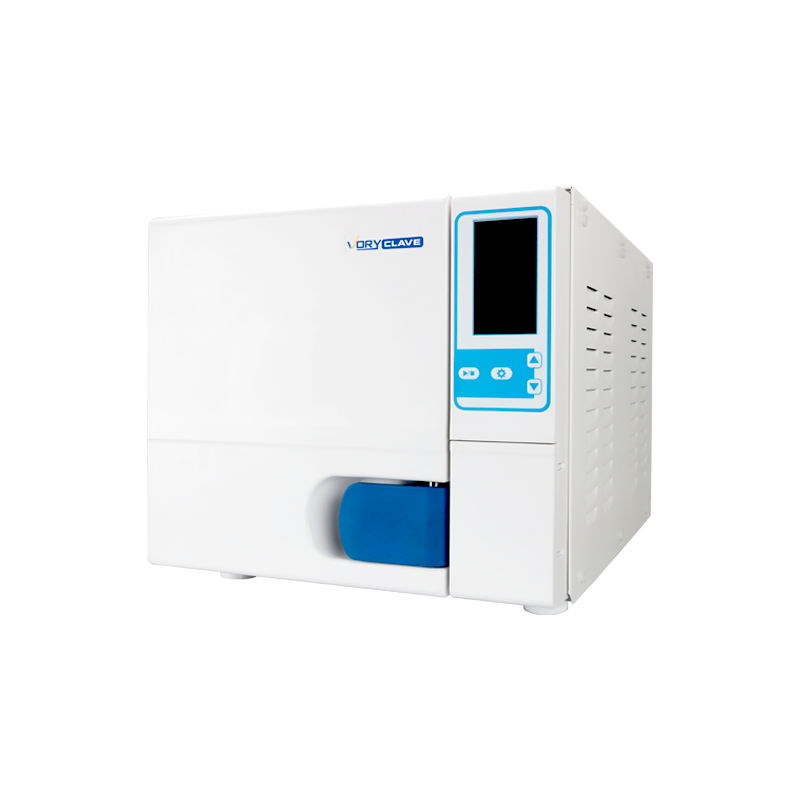
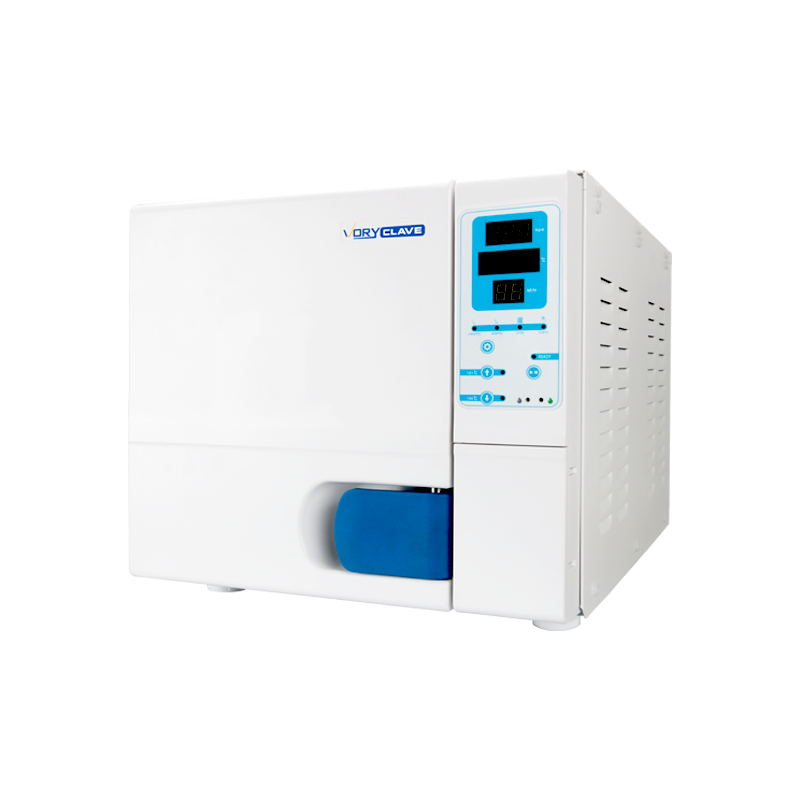
A dental autoclave sterilizes instruments by exposing them to saturated steam at 121°C to 134°C under pressure, holding that temperature for a set time to destroy bacteria, viruses, and spores. This single piece of equipment is the backbone of cross-infection control in any dental practice, and the difference between a properly validated cycle and a shortcut one can mean the difference between a safe patient chair and a contaminated one.
Below, we break down how dental autoclaves actually work, the cycle types you will encounter, how to read the numbers on the display, what daily and weekly checks matter, and how to troubleshoot the problems that come up most often in a busy clinic.
Steam sterilization works through moist heat, not dry heat. Water vapor under pressure carries far more thermal energy than dry air at the same temperature, and it penetrates protein structures directly. When steam contacts a cooler instrument surface, it condenses, releasing latent heat instantly onto that surface. This is why a dental autoclave can achieve sterility in minutes, while dry heat ovens need hours at similar or higher temperatures.
The condensation process also denatures the proteins and enzymes inside microbial cells, including bacterial spores such as Geobacillus stearothermophilus, which is the reference organism used in biological spore testing. Once those proteins unfold, the organism cannot repair itself, and sterility is achieved.
If any one of these three conditions is missing, even briefly, the cycle does not sterilize, it simply heats.
Dental autoclaves are grouped into three performance classes based on how they remove air from the chamber and how they handle different load types. This classification comes from European testing standards for small steam sterilizers and is now referenced worldwide, including by manufacturers in North America and Asia.
| Class | Air Removal Method | Suitable Loads | Typical Cycle Time |
|---|---|---|---|
| Class N | Gravity displacement | Solid, unwrapped instruments | 15 to 20 minutes |
| Class S | Manufacturer-defined, partial vacuum | Solid and some hollow or wrapped loads | 25 to 35 minutes |
| Class B | Fractionated pre-vacuum | Wrapped, hollow, and porous loads, including handpieces | 30 to 45 minutes |
For general dental practice, Class B autoclaves are the most versatile choice because they can safely process handpieces, endodontic files inside pouches, and other narrow-lumen instruments that trap air pockets. Class N units are cheaper but limited to solid, unwrapped items, which restricts pouch-based storage protocols.
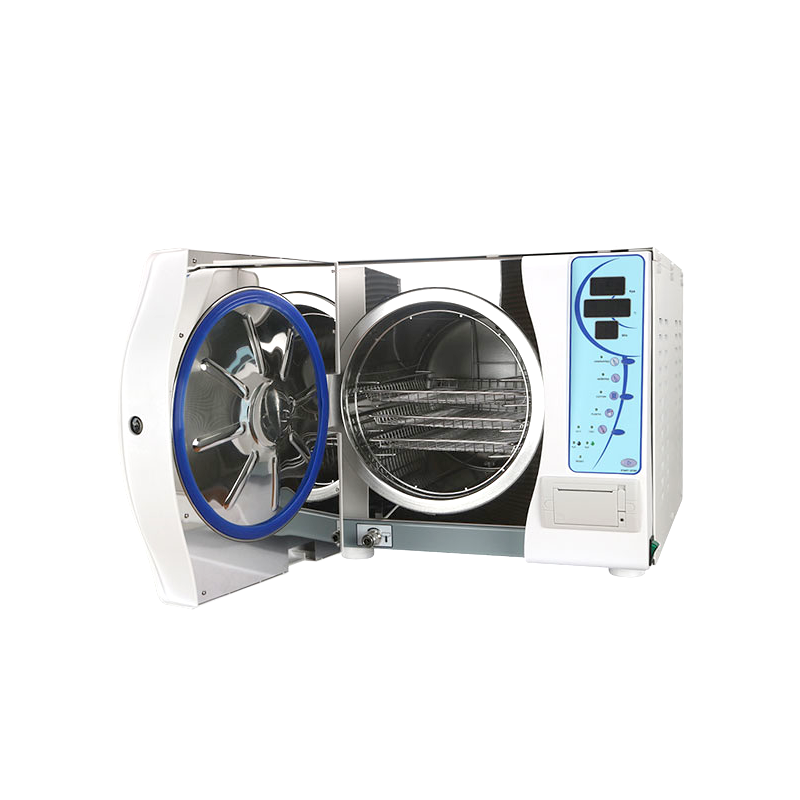
Every dental autoclave cycle runs through distinct phases, and understanding them helps staff recognize a normal run versus a failed one.
A run that skips the drying phase leaves wrapped instruments damp, which compromises the seal integrity of sterilization pouches and can allow recontamination the moment they are handled.
A dental autoclave only sterilizes what is placed inside it correctly. The steps before and after loading matter just as much as the cycle itself.
| Step | Purpose |
|---|---|
| Pre-rinse | Removes gross blood and debris before it dries onto the instrument surface |
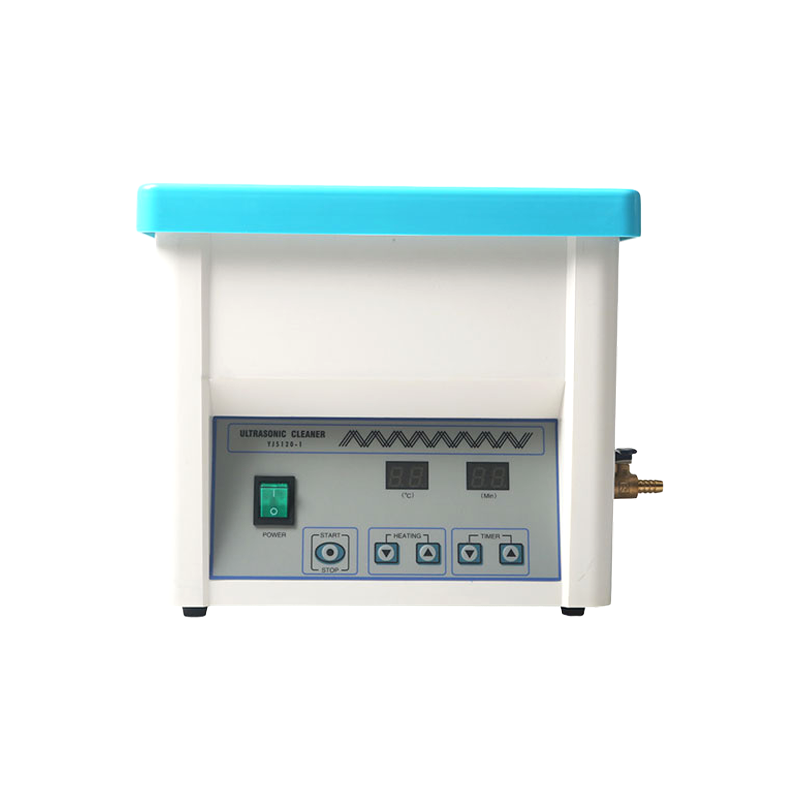
| Ultrasonic cleaning | Dislodges organic material from hinges, serrations, and narrow channels |
| Drying and inspection | Confirms no residual debris or corrosion before packaging |
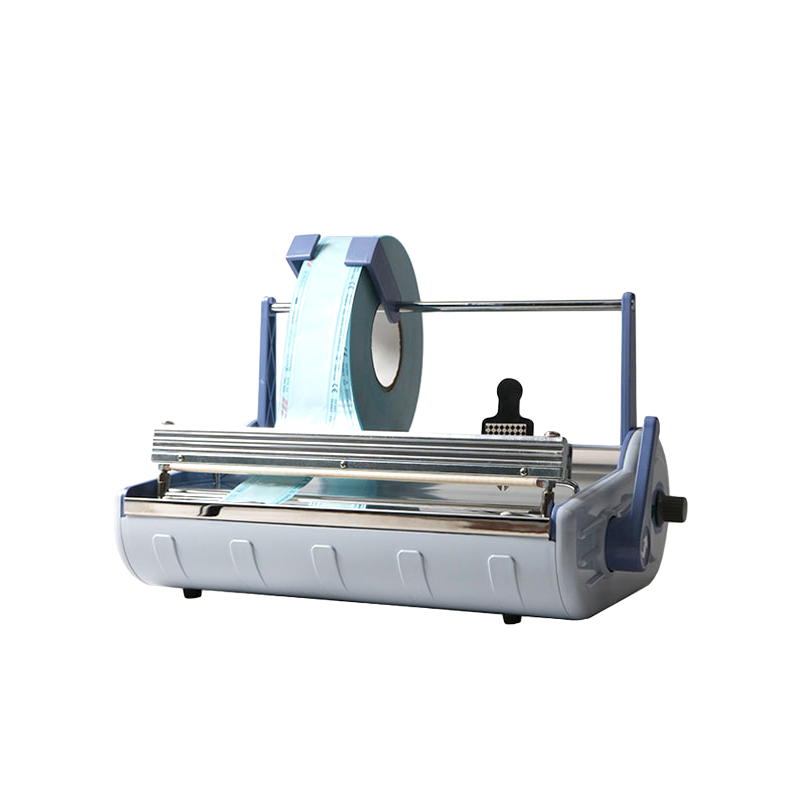
| Pouching or wrapping | Maintains sterility after the cycle until the instrument is opened chairside |
| Autoclave cycle | Achieves sterilization through pressurized steam exposure |
| Dry storage | Keeps pouches intact and dated until use |
Loading matters too. Pouches should be placed on their edge, paper side facing paper side, rather than stacked flat, so steam can circulate around every surface. Overloading a chamber is one of the most common reasons a cycle technically completes but fails to sterilize instruments buried in the center of a dense load.
A completed cycle display does not by itself prove sterility. Dental practices rely on three layers of verification, each catching a different type of failure.
Built-in printers or digital logs record the actual temperature, pressure, and time achieved during the run, allowing staff to compare the real values against the expected parameters for that cycle type.
Strips or tape placed inside pouches and on the outside of packs change color when exposed to steam and heat. This confirms that steam physically reached that location, though it does not confirm the full time-temperature relationship was sufficient to kill spores.
Spore vials containing Geobacillus stearothermophilus are run through the cycle weekly, then incubated. If the spores fail to grow, the cycle achieved true sterilization. This is the only method that directly measures microbial kill rather than just physical conditions.
For Class B units, a daily Bowie-Dick test checks air removal efficiency before the first load of the day. Poor air removal creates air pockets that steam cannot penetrate, and this test catches that problem early, before a real instrument load is put at risk.
Most reported issues trace back to a handful of recurring causes rather than equipment defects.
Wet or damp pouches at the end of a cycle usually point to an overloaded chamber, pouches stacked flat instead of on edge, or a drying phase that is too short for the load size. Damp packaging is considered a sterility failure because moisture can wick contaminants through the paper barrier.
A failed spore test is rare but serious. Common causes include a clogged steam trap, a door gasket that no longer seals properly, or a chamber drain blocked by mineral scale from hard water. Any positive spore result should trigger an immediate hold on all instruments processed since the last passing test, along with a maintenance check.
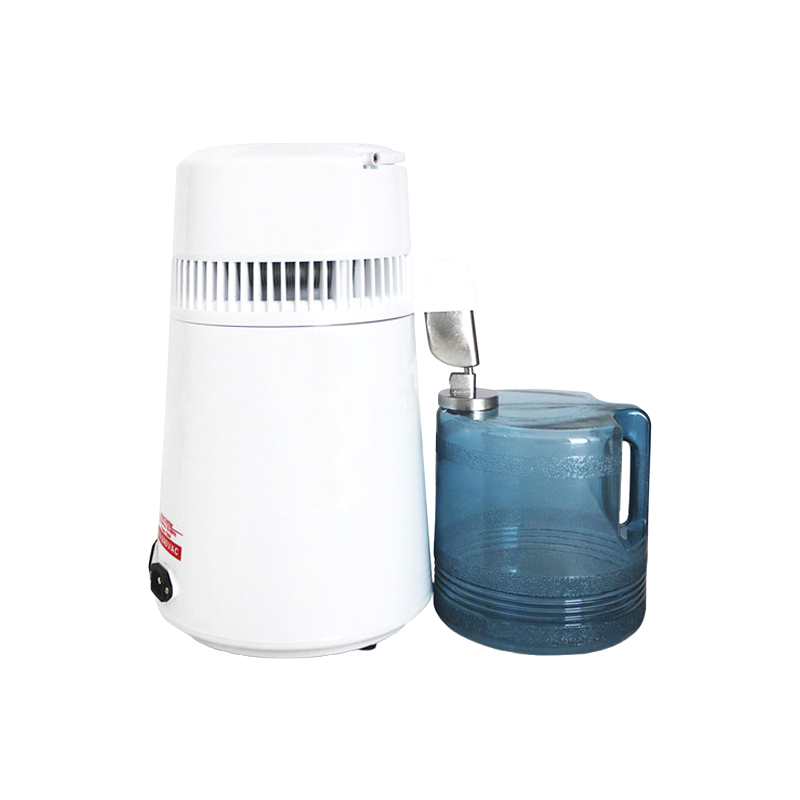
This is frequently caused by insufficient water in the reservoir, a faulty heating element, or a door seal leak that allows steam to escape faster than it can pressurize. Regular reservoir refills using distilled or demineralized water reduce scale buildup that interferes with heating elements over time.
If cycles are consistently running longer than the rated time, a partially clogged vacuum system or a weak vacuum pump on Class B units is often the culprit, since these units rely on repeated vacuum pulses to remove air before heating begins.
Chamber capacity should match daily patient volume, not just current equipment inventory. A single-chair practice doing light restorative work can often run efficiently on an 18-liter chamber, while a multi-chair practice with surgical or endodontic caseloads benefits from 22-liter or larger chambers that reduce the number of cycles needed per day.
| Practice Profile | Suggested Chamber Size | Notes |
|---|---|---|
| Single-chair general practice | 12 to 18 liters | Lower daily instrument turnover, fewer cycles needed |
| Two to three chair practice | 18 to 22 liters | Balances speed with footprint on the sterilization counter |
| Multi-chair or surgical practice | 22 liters and above | Handles handpiece-heavy and hollow-load cycles efficiently |
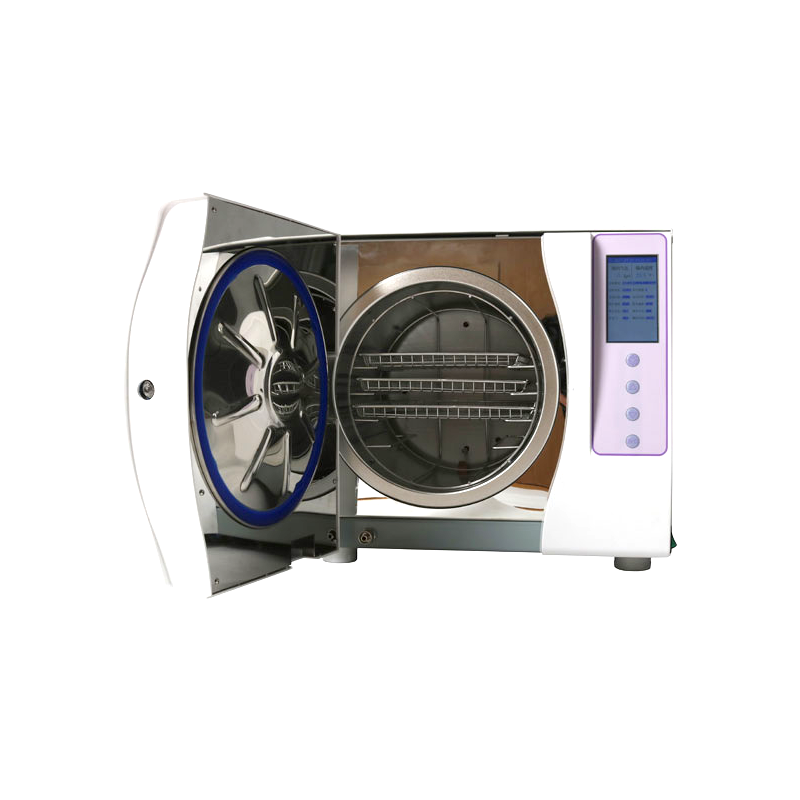
Routine maintenance prevents most of the failures described above. A simple weekly and monthly rhythm keeps a unit performing at its rated specification for years.
Practices that keep a simple maintenance log alongside their biological indicator records tend to catch developing problems weeks before a unit fully fails, avoiding the disruption of an emergency repair mid-schedule.
Most dental sterilization cycles run at either 121°C for a longer hold time or 132°C to 134°C for a shorter hold time. Both achieve equivalent sterility when the full cycle parameters are met.
Weekly testing is the common baseline for general dental practice, though practices handling surgical caseloads often test more frequently, sometimes daily, to maintain a tighter verification record.
Yes, but only Class B autoclaves reliably sterilize handpieces and other hollow instruments, because their fractionated vacuum removes trapped air from internal channels that a gravity-displacement Class N unit cannot reach.
Wet packs are almost always caused by an overloaded chamber, pouches stacked flat rather than on edge, or a drying phase cut short. Wet packaging should be treated as a failed cycle and reprocessed.
Class N cycles typically run 15 to 20 minutes, Class S cycles run 25 to 35 minutes, and Class B cycles run 30 to 45 minutes including the drying phase, though exact times vary by model and load type.
Chemical indicators confirm steam physically reached a location but do not measure whether enough heat exposure occurred to kill spores. Biological indicators use live spores to directly confirm that sterilizing conditions were actually achieved.
Yes, mineral deposits from hard water accumulate in the chamber, reservoir, and heating element over time, which is why distilled or demineralized water is strongly recommended for daily use and refilling.
Unwrapped, immediate-use sterilization is meant for instruments used right away, not for storage. Anything intended for later use should be wrapped or pouched before the cycle so sterility is maintained until the package is opened.
If you have any question for the installation
or need support, please feel free to contact us.
86-15728040705
86-18957491906

 English
 عربى
عربى

