Content
A Class B dental autoclave is the correct choice for practices that sterilize wrapped instruments, hollow items such as handpieces, and mixed loads on a daily basis. If a clinic only processes solid, unwrapped instruments in small batches, a Class N unit may be sufficient, while a Class S device sits between the two and handles a manufacturer-defined list of load types. The distinction matters because it determines whether air and steam actually reach every internal channel of a handpiece or endodontic file, which directly affects whether an instrument comes out sterile or merely heated.
This guide breaks down how autoclave classes are defined, what separates a fractionated vacuum cycle from a gravity-displacement cycle, how cycle times and temperatures compare across brands, what a dental office should check before purchasing or servicing a sterilizer, how much a unit typically costs to buy and run, and how a sterilization workflow should be organized day to day. The goal is a single, practical reference that a clinic manager, hygienist, or dentist can use to make a real purchasing or operational decision, not a general overview of what sterilization means.
The classification of a steam sterilizer is based on how it removes air from the chamber before introducing steam, not on the brand, price, or size of the unit. Air pockets trapped inside a load are the single biggest reason a sterilization cycle fails, because steam cannot make contact with a surface that is shielded by trapped air. The three working categories used across dental practices are N, S, and B.
Class N units rely on gravity displacement. Steam is introduced at the top of the chamber and pushes air out through a drain at the bottom. This works reasonably well for solid, unwrapped instruments placed loosely on a tray, but it struggles with wrapped packs, porous materials, and anything with a lumen, such as a handpiece shaft or an aspirator tip, because trapped air pockets inside these items are not reliably displaced. Class N machines are usually the least expensive category and are common in settings that only need to reprocess basic hand instruments between uses.
Class S machines add a partial air-removal step, often a pulse or two of vacuum, and are tested by the manufacturer against a specific list of load types the machine is proven to sterilize. A Class S device might be validated for solid instruments plus single-wrapped items, but not for hollow instruments or porous textile loads. The exact capability varies by model, so the load list supplied by the manufacturer is the only reliable reference; two machines both labeled Class S can have meaningfully different validated load lists.
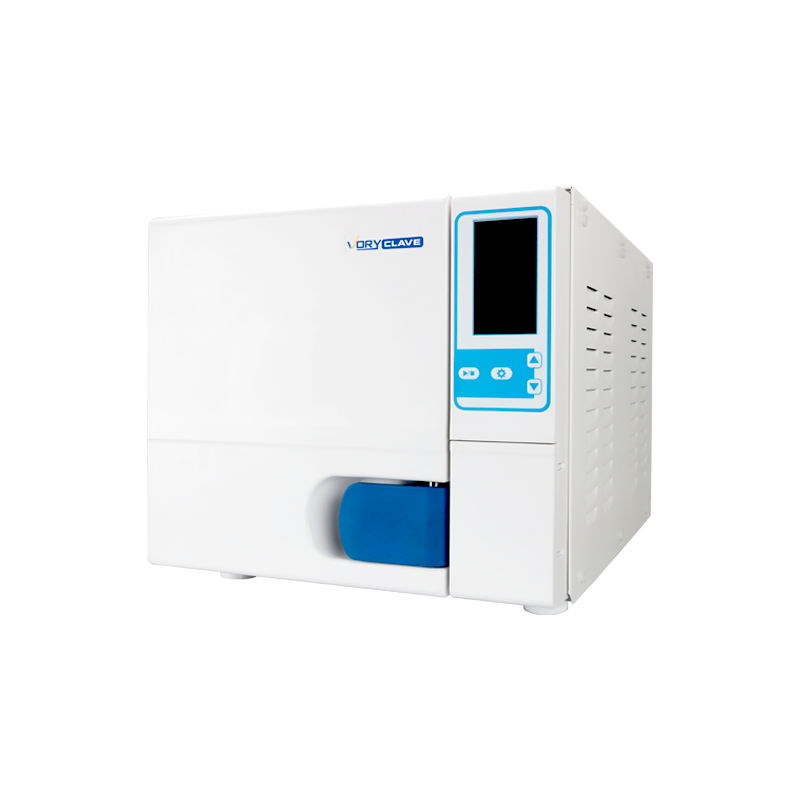
Class B autoclaves use a fractionated (multi-pulse) vacuum sequence, typically three to five alternating pulses of vacuum and steam injection before the sterilization phase begins. This repeated pulsing strips air out of even the narrowest lumens and the densest wrapped bundles. Class B is the only category rated for all load types: solid, hollow, porous, wrapped, and mixed loads in a single cycle, which is why it has become the standard recommendation for general dental practices handling handpieces, surgical kits, and endodontic instruments. Most multi-chair general and specialist practices standardize on Class B for this reason alone, since it removes the need to sort instruments by load type before every cycle.
| Load type | Class N | Class S | Class B |
|---|---|---|---|
| Solid unwrapped instruments | Yes | Yes | Yes |
| Single wrapped packs | No | Model-dependent | Yes |
| Hollow instruments (handpieces) | No | Model-dependent | Yes |
| Porous or textile loads | No | Rarely | Yes |
| Mixed loads in one cycle | No | No | Yes |
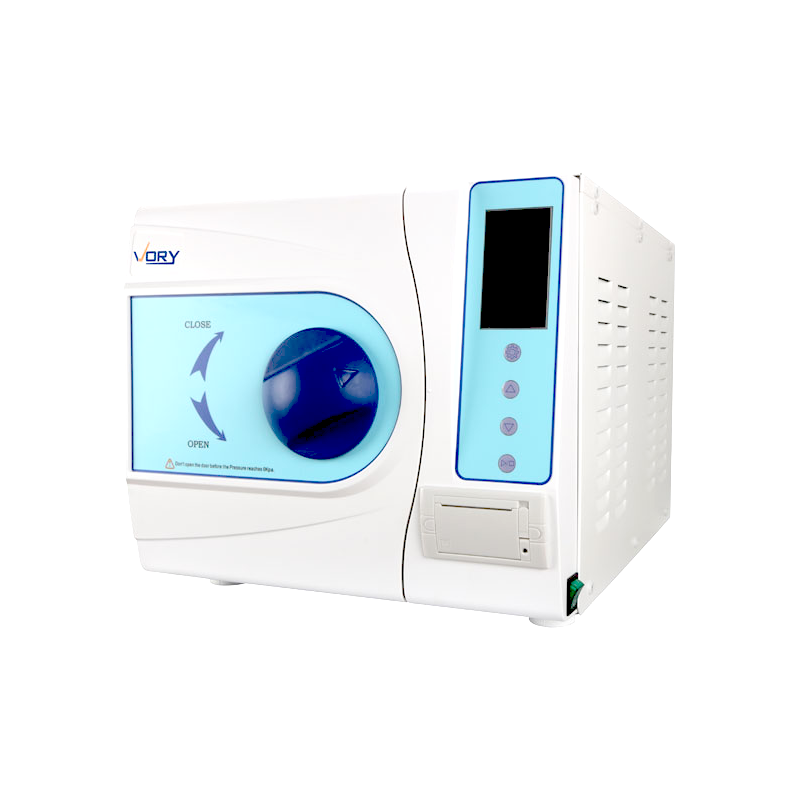
A typical Class B dental autoclave cycle moves through four distinct phases, and understanding them helps a practice troubleshoot a failed cycle rather than simply rerunning the same load and hoping for a different result.
Total cycle time includes air removal, sterilization, and drying, not just the sterilization hold. Practices sometimes compare only the sterilization phase and are surprised when the "same" temperature cycle takes longer or shorter than expected on a different machine.
| Cycle type | Sterilization temperature | Approximate total time |
|---|---|---|
| Fast wrapped cycle | 134°C | 28 to 35 minutes |
| Standard wrapped cycle | 121°C | 45 to 60 minutes |
| Unwrapped solid instrument cycle | 134°C | 15 to 20 minutes |
| Prion or extended-exposure cycle | 134°C | 55 to 65 minutes |
Running every load at the highest available temperature is not automatically the best long-term decision. Repeated exposure to 134°C cycles can accelerate wear on certain plastic components, rubber seals inside handpieces, and some orthodontic materials with lower heat tolerance. Many practices reserve the 134°C fast cycle for general metal instrument turnover and use a 121°C cycle for loads containing more heat-sensitive items, balancing throughput speed against equipment lifespan.
Beyond the air-removal class, dental autoclaves also differ in physical format, and this affects workflow more than many buyers expect before installation.
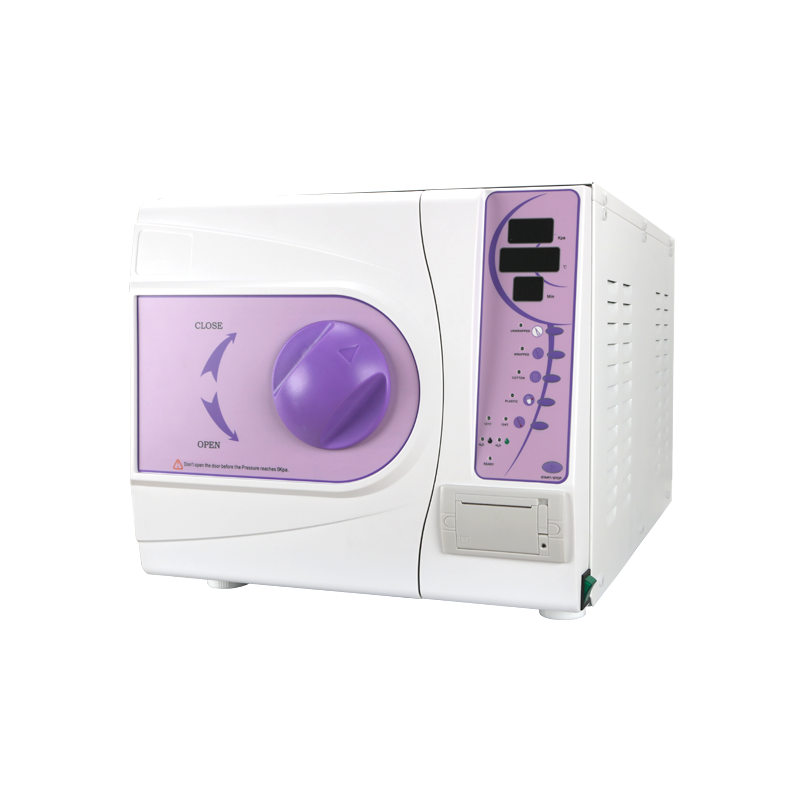
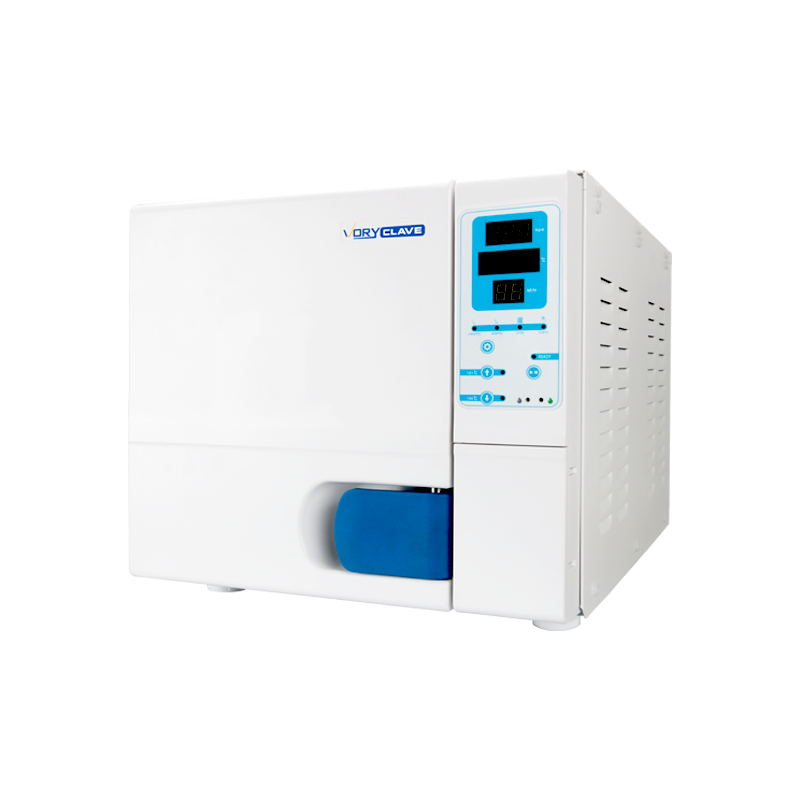
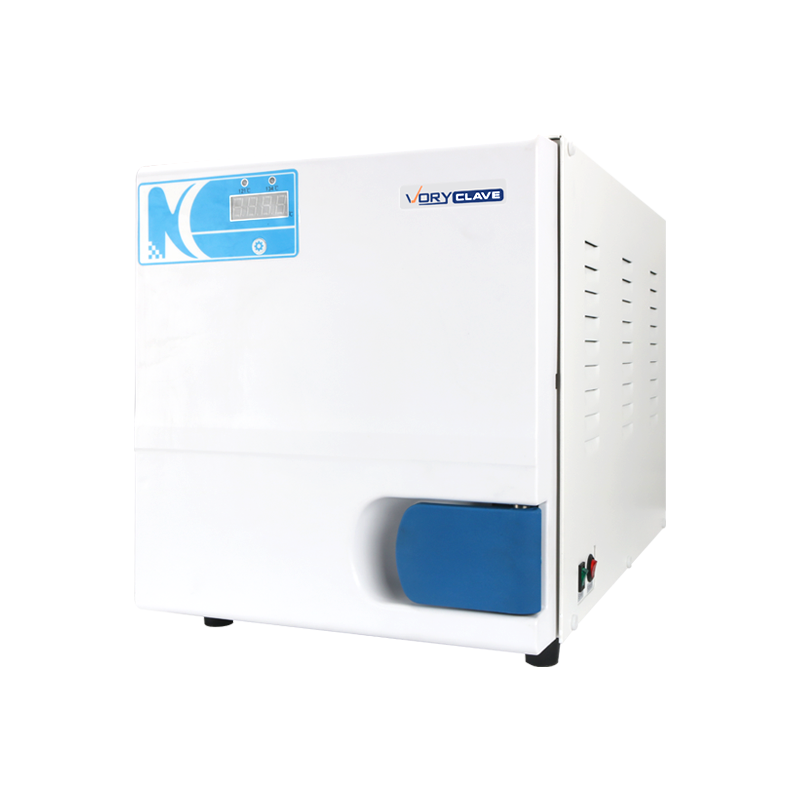
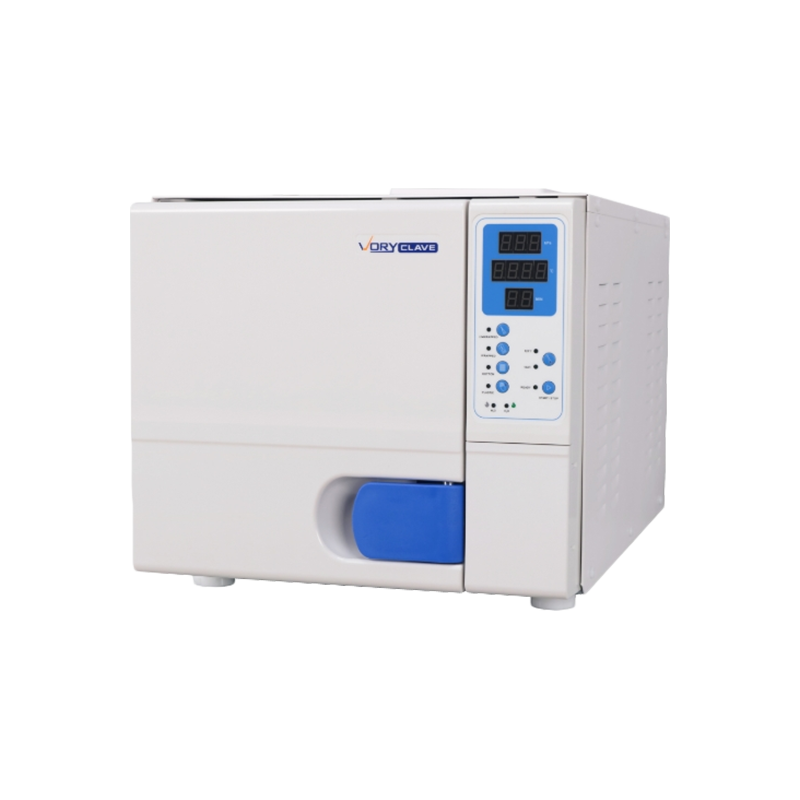
The most common format in general practice is a tabletop unit with a round or rectangular chamber ranging from roughly 12 to 24 liters. Instruments are typically loaded on flat trays or in pouches laid side by side. These units fit on a standard countertop and are the default choice for one to three operatory practices.
Larger practices and specialist clinics increasingly use cassette-based sterilizers, where instruments are pre-sorted into perforated cassettes before the cycle begins. This reduces handling after sterilization, since staff move a closed cassette directly to storage rather than transferring loose instruments, lowering the chance of contact contamination after the cycle finishes.
Some manufacturers now sell a combined workstation pairing an ultrasonic cleaner, a thermal washer-disinfector, and a Class B sterilizer in a single connected line. This is more relevant for high-volume clinics or dental service organizations running many chairs, where a linear workflow reduces bottlenecks compared to staff carrying trays between separate standalone machines.
The right class depends almost entirely on what a practice actually processes on a daily basis, not on the size of the clinic. A small practice that routinely sterilizes handpieces between patients needs a Class B unit regardless of patient volume, because the load type is what dictates the requirement, not the number of loads run per day.
A Class N or validated Class S machine can be appropriate for a satellite office, a denture lab, or a setting that only reprocesses solid unwrapped instruments such as basic hand tools, with no handpieces and no wrapped storage requirement. Even then, checking the manufacturer's validated load list is essential, since the word "Class S" by itself does not guarantee any particular load is covered.
Chamber capacity is usually described in liters, with small dental units around 12 to 18 liters and larger clinic models reaching 22 to 24 liters. A practice running four or more operatories typically benefits from a larger chamber or a second unit, because instrument turnover between patients leaves little room for a single sterilizer to keep pace when cycle times run 30 to 60 minutes each.
| Practice profile | Recommended class | Suggested chamber size |
|---|---|---|
| Single-chair general practice | Class B | 12 to 18 liters |
| Multi-chair general practice | Class B | 18 to 24 liters, or two units |
| Oral surgery or implant clinic | Class B | 22 to 24 liters |
| Denture or appliance lab, no handpieces | Class N or validated Class S | 12 to 16 liters |
A sterilizer purchase decision should factor in the physical setup, since retrofitting plumbing or ventilation after a unit arrives is a common and avoidable expense.
Most dental autoclaves can run from either a manually filled internal reservoir or a direct plumbed water line, and some support both. A plumbed connection reduces staff workload since the reservoir does not need manual refilling between cycles, but it requires a dedicated water line and, in many cases, a built-in demineralizing cartridge or an external water treatment unit feeding the machine.
A drain line is required to remove condensate and used water after each cycle. Countertop placement should also allow a small clearance gap around the unit for heat dissipation, since chamber walls and the steam generator produce meaningful heat during a cycle, and cramped installation can shorten component life over time.
Larger chamber units, especially those above 18 liters, often require a dedicated electrical circuit rather than sharing a standard outlet with other equipment, because the heating element draws a significant current spike at the start of each cycle. Checking the manufacturer's electrical specification sheet before installation avoids tripped breakers once the unit is in daily use.
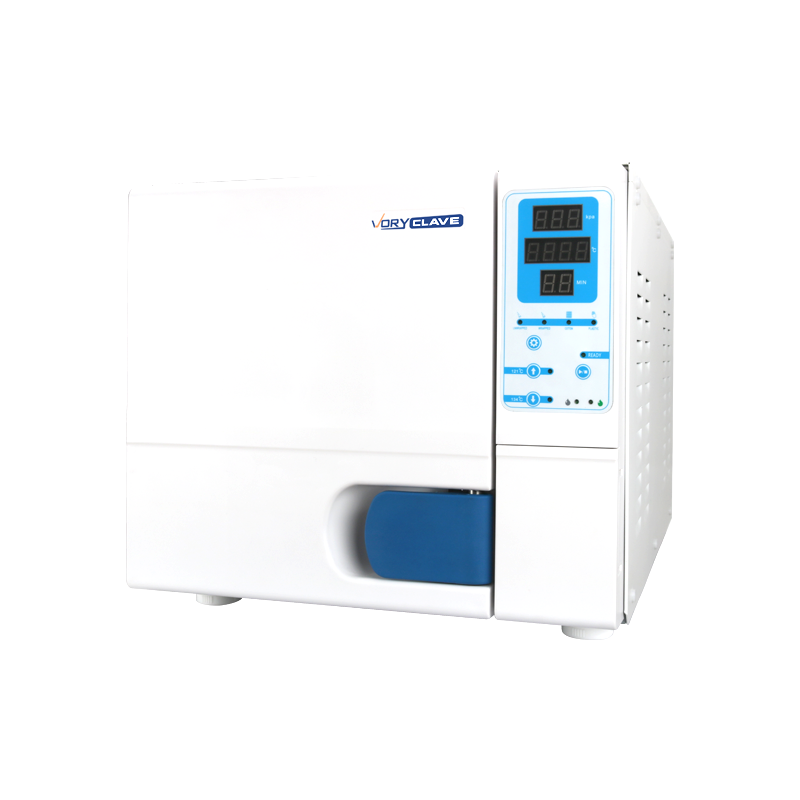
Sterilizer failures are frequently traced back to skipped maintenance rather than a defective unit. A consistent maintenance rhythm protects both the equipment and the sterility outcome of every load.
Wipe the chamber gasket and door seal to remove mineral residue, check the reservoir water level and refill with distilled or demineralized water, and run a Bowie-Dick or helix test on Class B units before the first patient load of the day to confirm air removal is functioning correctly.
Drain and refill the internal water reservoir even if it appears full, since standing water accumulates dissolved minerals that leave scale deposits inside the chamber and plumbing over time. Inspect trays and racks for corrosion or discoloration that could indicate a leak or a chemical reaction with an instrument.
Schedule a full calibration check of temperature and pressure sensors, replace the door gasket if it shows cracking or loss of elasticity, and have the vacuum pump inspected on Class B units since the pump is the component doing the most mechanical work across thousands of cycles. Water quality also matters more than many practices realize: using tap water instead of distilled water is one of the leading causes of scale buildup that eventually restricts steam flow and extends cycle times.
| Task | Frequency |
|---|---|
| Wipe door seal and gasket | Daily |
| Helix or Bowie-Dick test | Daily, before first load |
| Reservoir water change | Weekly |
| Chamber and tray descaling | Monthly, or per manufacturer schedule |
| Gasket inspection or replacement | Every 6 to 12 months |
| Full sensor calibration and vacuum pump check | Annually |
Running a cycle is not the same as confirming it worked. Dental practices generally combine three layers of monitoring so that a single missed indicator does not go unnoticed.
These are the built-in gauges and digital readouts on the sterilizer itself, showing temperature, pressure, and time for each cycle. They confirm the machine reached its target parameters but do not confirm sterility was achieved inside a specific package.
Chemical indicator strips or tape change color when exposed to the correct combination of heat and steam. A strip placed inside a wrapped pack shows that steam actually penetrated to the center of that specific package, which is a more direct check than the chamber gauge alone.
Biological indicators contain a controlled population of heat-resistant spores, commonly Geobacillus stearothermophilus, and are run through a full cycle alongside a normal load. After incubation, a color change or growth result confirms whether the spores were killed, which is the most direct evidence a sterilizer can produce that its cycle is destroying microorganisms. Weekly biological indicator testing is a common baseline, with many practices running one with every load containing implantable devices.
A simple log noting the date, load contents, cycle type, and indicator results creates a traceable record that can be reviewed if an instrument-related concern ever arises. Many modern autoclaves store this data automatically and can print or export a report per cycle, which removes the burden of manual logging from front-desk or sterilization staff.
The sterilizer itself is only one part of a full reprocessing workflow. A well-organized workflow reduces cross-contamination risk and shortens the time instruments spend out of circulation.
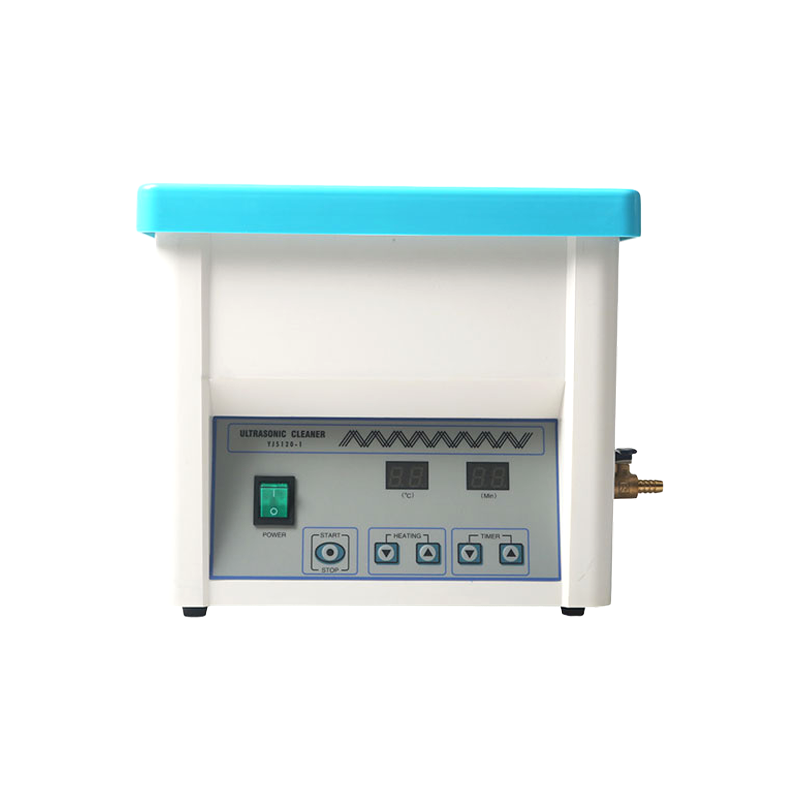
Instruments should be cleaned of visible debris before they ever enter the chamber, typically through an ultrasonic bath or an automated thermal washer-disinfector. Sterilizers are designed to kill microorganisms on a clean surface, not to remove organic material such as blood or saliva residue, so skipping pre-cleaning can shield contaminants from steam contact even inside a properly functioning Class B cycle.
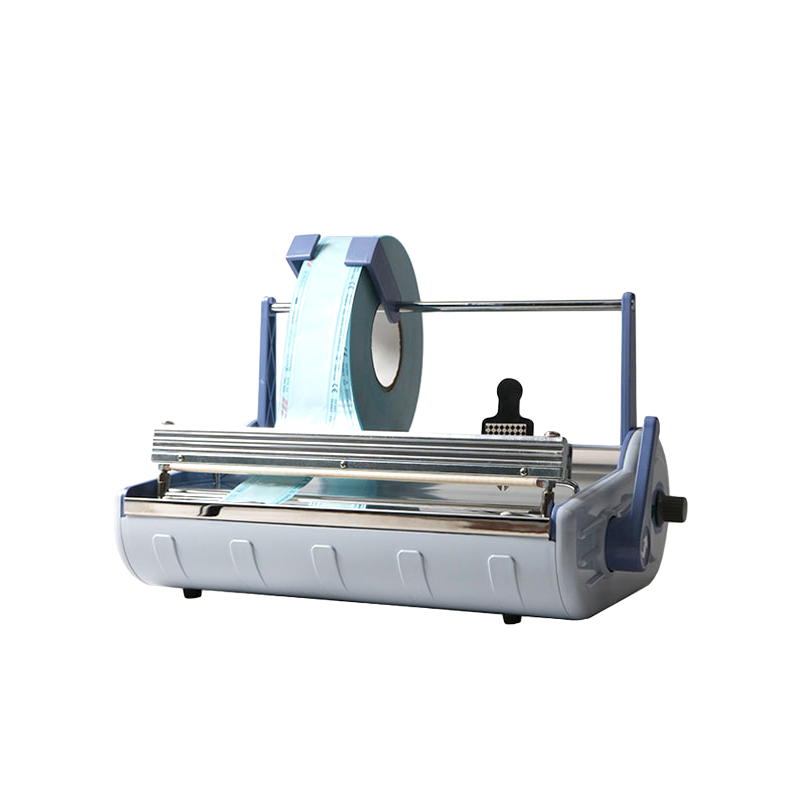
Self-sealing pouches, wrapped cassettes, or sterilization wrap protect instruments after the cycle so they remain sterile until the package is opened chairside. Overfilling a pouch or sealing it with the paper side facing the wrong direction can block steam penetration, so staff training on correct packaging technique has a direct effect on sterilization outcomes.
A one-directional workflow, moving from a dirty receiving area to a cleaning station, then to packaging, then to the sterilizer, and finally to sterile storage, prevents processed instruments from crossing paths with unprocessed ones. Even a small sterilization room benefits from marking these zones clearly so staff naturally follow the same path every time.
Purchase price is only part of the total cost of owning a dental autoclave. Running costs accumulate steadily and should factor into any comparison between models.
Entry-level Class N tabletop units are generally the least expensive category, mid-range Class S units sit above them, and Class B units with fractionated vacuum technology occupy the higher end of the tabletop sterilizer market due to the added vacuum pump and more complex control system. Larger chamber sizes and built-in printers or data logging features also add to the base price.
A full sterilization cycle draws meaningful electricity during the heating and vacuum phases, and a busy practice running many cycles per day will notice this on utility bills more than a low-volume office running one or two cycles daily. Machines with efficient insulation and heat recovery features tend to use less energy per cycle than older or poorly insulated designs, which is worth comparing when reviewing manufacturer specification sheets.
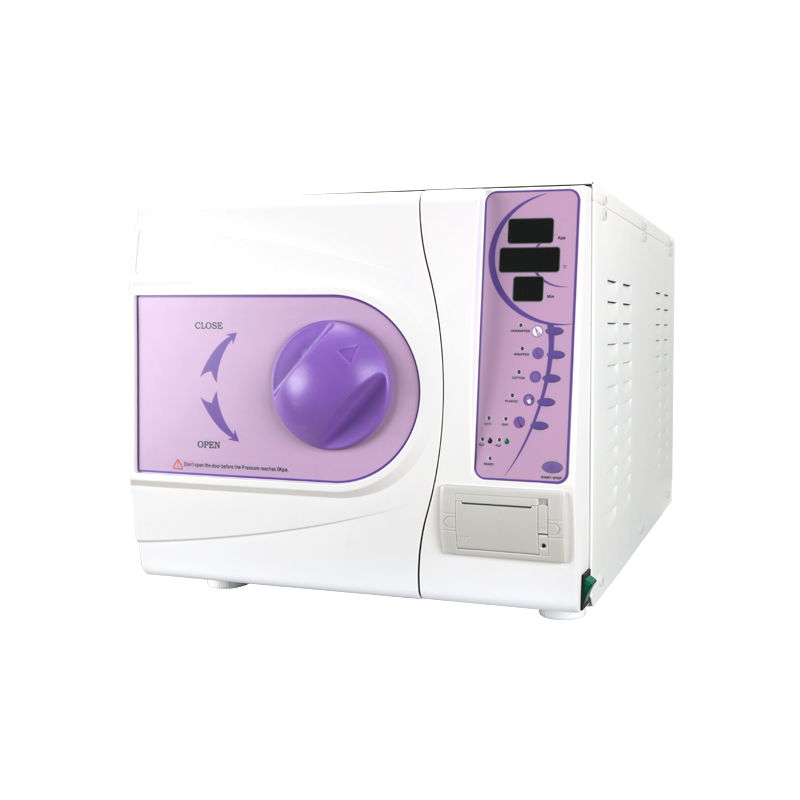
Most autoclave complaints fall into a handful of recurring categories, and identifying the pattern often points directly to the fix before a service call is even needed.
Damp wrapped packages after the drying phase are frequently caused by overloading the chamber, packing items too tightly to allow steam and air circulation, or using a drying time that is too short for the load size. Spacing packs so steam can circulate around each one and extending the drying phase for denser loads usually resolves this.
A failed Bowie-Dick or helix test on a Class B unit typically points to a worn door gasket, a leak in the vacuum line, or a failing vacuum pump. Because this test exists specifically to catch air-removal problems before they affect a real patient load, a failed result should stop the day's sterilization schedule until the issue is diagnosed.
Cycles that run noticeably longer than the manufacturer's stated time are commonly linked to mineral scale buildup inside the chamber or heating element, restricting how efficiently steam is generated. Switching to distilled water and descaling the chamber according to the manufacturer's schedule generally restores normal cycle speed.
Spotting is usually a water quality issue rather than an instrument defect, caused by mineral deposits in tap water reacting with metal surfaces under high heat. Switching the reservoir to distilled or demineralized water and flushing the system typically eliminates the spotting on future cycles.
Modern sterilizers display specific error codes tied to sensor readings, door lock status, or water level. Keeping a written log of which codes appear and when helps a technician diagnose recurring issues far faster than a vague description of "the machine stopped," and many manufacturers publish a code reference chart that should be kept near the unit for quick lookup.
A Class B unit uses repeated vacuum pulses to remove air before sterilization, allowing it to handle wrapped, hollow, and porous loads. A Class N unit relies on gravity to push air out and is only suited to solid, unwrapped instruments.
Most wrapped-load cycles at 134°C run between 28 and 35 minutes including air removal and drying, while cycles at 121°C typically run 45 to 60 minutes for the same load type.
No. Handpieces have narrow internal channels that trapped air can shield from steam contact in a gravity-displacement cycle, so a Class B fractionated vacuum cycle is needed for reliable sterilization of hollow instruments.
Wet packages most often result from an overloaded chamber, packs placed too close together, or an insufficient drying phase for the load size. Reducing load density and extending drying time typically resolves the issue.
Weekly biological indicator testing is a common baseline recommendation, with many practices testing every load that includes an implantable device to confirm sterilization effectiveness before use.
Distilled or demineralized water is recommended over tap water, since dissolved minerals in tap water build up scale inside the chamber and plumbing, leading to slower cycles and possible instrument spotting over time.
Not necessarily. A larger chamber increases capacity per load but does not shorten the cycle time itself, so practices with high patient turnover sometimes benefit more from a second sterilizer running in parallel than from a single oversized unit.
Not always. Higher temperature cycles finish faster but can accelerate wear on heat-sensitive plastic or rubber components over many repeated cycles, so many practices reserve the fastest cycle for routine metal instrument turnover and use a lower-temperature cycle for more delicate items.
A tabletop unit loads instruments on flat trays or in individual pouches, while a cassette-based system pre-sorts instruments into perforated cassettes before the cycle, reducing handling after sterilization and lowering the chance of contact contamination during transfer to storage.
Recurring vacuum test failures, error codes that persist after a restart, unusually long cycle times that do not improve with descaling, or visible steam or water leaking from the door seal are all signs that a qualified technician should inspect the unit rather than continuing routine cleaning alone.
If you have any question for the installation
or need support, please feel free to contact us.
86-15728040705
86-18957491906

 English
 عربى
عربى

