
 English
 عربى
عربىIndustry News
Home / News / Industry News / Decontamination Room Setup Guide: Layout, Equipment, Workflow and Maintenance
Content
A decontamination room is a dedicated, physically separated area where contaminated instruments are received, cleaned, inspected, packaged, sterilized, and stored until their next use. It is the most reliable way to keep instrument reprocessing consistent in a dental or small medical practice, because it concentrates every step of infection control in one controlled location instead of spreading it across treatment rooms.
Every instrument that has been in a patient's mouth comes back contaminated with saliva, blood, and organic debris. When that instrument is rinsed or scrubbed in a busy treatment room, splashes and aerosols can travel to surfaces that patients and staff touch constantly. A separate room contains those risks at a defined point and prevents clean items from ever sharing a surface with dirty items.
It is equally important to understand what a decontamination room is not. It is not a storage closet, not a staff kitchen, and not a treatment room with an autoclave in the corner. Surface disinfection in the treatment room handles environmental touchpoints such as chairs, switches, light handles, and counters. Instrument reprocessing belongs in the decontamination room, where hand-washing, cleaning, packaging, and sterilization follow a fixed sequence.
The size and layout of the room depend on workload. A single-chair practice can operate well with one carefully planned room, while a larger clinic may need two physically separated spaces, one dirty and one clean. In every case the planning rule is identical: instruments must move in one direction, from contaminated to sterile, and never travel backward.
The layout of a decontamination room should be decided before any equipment is purchased. The room works as a production line: dirty instruments enter at one end, move through cleaning and inspection, pass into sterilization, and leave as sterile packs from the other end. If the design forces staff to walk back and forth between clean and dirty zones, the whole system becomes unsafe regardless of how good the equipment is.
A practical single-room layout contains three zones. The dirty zone sits near the entrance and holds the receiving surface, the deep rinse sink, and the ultrasonic cleaner. The clean preparation zone in the middle is used for drying, inspecting, assembling, and packaging instruments. The sterile zone at the far end contains the autoclave, a cooling shelf, and closed storage for sterilized packs.
If the room is large enough, use a physical divider or a pass-through hatch to separate the dirty and clean halves. In a very small room, time separation is the alternative: process all dirty loads first, then disinfect the work surfaces, then switch the room to clean-mode for packing and sterilizing. Color-coded trays and containers help staff remember which items have and have not been through the cleaning stage.
Planning guides commonly suggest a usable floor area in the range of about 6 m² for a single-chair practice. The goal is not a large room but an efficient one: enough space for every fixed item to have its own position without crowding or cross-traffic.
A functional decontamination room needs only a small set of machines, but each one must be present and correctly sized. The core list covers rinsing, mechanical cleaning, sterilization, packaging, and water quality. Adding equipment later is far more expensive than planning for it from the start, especially when plumbing and electrical points are involved.
| Equipment | What It Does | Why It Matters |
|---|---|---|
| Deep sink with running water | Initial rinse and manual soak | Removes visible soil before mechanical cleaning |
| Ultrasonic cleaner | High-frequency cavitation to loosen debris | Reaches hinges, serrations, and crevices that brushes miss |
| Steam sterilizer (autoclave) | Pressurized steam kills microorganisms | The only dependable on-site sterilization method |
| Sealing machine | Heat-seals sterilization pouches | Keeps instruments sterile after the cycle ends |
| Water distiller | Produces purified water for steam and rinsing | Prevents scale and mineral deposits that damage instruments and chambers |
| Drying and storage area | Lint-free towels, cooling shelf, closed cabinet | Avoids recontamination of packs before use |
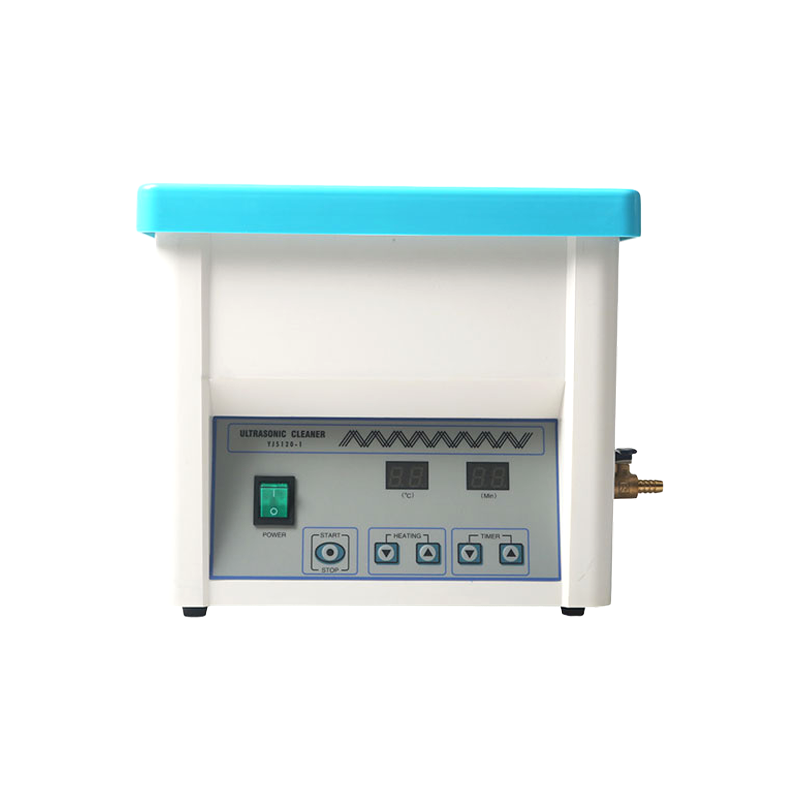
For the cleaning stage, complex instruments with hinges, grooves, or internal channels should go through an ultrasonic cleaner rather than relying on manual scrubbing alone. A bench-top unit such as the VORY ultra-sonic cleaner fits directly into a dental decontamination room and removes debris from areas that are otherwise unreachable.
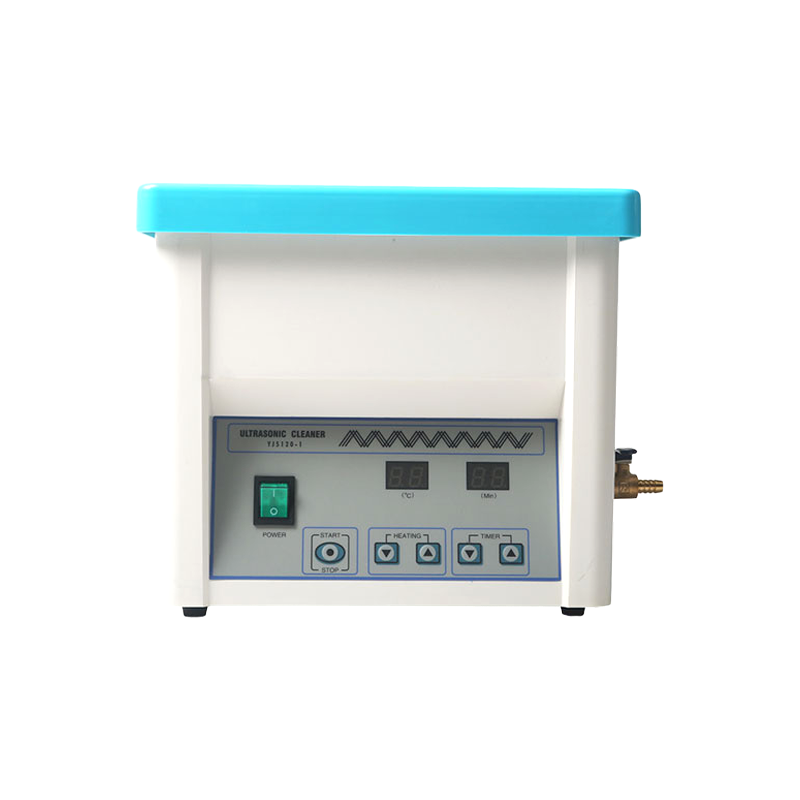 Wholesale Dental UltraSonic Cleaners Manufacturers, SuppliersNingbo Wanrui Medical Instrument is Wholesale Ultra Sonic Cleaners Manufacturers and Dental Ultrasonic Cleaning Machine Suppliers, UltraS...View Product →
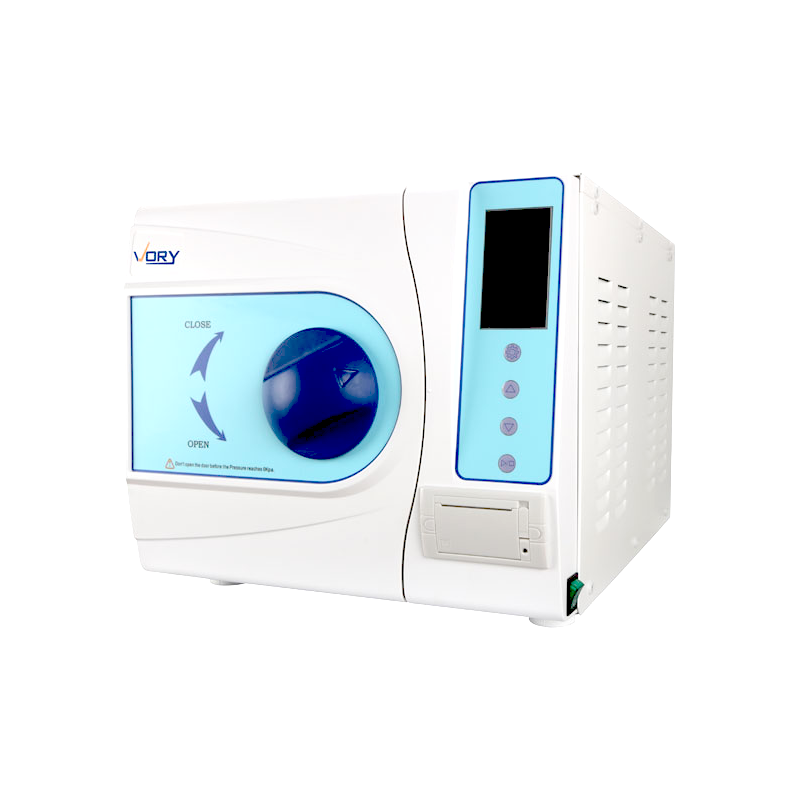
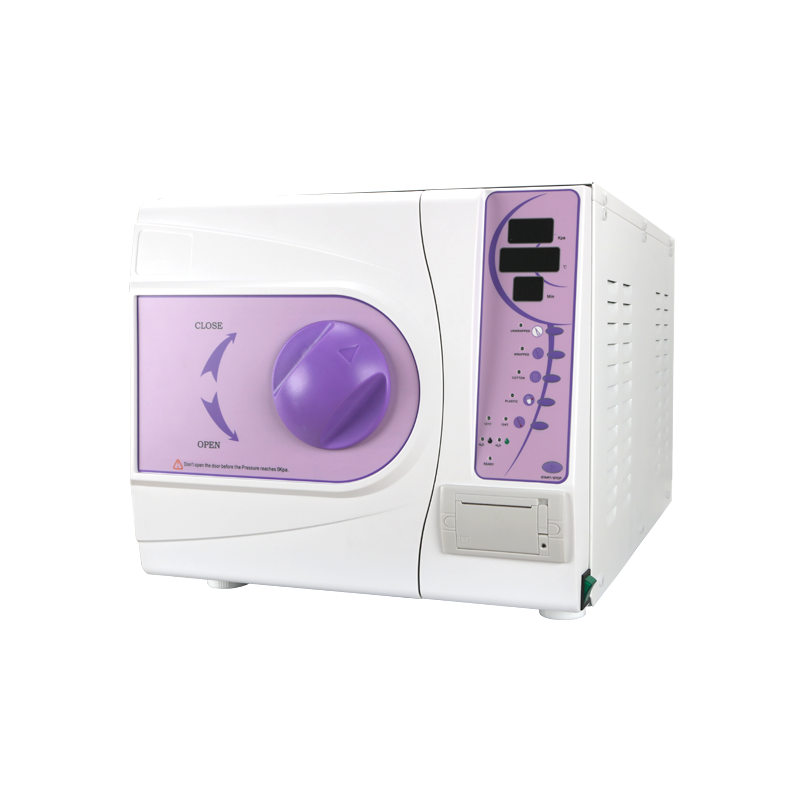
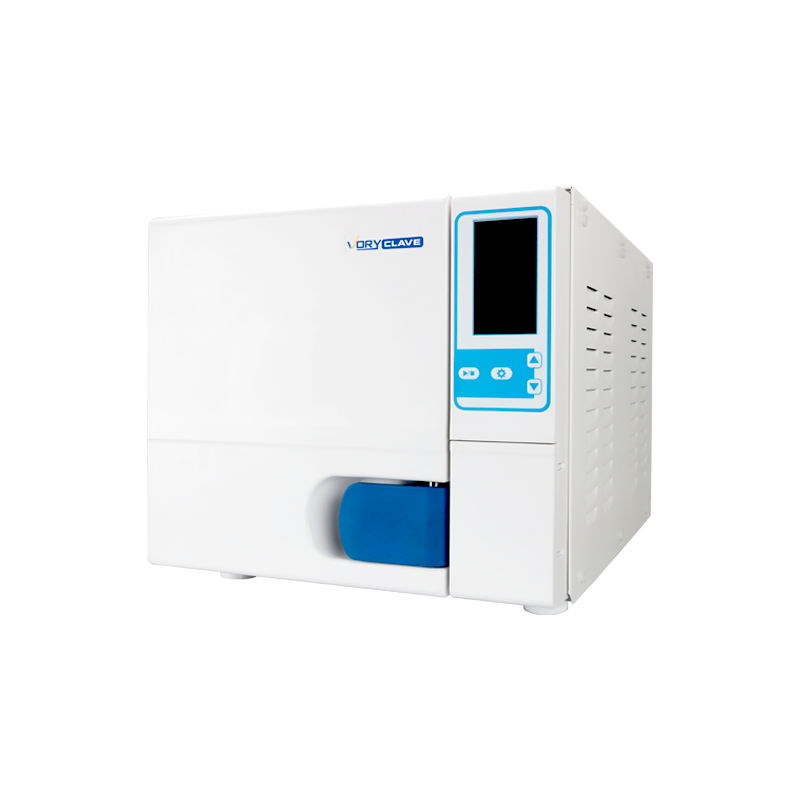
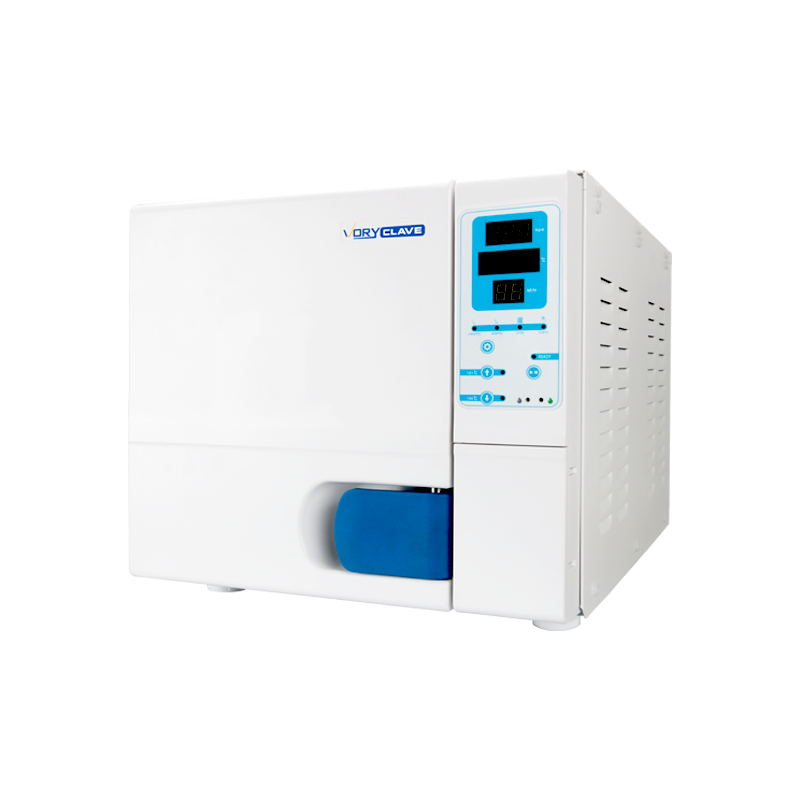
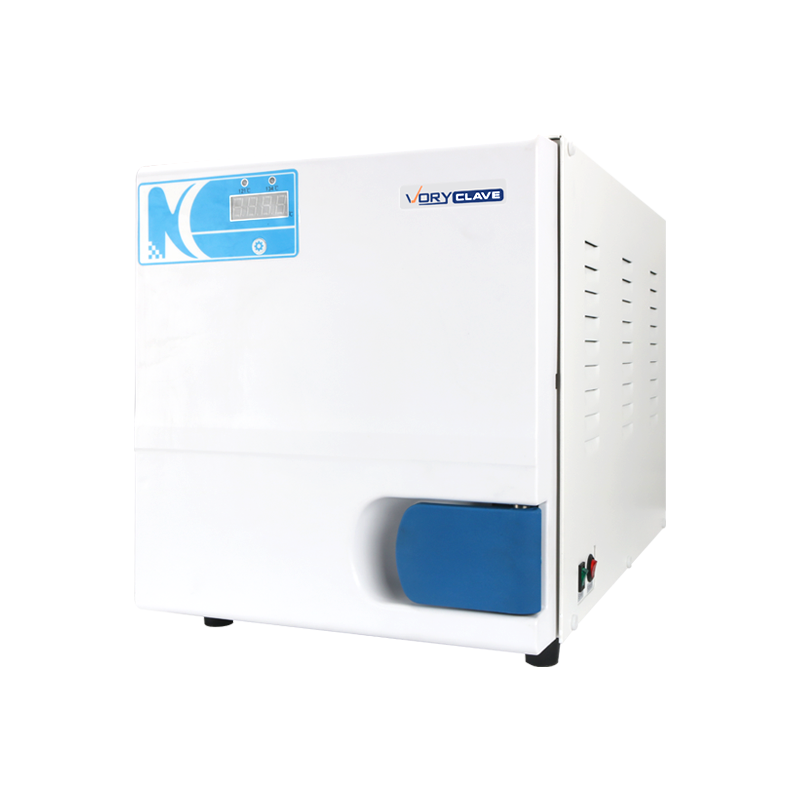
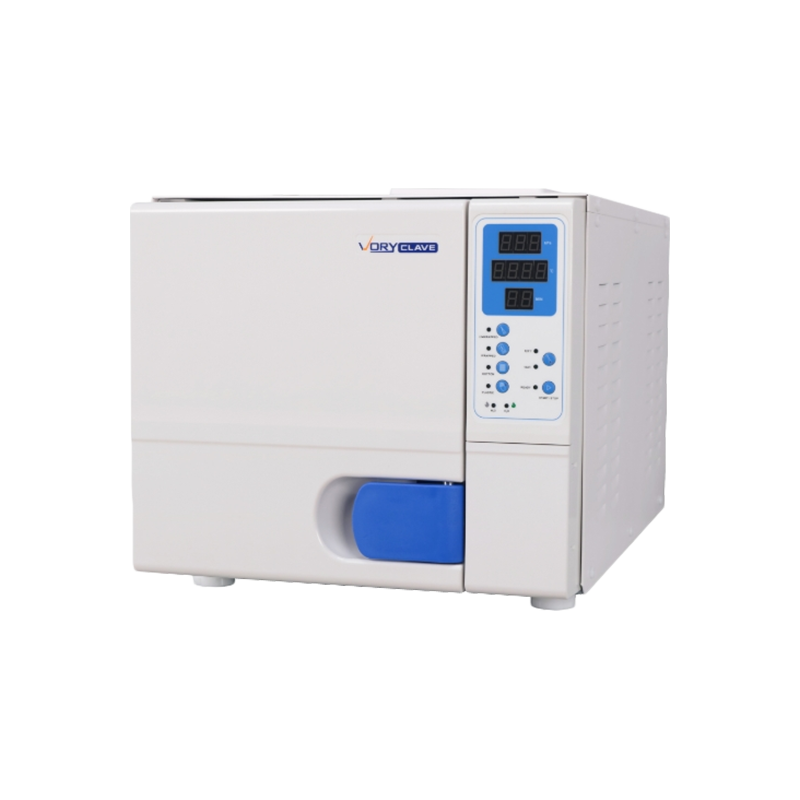
Sterilization capacity should match the busiest day of the week, not the quietest. If the autoclave is too small, staff will be tempted to overload it, which is one of the most common causes of failed cycles. A compact VORY tabletop autoclave is suitable for single-chair practices because it sits on a worktop and still leaves room for the ultrasonic cleaner and the sealing machine.
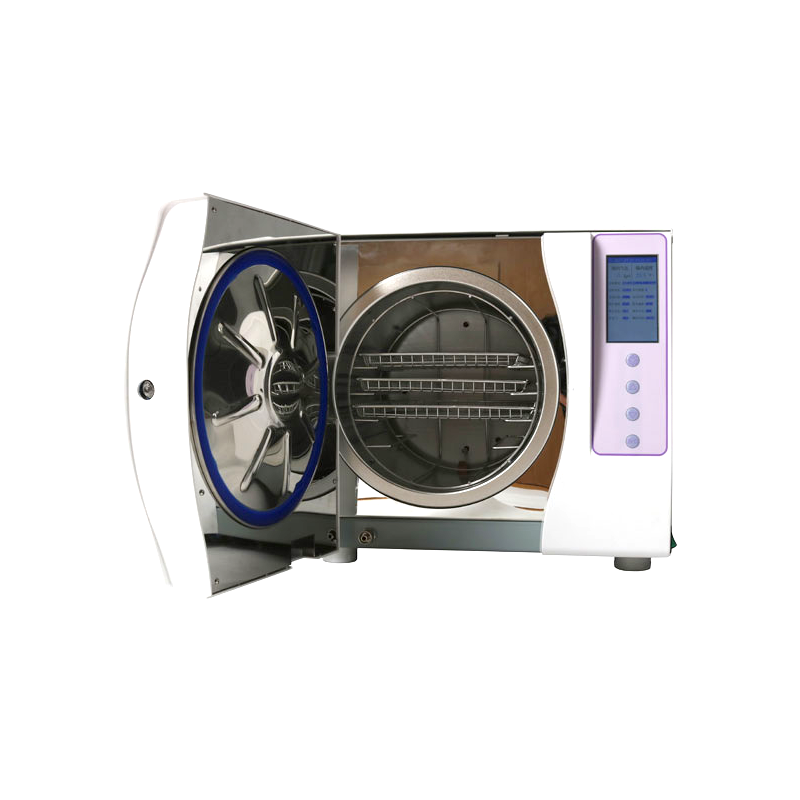 Custom LCD display model:vory-b-a Class B Autoclave Steam Sterilizer Suppliers, Ningbo Wanrui Medical Instrument Co., Ltd is China Custom LCD display model:vory-b-a Class B Autoclave Steam Sterilizer suppliers and OEM...View Product →
The daily reprocessing route is short but strictly ordered. Each step prepares the instrument for the next one, and skipping any stage increases the chance that a supposedly sterile instrument is still contaminated. Follow the sequence below in exactly this order, every time.
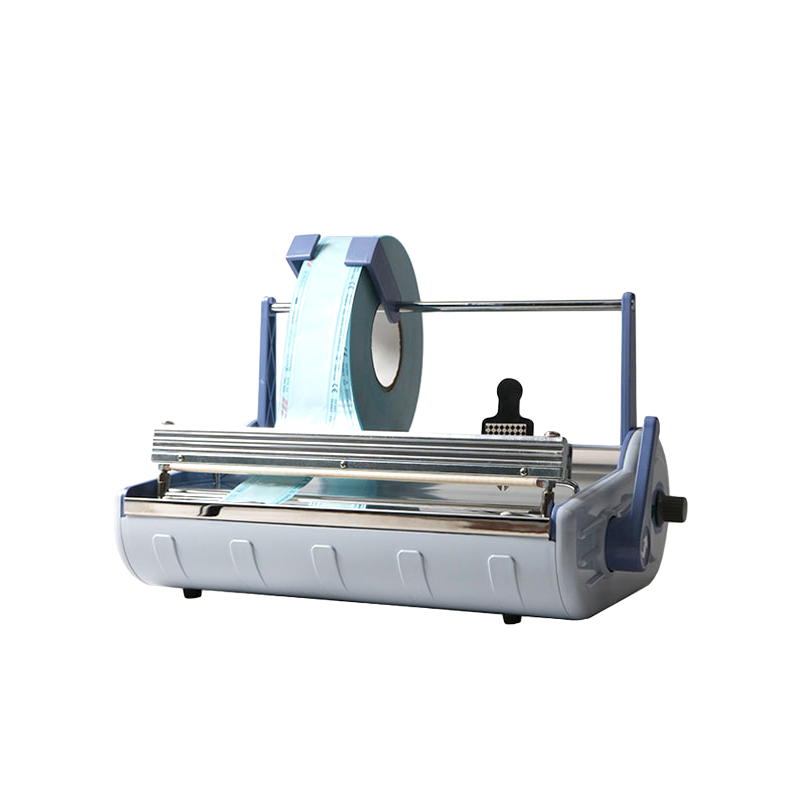
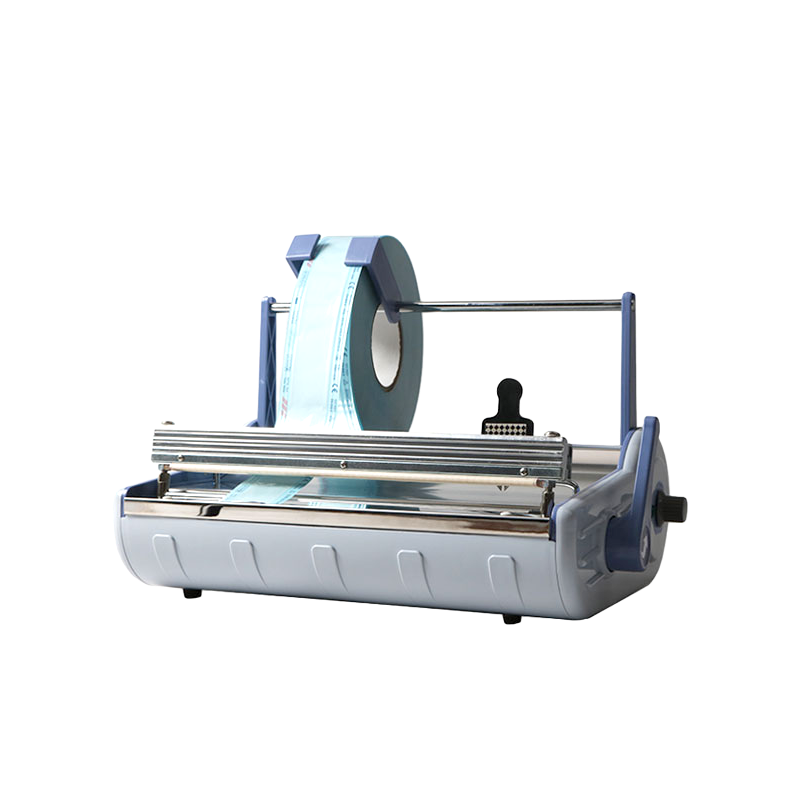 Sterilization Pouch Sealing Machine Manufacturers, SuppliersAs Dental Sterilization Pouch Sealing Machine Manufacturers and Suppliers, Ningbo Wanrui Medical Instrument offer Wholesale Sterilization...View Product → creates a continuous seal that keeps the contents sterile after the cycle.
The whole cycle should take less than an hour for a typical single-chair practice. If it takes longer, the bottleneck is usually capacity, not process speed, which means the room needs additional equipment rather than a change in routine.
The answer is determined by the instruments you actually process, not by the size of the room. If you sterilize only unwrapped solid instruments for immediate use, a Class N sterilizer is enough. If you sterilize wrapped packs, hollow instruments, or items with internal lumens, you need a Class B sterilizer, with Class S sitting in between as a cycle-defined middle option.
Class N sterilizers use gravity air removal: steam is introduced from the top and pushes air out through a drain at the bottom. This works on exposed, unwrapped solid surfaces because steam can reach every part of the instrument quickly. It does not reliably penetrate wrapped packs, porous materials, or narrow lumens, because trapped air blocks steam contact. Class B sterilizers add a vacuum pump that removes air before steam enters, which is why they are accepted for wrapped and complex loads.
| Feature | Class N | Class S | Class B |
|---|---|---|---|
| Wrapped packs | Not suitable | Depends on cycle definition | Suitable |
| Hollow and lumen instruments | Very limited | Per manufacturer instructions | Suitable with correct cycle |
| Air removal method | Gravity displacement | Cycle-defined | Fractionated pre-vacuum |
| Typical room use | Solid instruments, immediate use | Selected load types | Full reprocessing workflow |
| Drying | Limited | Per cycle | Vacuum-assisted drying |
Many single-operator practices choose Class N because their daily load consists mainly of solid hand instruments that are used again immediately or stored unwrapped. If your decontamination room processes pouches, you should look closely at the Class B option. The full comparison of Class B, N, and S sterilizers goes deeper into cycle behavior and load compatibility.
A practical way to start is by listing every instrument type used in the practice, noting which ones are wrapped, which ones have channels, and which ones are used immediately after sterilization. That list tells you the sterilizer class you need more reliably than any marketing claim.
When sterilization fails, the cause is almost never the autoclave alone. It is a combination of routine errors that each look harmless on their own but add up to a contaminated load. The seven mistakes below account for most reprocessing failures in dental decontamination rooms.
The pattern behind all seven mistakes is the same: the room is being treated as a collection of machines instead of a controlled process. When every step has a written routine and a clear owner, these errors become visible quickly.
A decontamination room fails slowly, through scale, dust, worn seals, and faded performance. The maintenance plan below is simple enough for a busy practice but structured enough to catch problems before they affect patients.
The full operating details for daily loading, cycle selection, and troubleshooting are covered in this guide to sterilizer use and maintenance. Keep a logbook in the room and record every check with the date and the name of the person who performed it. A written log turns a vague memory into a verifiable routine.
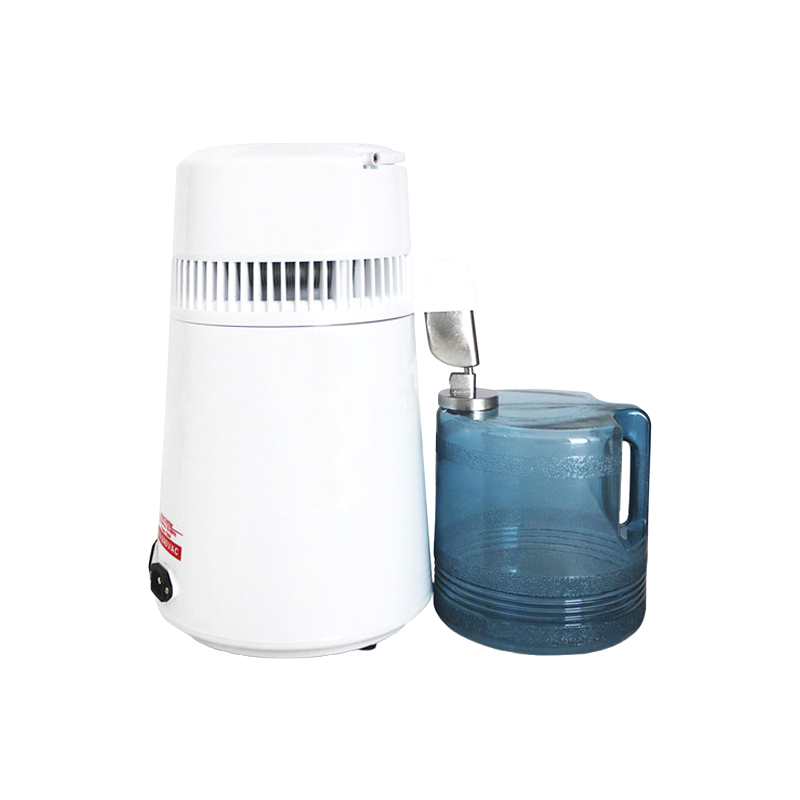
One maintenance detail deserves special attention: the water distiller. Scale from hard tap water is the most common reason autoclaves lose heating speed and produce incomplete cycles. If the distiller output is not being used for every fill of the ultrasonic cleaner and autoclave, the room is slowly working against itself.
Surface disinfection in the treatment room is meant for environmental surfaces, not for instrument reprocessing. Cleaning contaminated instruments beside a patient chair spreads aerosols and creates cross-traffic between clean and dirty items. A separate decontamination room contains the risk and gives the process a fixed home.
Planning guidance for a single-chair practice commonly points to about 6 m² of usable floor area. The important factor is not the total size but the arrangement: sink, ultrasonic cleaner, autoclave, sealing machine, and storage must each have a fixed position so the dirty-to-clean flow is never interrupted.
Class N is sufficient for unwrapped solid instruments that will be used immediately. If you sterilize wrapped pouches, hollow instruments, or items with internal channels, choose Class B. Class S is a middle option that works when its specific cycle matches the load type you process.
The ultrasonic cleaner removes debris from complex surfaces, but it does not replace the initial rinse and visual inspection. Gross soil should be rinsed off before ultrasonic cleaning, and instruments must be inspected afterward. The two steps work together rather than competing.
Replace the cleaning solution when it becomes visibly cloudy or soiled, and at minimum at the end of each working day. A degraded bath loses cavitation efficiency and can redeposit debris onto the instruments instead of removing it.
The usual reasons are overloading, incorrect packaging, a damaged door seal, tap water scale, or the wrong cycle for the load type. The machine can reach its display temperature while cold spots still exist inside the load. Consistent loading habits and routine maintenance prevent most of these failures before they occur.
If you have any question for the installation
or need support, please feel free to contact us.
86-15728040705
86-18957491906


