Content
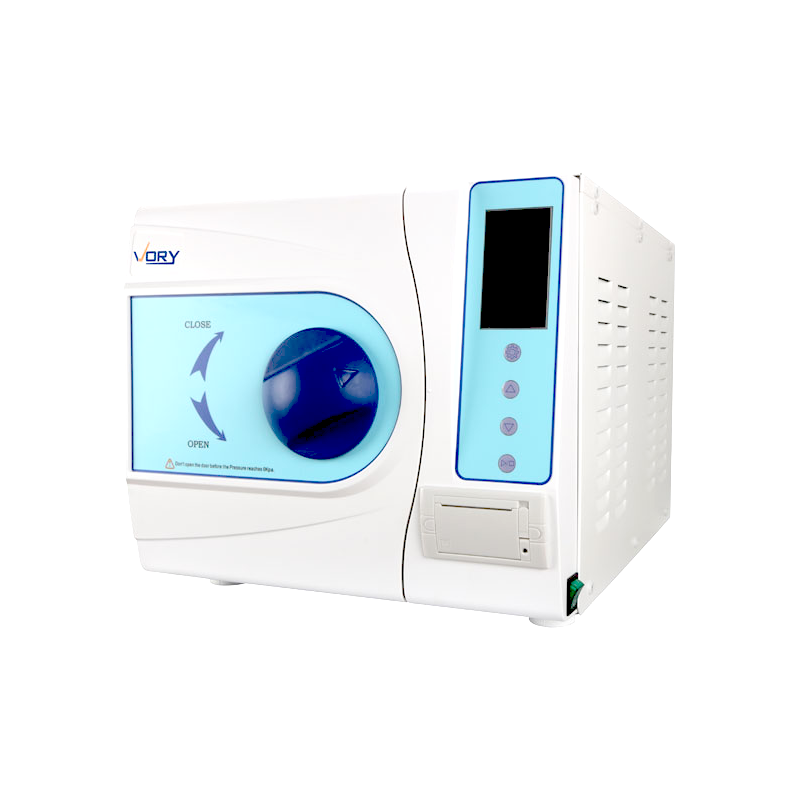
A dental autoclave sterilizer is a pressure chamber device that uses saturated steam under pressure to eliminate bacteria, viruses, fungi, and spores from dental instruments. In a typical cycle, the chamber reaches temperatures between 121°C and 134°C while internal pressure rises to roughly 15 to 30 psi, holding these conditions long enough to achieve complete microbial inactivation on handpieces, burs, mirrors, and other reusable tools. This process is the backbone of infection control in any dental office, and choosing the right unit directly affects patient safety, workflow speed, and instrument longevity.
Unlike chemical disinfection or dry heat, steam sterilization penetrates lumens and hinges efficiently because water vapor transfers heat far faster than hot air. Moist heat can kill resistant bacterial spores in under 20 minutes at 121°C, whereas dry heat may require over an hour at similar temperatures to achieve comparable microbial reduction. This efficiency is the primary reason autoclaves remain the standard tool in dental practices worldwide.
Every dental office handles a mix of instruments with very different geometries: solid mirrors, hinged forceps, narrow suction tips, and complex handpieces with internal air and water channels. A dental autoclave sterilizer has to be capable of reaching every one of these surfaces with steam, not just the outer shell of a wrapped pouch. This is why the internal engineering of the chamber, the air removal method, and the drying system matter just as much as the temperature reading on the display panel.
Understanding the internal process helps dental staff select the right cycle for each instrument load and troubleshoot issues quickly. Every steam sterilization cycle follows a similar sequence, though the exact timing depends on the class of autoclave and the load type.
Trapped air inside the chamber and inside hollow instruments blocks steam penetration, so the machine must remove it before heating begins. Gravity displacement units rely on steam pushing air downward and out through a drain, while fractionated vacuum units pull multiple vacuum pulses to strip air from even the narrowest cannulas and handpiece channels. Air pockets left behind by a weak removal system are one of the most common causes of failed sterilization indicators, so this early phase quietly determines the outcome of the entire cycle.
Once air has been displaced, the heating element raises water in the reservoir to steam, and the closed chamber allows pressure to build alongside temperature. This relationship between pressure and temperature is what allows steam to reach levels far above the normal 100°C boiling point at sea level. As pressure climbs toward the target range, sensors continuously compare the actual chamber conditions against the programmed set point.
Once the target temperature is reached, the unit holds this temperature for a fixed exposure time, commonly 4 minutes at 134°C or 15 to 20 minutes at 121°C, depending on the load and the sterilizer's programmed cycle. This holding period is the actual microbial kill phase, and shortening it, even by accident through a power interruption, can compromise the entire load.
After the holding time completes, pressure is released gradually rather than all at once. A rapid pressure drop can cause liquids inside sealed containers to boil violently or damage delicate wrapped items, so most dental autoclave sterilizers use a controlled exhaust valve that lowers pressure over a set period before the drying phase begins.
Residual moisture on instruments can promote corrosion and compromise packaging integrity, so the final phase uses vacuum-assisted drying or slow depressurization to evaporate condensation before the door unlocks. Well-dried loads are essential for maintaining sterile barrier packaging until the moment of clinical use, and most manufacturers recommend a minimum drying time of 10 to 20 minutes for wrapped loads.
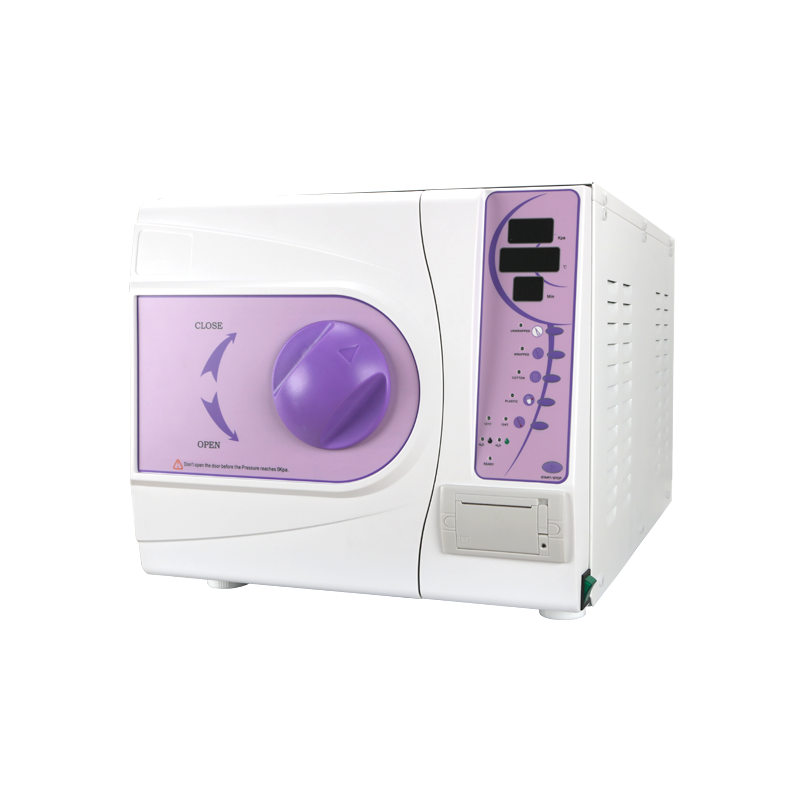
Dental sterilizers are commonly grouped by cycle capability rather than by brand, and understanding these categories helps a clinic match equipment to its instrument mix.
In practical terms, a general dentistry office that only cleans solid instruments such as mirrors, explorers, and basic hand tools can often operate efficiently with a Type N or Type S machine. However, any practice performing endodontic, surgical, or implant work with handpieces, files, and narrow-lumen devices should plan around a Type B sterilizer, since these procedures rely heavily on hollow instruments that require vacuum-assisted steam penetration.
| Cycle Type | Air Removal Method | Suitable Loads | Typical Cycle Time |
|---|---|---|---|
| Type N | Gravity displacement | Solid unwrapped instruments | 15 to 30 minutes |
| Type S | Manufacturer defined | Specific mixed loads | 20 to 35 minutes |
| Type B | Fractionated vacuum | Wrapped, porous, hollow loads | 30 to 60 minutes |
Chamber size is one of the most practical decisions a clinic makes when selecting a dental autoclave sterilizer. Small single-chair practices often operate comfortably with an 18-liter chamber, processing four to six trays per cycle. Multi-chair clinics with higher patient turnover frequently choose 22-liter or larger chambers to reduce the number of cycles needed per day.
A useful planning method is to count the average number of instrument trays used per day, then divide by the tray capacity of a single load. For example, a practice running 30 trays daily with a sterilizer that holds 5 trays per cycle and a 35-minute cycle time would need roughly six cycles, consuming about three and a half hours of total sterilization time, which should be planned around patient scheduling to avoid instrument shortages during peak hours.
It also helps to consider peak-hour demand rather than just the daily average. A practice that sees most of its patients between 9am and 1pm needs enough sterilized instrument sets ready before that window opens, since running a sterilizer mid-morning to catch up can create bottlenecks at the chairside. Many clinics solve this by keeping a rotating buffer of two to three extra tray sets beyond their calculated minimum, which absorbs unexpected schedule changes without delaying patient care.
Larger clinics sometimes install two smaller sterilizers instead of one large unit. This approach allows one chamber to run a cycle while the other is being loaded or unloaded, effectively doubling throughput without requiring a single oversized chamber that takes longer to heat and cool between cycles.
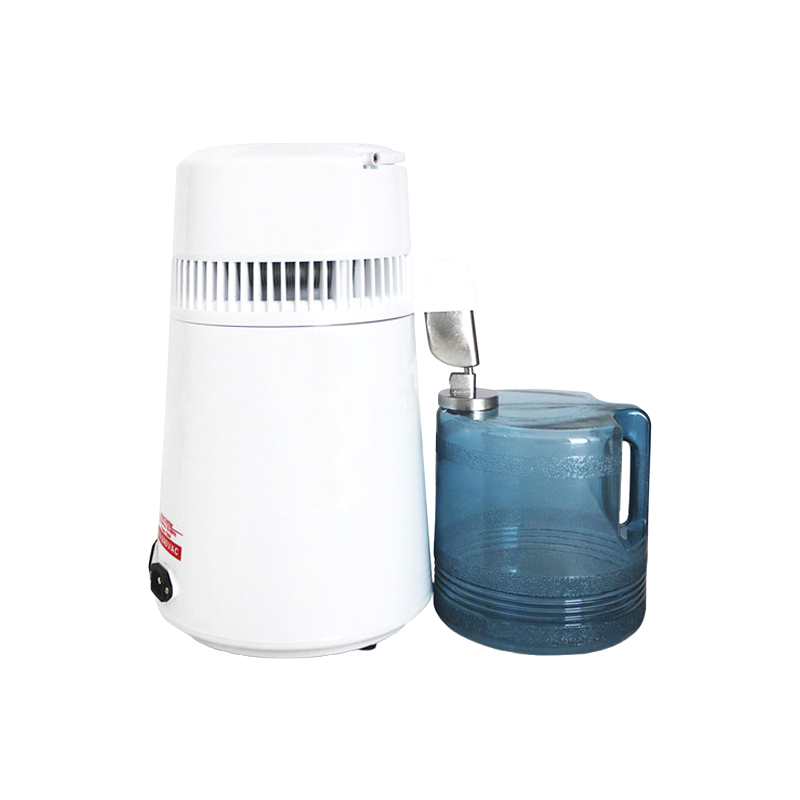
Water quality has a direct impact on both sterilization effectiveness and equipment lifespan. Tap water contains minerals that leave scale deposits on heating elements and chamber walls, gradually reducing heat transfer efficiency and increasing energy consumption. Most manufacturers recommend distilled or demineralized water with a conductivity below 15 microsiemens per centimeter to minimize this buildup.
Clinics that skip proper water filtration often report chamber discoloration and clogged solenoid valves within six to twelve months of daily use, based on field service patterns commonly documented by dental equipment technicians. Installing a simple reverse osmosis or deionization cartridge before the water reservoir substantially extends the service interval between deep cleanings.
Cloudy chamber walls, white powdery residue on trays after a cycle, and unusually long heating times are all early warning signs that mineral content in the feed water is too high. Addressing this early, either by switching water sources or adding a filtration cartridge, is far less costly than replacing a heating element damaged by prolonged scale buildup.
Even distilled water sitting in a reservoir for extended periods can pick up dissolved gases and minor contamination from the tank itself. Many operators change reservoir water every one to two weeks in high-use settings, or whenever the water appears discolored, to keep chamber conditions consistent across every cycle.
Routine maintenance prevents the majority of sterilizer breakdowns. The table below outlines a practical schedule that many dental practices follow to keep cycle results consistent and reduce unplanned downtime.
| Frequency | Task | Purpose |
|---|---|---|
| Daily | Wipe door gasket and chamber interior | Prevents residue buildup and gasket wear |
| Weekly | Clean the drain filter screen | Maintains proper drainage and pressure release |
| Monthly | Inspect door seal and hinge alignment | Prevents steam leaks during pressurization |
| Quarterly | Descale chamber and reservoir | Removes mineral scale from hard or poor quality water |
| Annually | Full technician inspection of valves and sensors | Confirms calibration accuracy and long term reliability |
Keeping a written or digital maintenance log next to the sterilizer helps staff track when each task was last completed. This is especially useful in busy clinics where several team members share sterilization duties, since a shared log prevents tasks from being skipped simply because everyone assumed someone else handled it.
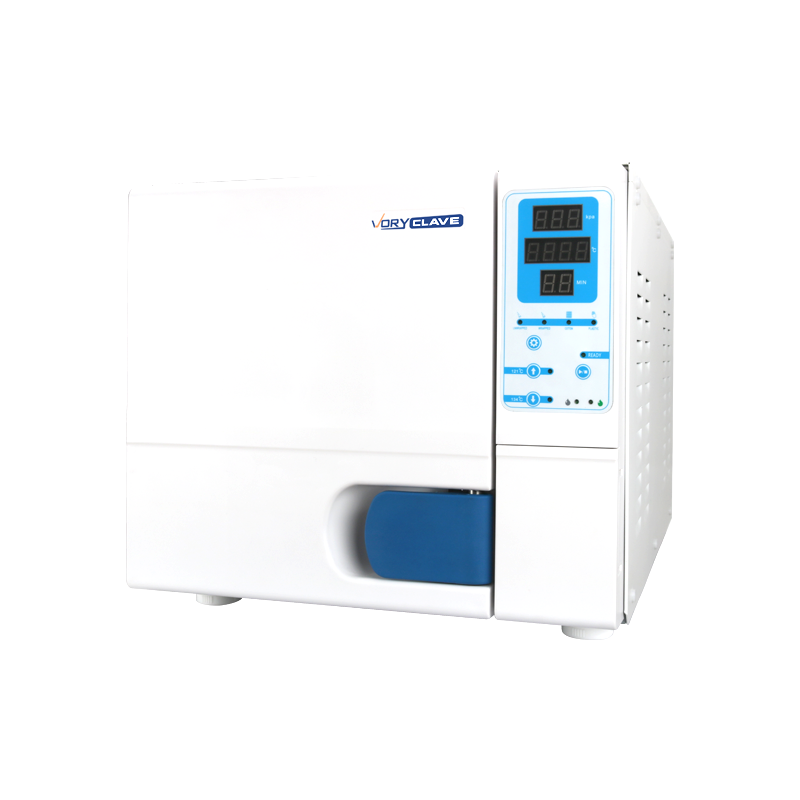
Damp packs after a completed cycle usually point to overloaded trays blocking airflow, a worn door gasket letting in ambient moisture, or an insufficient drying phase setting. Spacing instruments so steam and dry air can circulate freely around each pouch resolves most cases.
If the chamber struggles to reach target pressure, check the door seal for cracks, confirm the water reservoir is filled, and verify the heating element is not coated in scale. A pressure sensor fault is also possible if the issue persists after these checks, and in that case a qualified technician should inspect the unit.
A rattling or knocking sound often comes from loose tray racks or mineral deposits vibrating inside the steam generator. Removing and reseating the tray rack, followed by a descaling cycle, typically eliminates the noise.
Sudden cycle interruptions are frequently caused by voltage fluctuations, an overfilled or underfilled reservoir, or a door that did not latch fully before the start button was pressed. Recording the exact error code displayed and checking it against the manufacturer's manual before restarting the cycle helps avoid repeated failures and unnecessary instrument reprocessing.
A gradual increase in the time it takes to reach sterilization temperature is one of the earliest signs of scale buildup on the heating element. Tracking cycle duration over several weeks and comparing it to the manufacturer's baseline figures can flag this issue before it leads to a complete heating failure.
Proper loading directly affects sterilization quality because overcrowded chambers block steam penetration into the center of a pack. Following a consistent loading routine improves both safety and cycle efficiency.
Self-sealing sterilization pouches with paper on one side and clear film on the other allow steam to pass through the paper while letting staff visually confirm the sterilization indicator strip changes color after processing. Mixing incompatible packaging materials, such as plastic wrap not rated for steam sterilization, can trap moisture and prevent proper drying, so it is worth confirming that all packaging used is specifically labeled for steam autoclave use.
Running a cycle is not the same as confirming it worked. Dental practices typically layer three types of monitoring to verify that sterilization conditions were actually achieved throughout the load.
Printed on pouches or placed as separate strips, these indicators change color when exposed to specific temperature and time thresholds. They provide immediate visual feedback but only confirm that conditions were met at the indicator's exact location, not throughout the entire pack.
These contain a controlled sample of highly resistant bacterial spores and are the gold standard for confirming that a cycle achieved true sterilization. After running through the autoclave alongside a normal load, the indicator is incubated, and no growth confirms the cycle was effective. Many dental associations recommend running a biological indicator test at least once a week.
This involves reviewing the printed or digital cycle record from the sterilizer itself, checking that temperature, pressure, and time all matched the programmed parameters for the entire duration of the cycle. Many newer units store this data automatically, making it easy to review past cycles if a question arises about a specific instrument set.
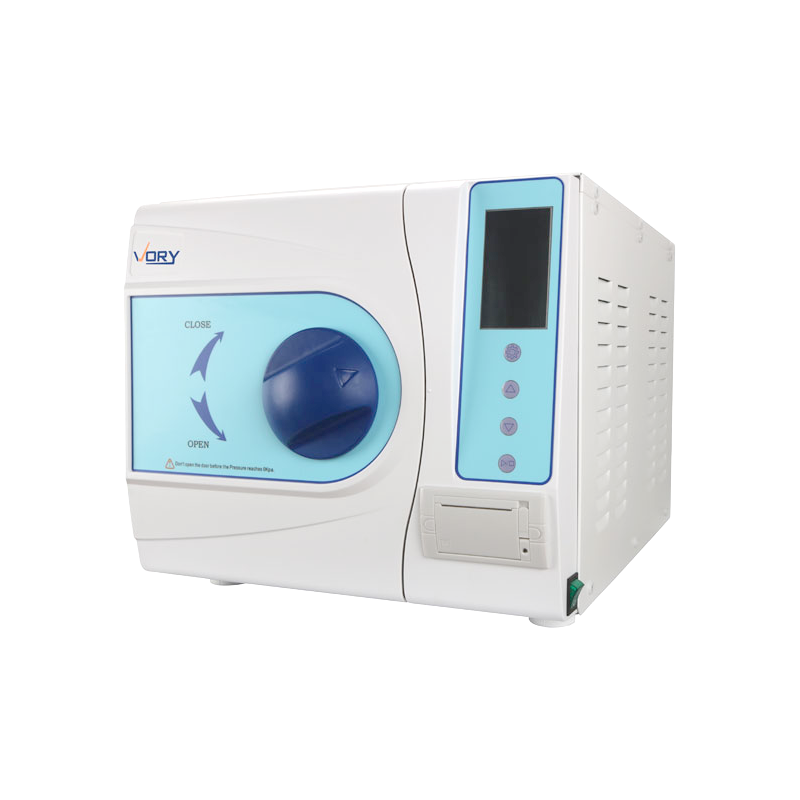
A well maintained dental autoclave sterilizer can remain in reliable daily service for eight to twelve years, though this range varies based on usage intensity, water quality, and how consistently maintenance tasks are performed. Practices running multiple cycles daily place more wear on seals, valves, and heating elements than those with lighter usage patterns.
Beyond routine cleaning, allowing the chamber to cool fully between cycles rather than immediately reloading a hot chamber reduces thermal stress on internal components. Similarly, avoiding sudden door slamming and ensuring the gasket is never pinched during loading both contribute to a longer functional lifespan for the sealing system, which is typically one of the first components to require replacement.
If a unit begins requiring frequent seal replacements, shows persistent heating inconsistencies despite regular descaling, or if replacement parts become difficult to source for an older model, many practices find that upgrading to a newer unit is more cost effective than continuing repeated repairs, particularly when newer models also offer faster cycle times and lower water consumption.
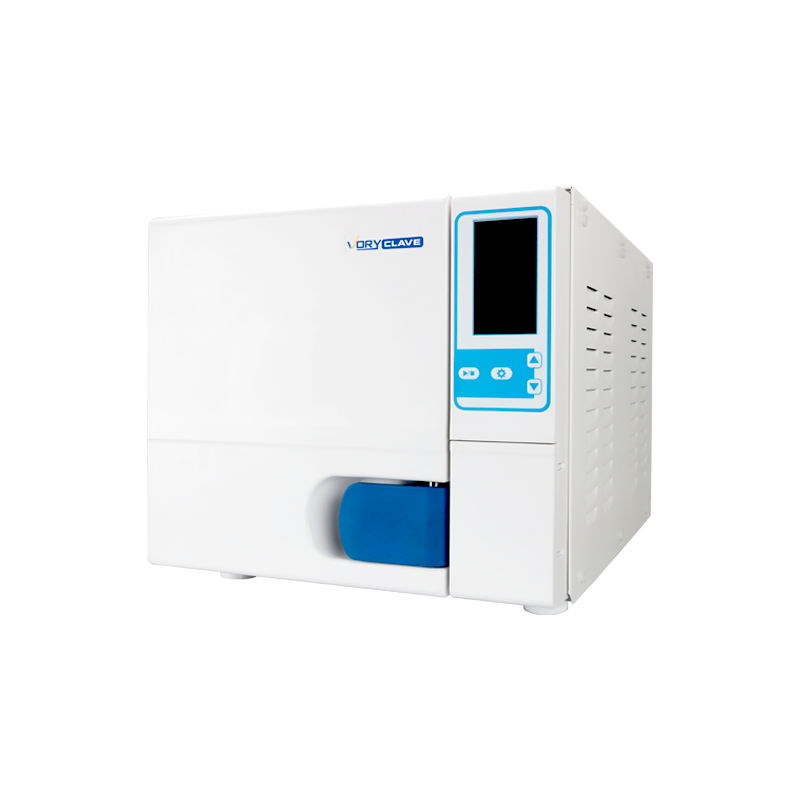
Newer dental autoclave sterilizer models increasingly include touchscreen interfaces that display real time chamber temperature and pressure graphs, letting staff visually confirm each cycle without relying solely on printed logs. Built-in USB or network data logging is also becoming common, allowing practices to store cycle records digitally rather than on paper.
Another notable shift is the adoption of self-diagnostic sensors that alert staff before a component fails, such as an early warning when a heating element's resistance drifts outside its normal operating range. These predictive alerts can reduce unexpected downtime by allowing parts replacement during scheduled maintenance windows instead of emergency repairs. Water-saving designs have also progressed, with some newer chambers recycling condensate water between cycles to lower daily water consumption by a noticeable margin compared to older models.
Some manufacturers now offer rapid cycle programs specifically designed for single unwrapped instruments needed urgently between patients, completing a full sterilize and dry cycle in as little as 15 to 20 minutes. These rapid programs are generally intended for solid, unwrapped items rather than full wrapped loads or handpieces, so practices should confirm the manufacturer's guidance before applying a rapid cycle to more complex instruments.
Wireless connectivity now allows some sterilizers to send cycle completion alerts directly to a staff member's phone or computer, which is particularly useful in larger clinics where the sterilization room is not within constant view of the front desk or treatment areas.
The sterilizer itself is only one part of an effective instrument processing workflow. Organizing the physical space around clear, one-directional flow, from a dirty instrument receiving area, through cleaning and packaging, into the sterilizer, and finally to a clean storage zone, reduces the chance of cross-contamination between processed and unprocessed instruments.
| Stage | Main Activity | Key Consideration |
|---|---|---|
| Receiving | Collect used instruments from treatment rooms | Use puncture resistant transport containers |
| Cleaning | Ultrasonic or manual scrubbing to remove debris | Debris left on instruments can shield microbes from steam |
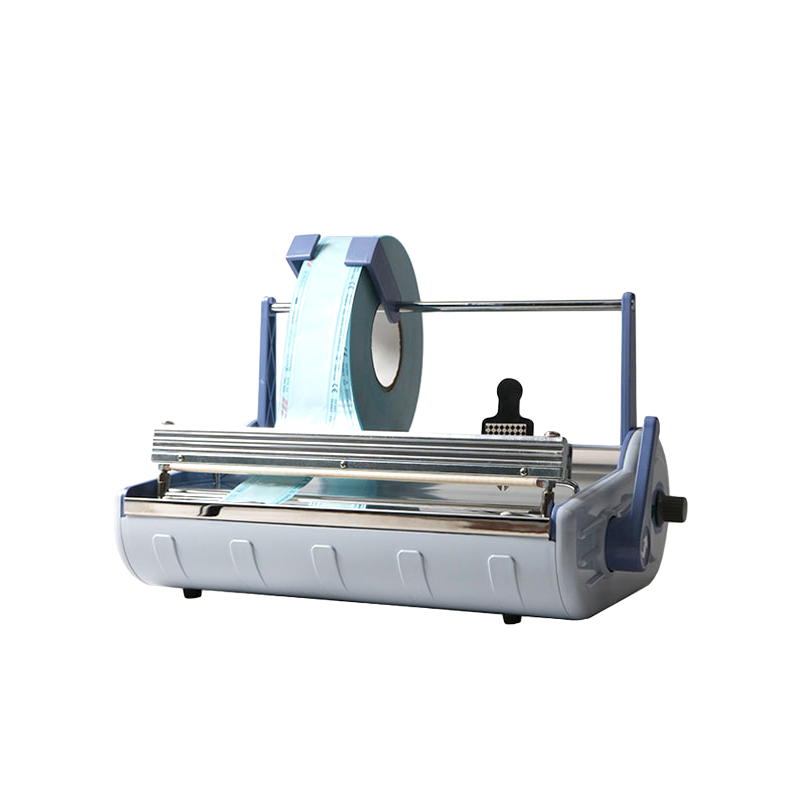
| Packaging | Place dried instruments into pouches or wraps | Label pouches with the date and cycle number |
| Sterilization | Run the autoclave cycle appropriate to the load | Match cycle type to instrument category |
| Storage | Store sterilized pouches in a clean, dry cabinet | Rotate stock so older sterilized sets are used first |
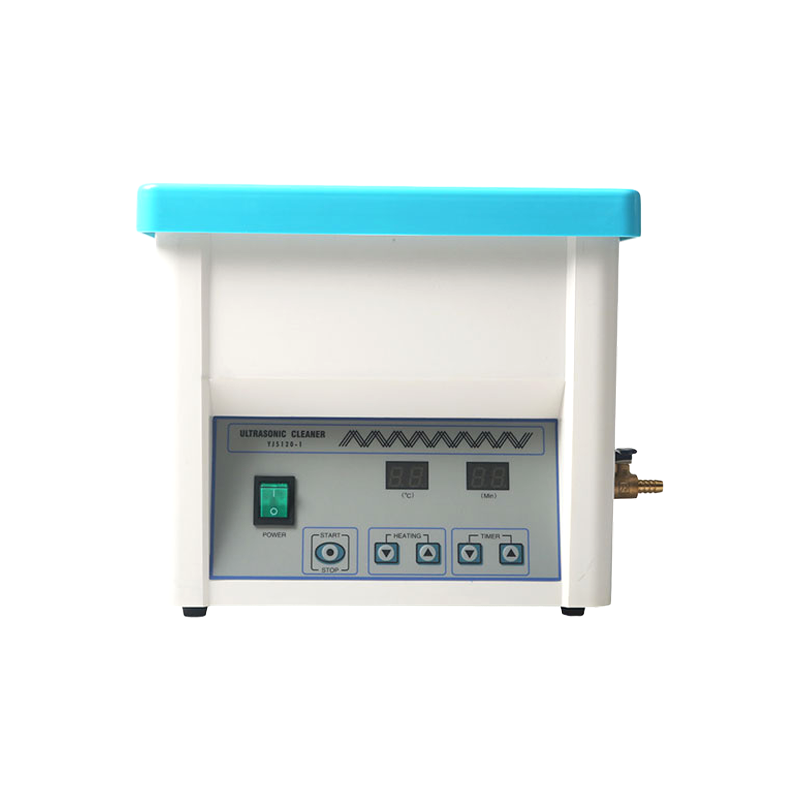
Ultrasonic cleaning prior to sterilization deserves particular attention, since any organic debris left on an instrument can insulate microorganisms from direct steam contact, effectively protecting them from the sterilization process. A thorough rinse and inspection under adequate lighting before packaging helps catch residue that might otherwise be missed.
Even with a properly functioning dental autoclave sterilizer, human error during preparation or operation can undermine the entire process. Recognizing these patterns helps clinics build better habits into their daily routine.
Most cycles run between 20 and 60 minutes including heating, holding, and drying phases, with the exact duration depending on the instrument load and the sterilizer's cycle type.
Hollow-bodied handpieces require a fractionated vacuum cycle to ensure steam reaches internal channels, so a Type B sterilizer is generally recommended for this instrument category.
Wet packs usually result from overloading the chamber, a worn door seal, or a drying phase that is too short for the load size, and adjusting the load spacing often resolves the issue.
A quarterly descaling schedule works well for most practices using demineralized water, though clinics using harder water sources may need to descale more frequently to avoid scale buildup on heating elements.
An 18-liter chamber typically covers the daily instrument volume of a single-chair practice, while clinics with multiple chairs or high patient turnover often benefit from a 22-liter or larger unit to reduce the number of cycles needed each day.
Weekly biological indicator testing is a common baseline for general dental practices, though clinics performing surgical or implant procedures often test more frequently to maintain a higher level of process verification.
Distilled or demineralized water is strongly recommended over tap water because it prevents the mineral scale buildup that shortens heating element lifespan and reduces sterilization efficiency over time.
Most units are designed for repeated daily cycles, but allowing brief cool-down periods between back-to-back loads reduces thermal stress on seals and components, supporting a longer overall service life.
If you have any question for the installation
or need support, please feel free to contact us.
86-15728040705
86-18957491906

 English
 عربى
عربى

