
 English
 عربى
عربىIndustry News
Home / News / Industry News / How to Sterilize Dental Handpieces Effectively: Complete Guide for Clinics
Content
To sterilize dental handpieces effectively, you must follow the same order every time: flush, disassemble, clean, lubricate, purge, pouch, and autoclave. The autoclave cycle is the only step that actually sterilizes, but the steps before it decide whether steam can reach every internal surface. If any step is skipped, the next step cannot make the handpiece safe.
If you skip lubrication because you are short on time, you are not making the handpiece safer. You are more likely to damage a turbine that has been cleaned but not protected.
A handpiece can look clean and still contain organic material in its internal air and water channels. High-speed dental handpieces are not solid metal blocks. They contain narrow lumens, bearings, and turbines that can trap debris. Steam must contact every surface to achieve sterilization, and a smooth exterior tells you nothing about the condition inside.
When waterline biofilm forms inside a handpiece, it can resist simple rinsing. Flushing at the chair removes bulk debris, but it does not remove layers of biofilm from deep inside the turbine. That is why flushing alone is not a sterilizing step. It is a preparation step that gives the sterilizer a real chance to work.
Even a powerful autoclave cannot sterilize what it cannot reach. Oil, hardened debris, and trapped air can physically block steam. A sealed pouch that is too crowded can also leave air pockets around the handpiece. The conclusion is simple: the performance of your autoclave is limited by the quality of preparation before the cycle starts.
The cleaning phase is not optional. It is a mechanical removal step that protects both the patient and the handpiece. The goal is to remove proteins, blood, saliva, and polishing debris before heat locks them onto the instrument.
After removing the bur, activate the handpiece with water and air into a covered container for at least 20-30 seconds. The point is not to sanitize. The point is to push loose material out of the internal channels so that the steam cycle does not have to penetrate a plug of debris. If the practice is busy, set a timer or make 30 seconds a standard habit.
Do not submerge a dental handpiece in water, disinfectant, or ultrasonic solution unless the manufacturer specifically allows it. Many high-speed handpieces have bearings and seals that are not built for immersion. Instead, use a soft brush or lint-free wipe to remove visible debris, and use a cotton swab for tight crevices. This keeps water out of the turbine while still removing contamination from the housing.
Some low-speed components separate into multiple parts, while most high-speed handpieces need less disassembly. Forcing a part apart can misalign the latch or damage internal connections. The manual for your specific model is the only reliable guide for how far to break the instrument down.
Lubrication is not a maintenance extra. It is part of the sterilization workflow because the lubricant forms a protective film during the hot steam cycle. A handpiece that enters the autoclave dry is more likely to wear out after a small number of cycles.
Use the spray specified by the handpiece manufacturer. Many dental handpieces need a short burst at the lubrication port, while others need two bursts. Too little oil leads to worn bearings and overheating. Too much oil creates excess residue that can bake onto the interior during the steam cycle. The manual should tell you exactly which product and how much to use.
After lubricating, connect the handpiece to air and run it briefly to push excess oil out of the head. If you skip this purge, extra oil can gather inside the pouch and leave droplets on the sterilized instrument. That creates a poor appearance, can smear during the next use, and may interfere with the patient's perception of cleanliness.
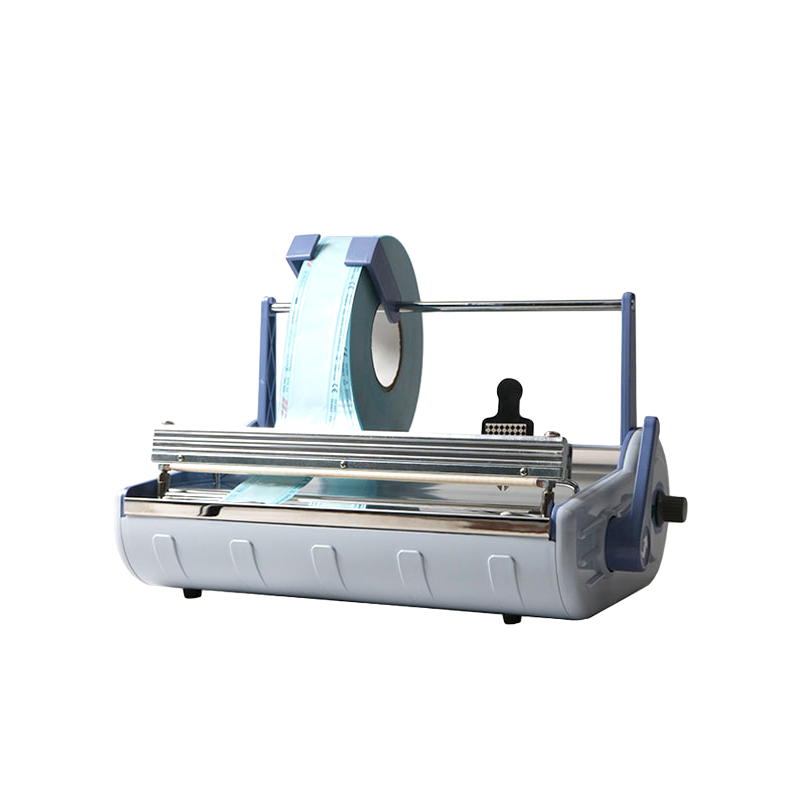
A loose handpiece in the autoclave chamber can touch the wall, contact another instrument, or sit at an angle that traps air. A sealed pouch protects the handpiece after sterilization and keeps it clean until the next patient. The pouch is not just a wrapper; it is part of the sterilizing system.
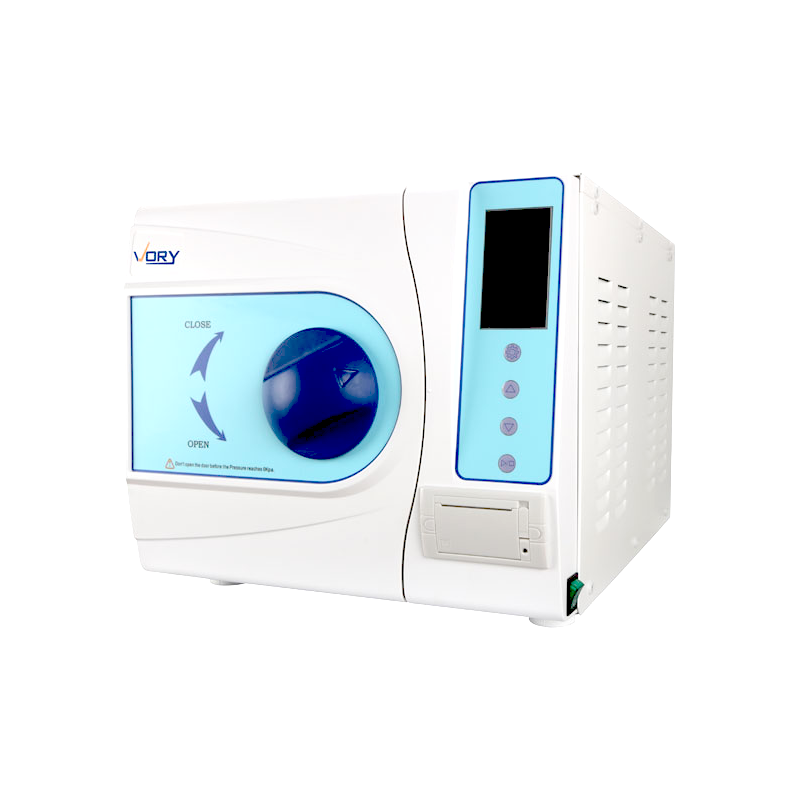
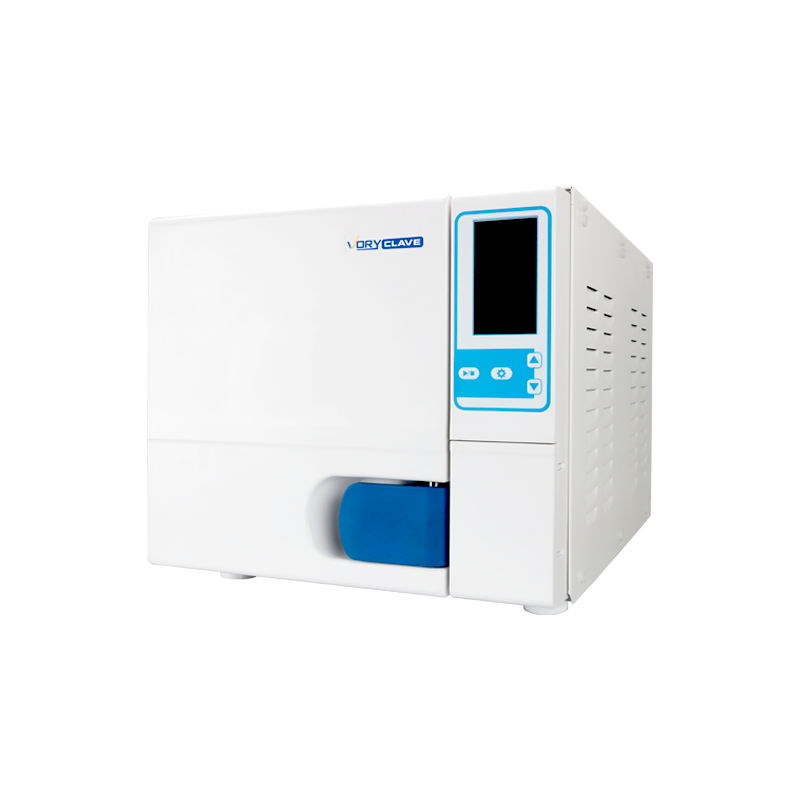
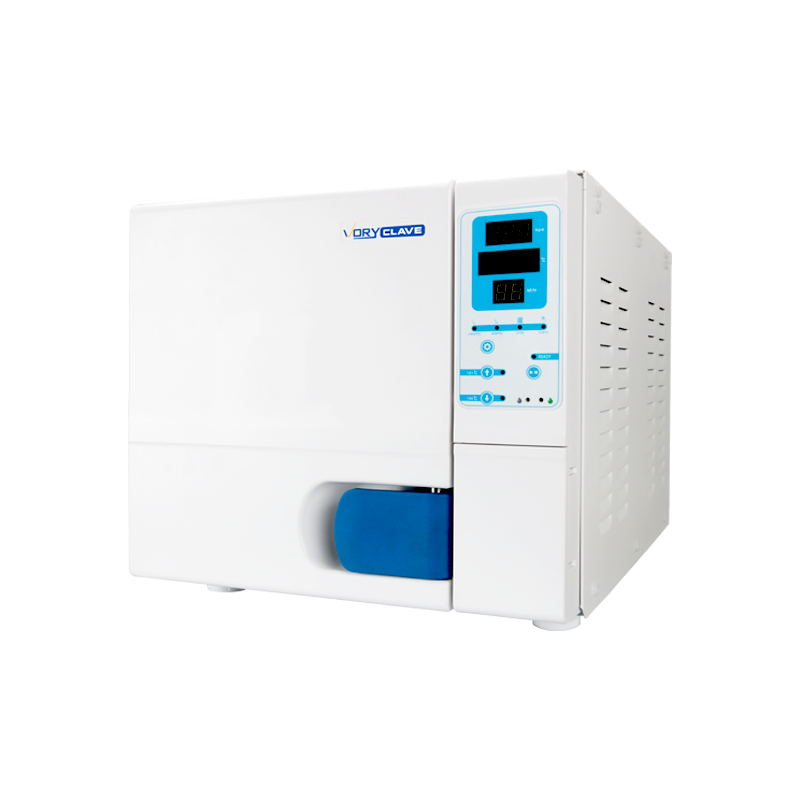
Even a compact chamber, such as the VORYBC tabletop autoclave, can handle a full day's handpiece rotation when pouches are loaded flat and spaced apart.
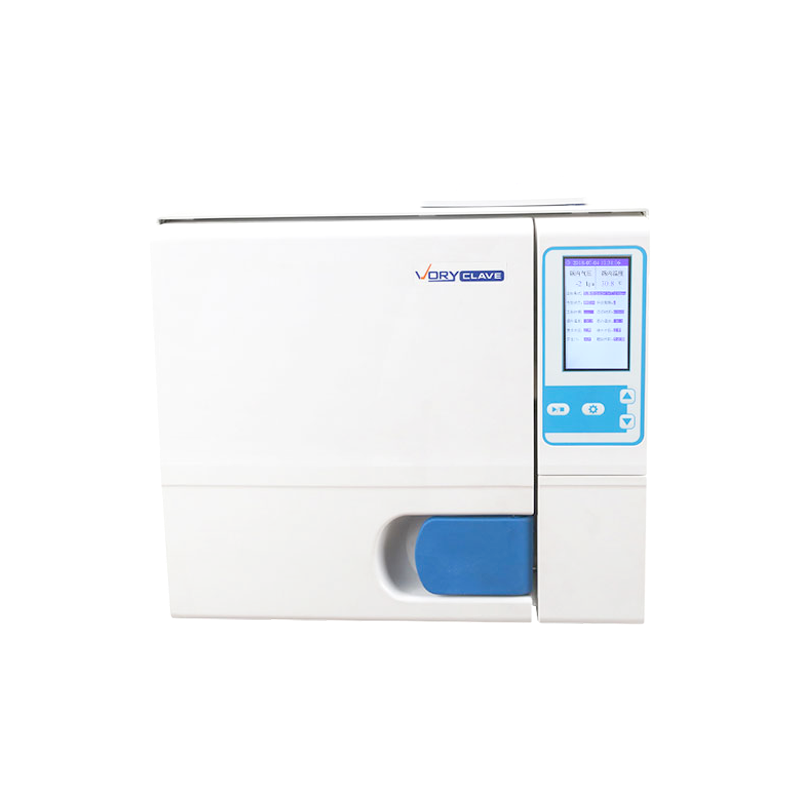 Custom LCD display model:vory-b-c Class B Dental Instruments Sterilizer SupplierNingbo Wanrui Medical Instrument Co., Ltd is China Custom LCD display model:vory-b-c Class B Dental Instruments Sterilizer suppliers and ...View Product →
For wrapped handpieces with internal lumens, a dynamic air-removal cycle is the safest option. If your clinic only has a gravity-displacement unit, you can still use it only when the handpiece manual confirms compatibility. The machine's cycle name matters less than the handpiece manufacturer's explicit instruction.
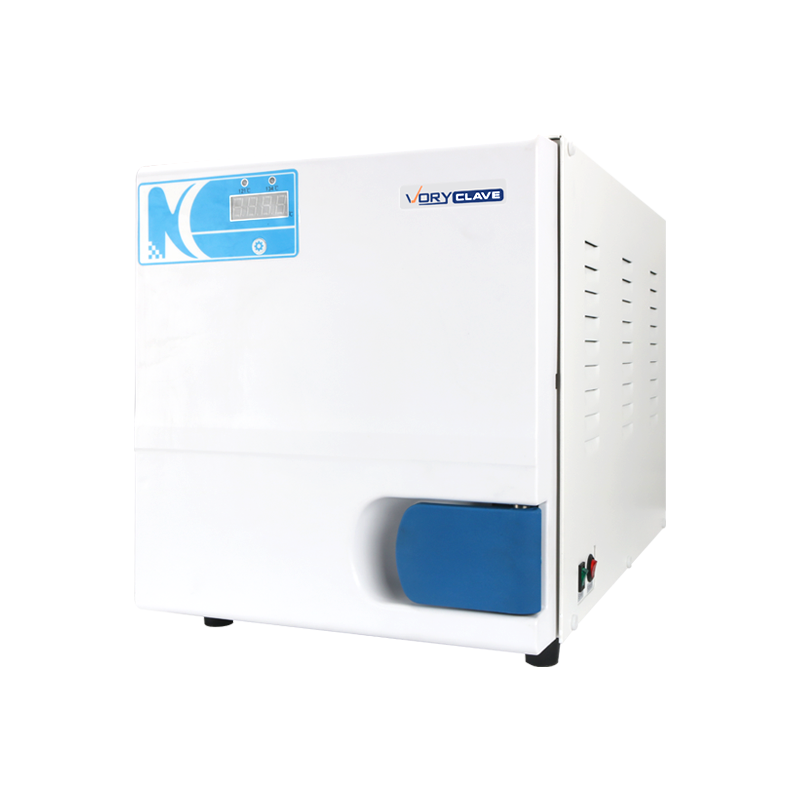
Class N sterilizers use gravity-displacement steam. They work best for unwrapped, solid, non-lumened instruments. A handpiece is a lumened device, so the manual becomes the deciding document. If the manual does not mention a Class N cycle, do not assume the instrument is safe. For clinics that mainly process unwrapped solid instruments, the VORYNF Class N autoclave is a compact option, but it is not a substitute for a handpiece-specific validated cycle.
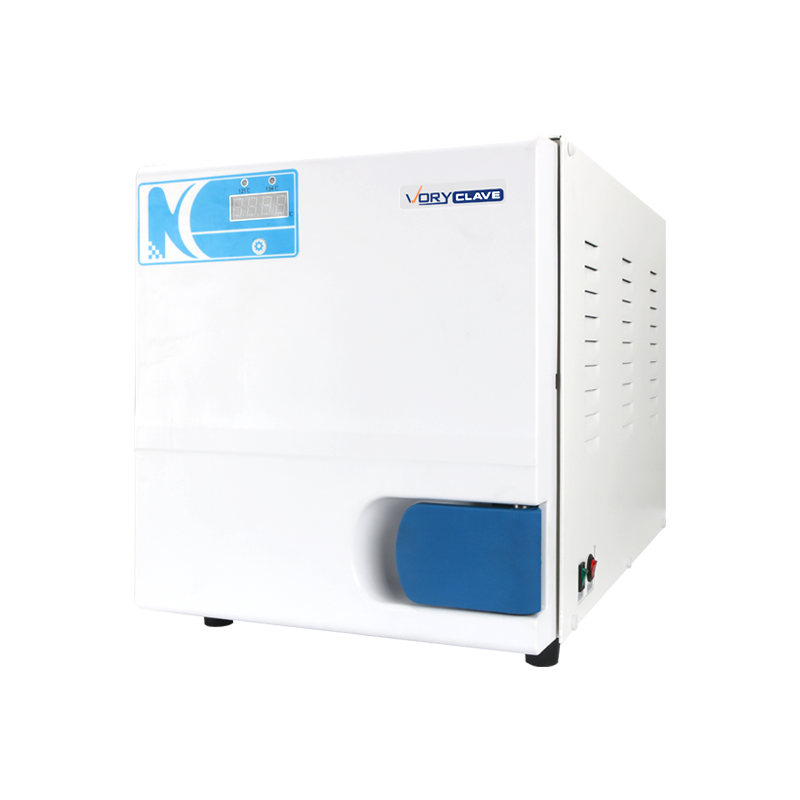 Custom Fully automatic Autoclave class n model:vory-n-f Suppliers, OEM/ODM FactoNingbo Wanrui Medical Instrument Co., Ltd is China Custom Fully automatic Autoclave class n model:vory-n-f suppliers and OEM/ODM factory,...View Product →
Pre-vacuum cycles remove air from the chamber before steam enters. That helps steam reach the inside of a pouch and the internal channels of a handpiece. Many tabletop sterilizers with a vacuum function are a better match for pouched, lumened instruments. If you are evaluating different machine types, start by looking at the Class B, N, and S sterilizer differences before making a purchase decision.
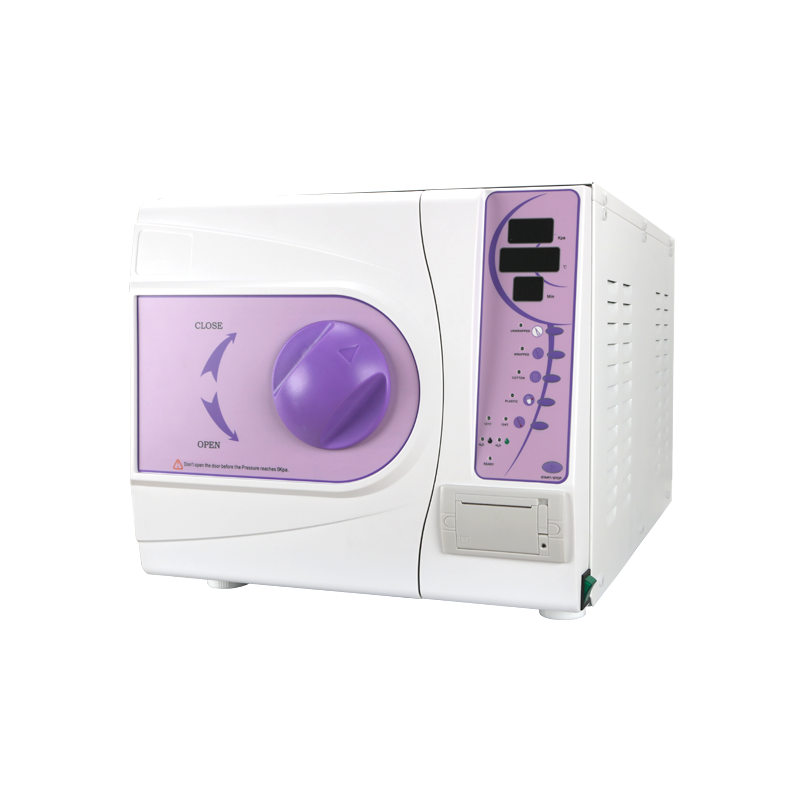
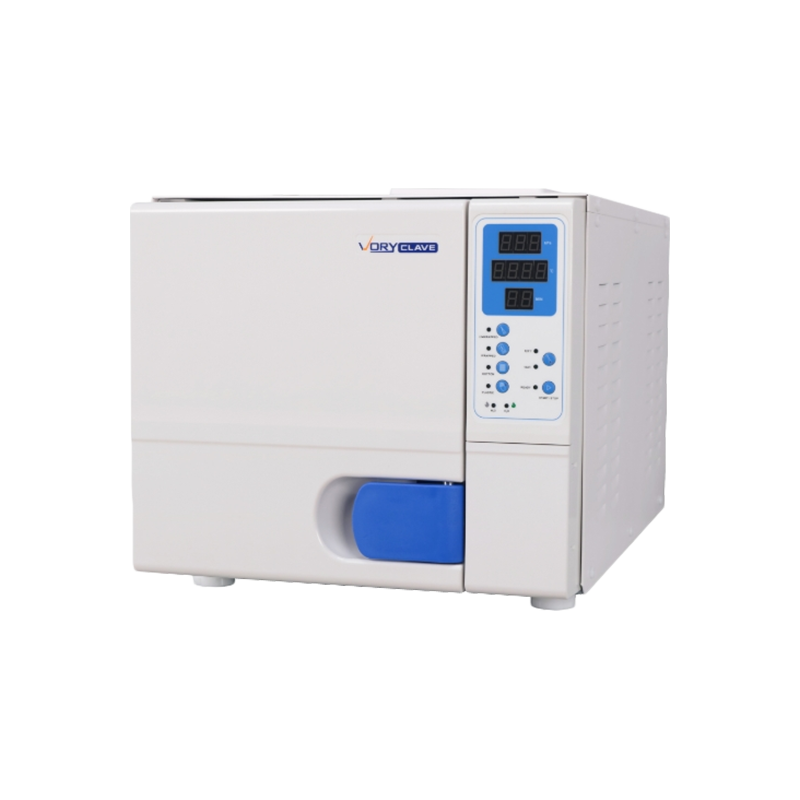
Look at chamber size, cycle speed, drying performance, and whether the cycles match your handpiece requirements. A simple countertop unit such as the VORYBA tabletop autoclave can be a solid fit for a single-chair clinic if the handpiece manufacturer accepts the cycle you plan to run. For a more detailed selection process, read more about choosing an autoclave for your dental practice.
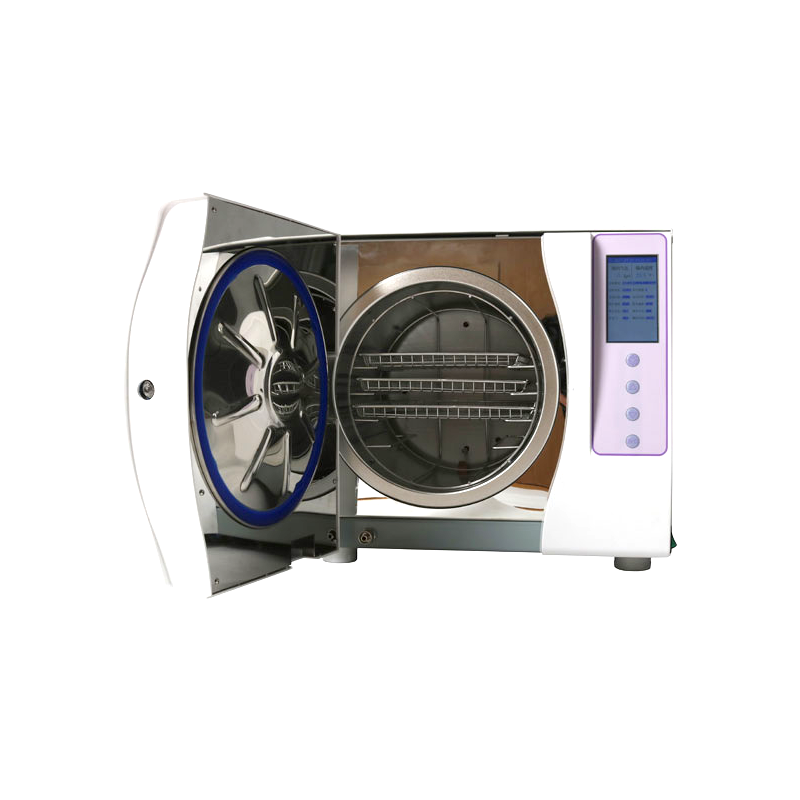 Custom LCD display model:vory-b-a Class B Autoclave Steam Sterilizer Suppliers, Ningbo Wanrui Medical Instrument Co., Ltd is China Custom LCD display model:vory-b-a Class B Autoclave Steam Sterilizer suppliers and OEM...View Product →
Sterilization is complete only after the instrument is dry, inspected, and stored in a way that prevents recontamination. Removing a still-wet pouch is one of the most common ways clinics undo the work of the autoclave.
Opening the door during a cycle drops the temperature and pressure. It can also cause moisture to boil out of the load, leaving wet pouches. Wait for the cycle to finish and for the pressure to return to zero before you touch the latch.
A wet pouch can wick contamination from nearby surfaces. Let the drying phase finish, and handle pouches with clean hands. If a pouch is wet inside, treat the load as not properly processed and run the cycle again.
After cooling, store sealed pouches in a closed, dry cabinet. Before you remove a handpiece for use, check the pouch for tears, stains, or a broken seal. If the pouch has been damaged, pack and sterilize the handpiece again. The same principles used in validated sterilization procedures apply even when you run a compact tabletop autoclave.
Most sterilization failures do not happen inside the autoclave chamber. They happen before the cycle starts. The table below shows the mistakes that show up most often in handpiece maintenance repairs and in daily clinic workflow.
| Mistake | Result | Fix |
|---|---|---|
| Rushing the flush | Debris stays inside the lumen and bakes onto metal | Flush with water and air for 20-30 seconds per handpiece |
| Skipping lubrication | Turbine parts wear faster and the handpiece may overheat | Apply the recommended lubricant and purge the excess |
| Overloading the chamber | Steam cannot reach every pouch and drying takes longer | Run smaller loads and leave space between pouches |
| Piling pouches on top of each other | Trapped air creates cold spots and wet packaging | Place pouches in a single layer on a sterilizer tray |
| Opening the door too early | Wet packs, pressure fluctuations, and possible recontamination | Wait for the full cycle to finish, including the drying phase |
There is no effective substitute for heat sterilization of dental handpieces. Wiping, soaking, or spraying cannot reach the internal channels, and chemical disinfection does not offer the same margin of safety as steam under pressure. If you do not have an autoclave, the handpiece should not be reused. That is the direct answer, and it is the only answer that protects patients in a reproducible way.
A handpiece that cannot be steam sterilized does not belong in dental treatment. It is safer to have a backup sterilizer, a sealed loan from a nearby clinic, or a single-use alternative than to rely on a chemical wipe and call the instrument clean.
After every patient. Flushing the handpiece between patients is a cleaning step, not a sterilizing step. The full cleaning, lubrication, pouching, and autoclave cycle should happen after each use.
Only if the manufacturer states that the model is submersible. Many high-speed handpieces should not be submerged in an ultrasonic bath because liquid can enter the turbine and damage the bearings.
It is acceptable only when the handpiece manufacturer specifically allows a gravity-displacement cycle. If the manual does not say that a Class N cycle is safe for the instrument, use a dynamic air-removal cycle or process the handpiece at a facility that can.
Using a chemical indicator is a practical routine load check. It shows that the pouch was exposed to the selected steam process, but it does not prove sterilization by itself. Follow the sterilizer manual and use the indicator methods it recommends.
Use the cycle listed in the handpiece manual. Common steam sterilization temperatures range from 121 degrees Celsius to 134 degrees Celsius, but the correct value depends on the handpiece design, the pouch, and the autoclave cycle.
Until the pouch is opened, damaged, or exposed to moisture. Store sealed pouches in a clean, dry cabinet. The pouch seal is more important than the date on the label, so check the packaging every time before opening it.
If you have any question for the installation
or need support, please feel free to contact us.
86-15728040705
86-18957491906


