
 English
 عربى
عربىIndustry News
Home / News / Industry News / Dental Ultrasonic Bath: How It Works, Cleaning Steps, and Buying Checklist
Content
Here is the short answer first: a dental ultrasonic bath is the cleaning step that comes before sterilization, not a replacement for it. The heated tank, filled with water and an enzymatic cleaning solution, uses high-frequency sound waves to lift blood, saliva, bone dust and polishing paste out of hinge boxes, serrations, box joints and threaded tips, which are exactly the places a brush cannot reach. Instruments that still carry debris when they enter an autoclave are not reliably sterilized, because dried soil shields microorganisms from the steam. That is why the ultrasonic bath sits at the front of the instrument processing chain in every well-run clinic.
The step also protects your team. The U.S. Centers for Disease Control and Prevention lists cleaning of instruments before sterilization among the basic expectations of infection prevention in dental settings, and encourages automated cleaning equipment such as ultrasonic baths because it reduces hand contact with sharp contaminated instruments (Source: CDC, Summary of Infection Prevention Practices in Dental Settings, 2016).
The rest of this guide explains how cavitation works, where the bath fits in your workflow, which specifications deserve your budget, how to run a cycle correctly, and the daily habits that keep both instruments and machine in good condition for years.
Every ultrasonic bath runs on the same physical effect: cavitation. Transducers bonded to the underside of the stainless steel tank convert electrical energy into vibration, typically at 35 to 45 kHz on units built for dental work. The vibration sends alternating pressure waves through the liquid, and millions of microscopic bubbles form and collapse against every submerged surface. Each collapse releases a tiny, focused jet of energy that pulls soil off the steel without any brushing at all.
Cavitation happens wherever liquid reaches, and that is the whole advantage over manual scrubbing. Extraction forceps with box joints, serrated beaks, fluted burs and the threads on implant instruments all trap organic soil in gaps a few tenths of a millimeter wide. Bubbles penetrate those gaps, collapse inside them, and pull debris out of areas a bristle will never touch.
Heat speeds everything up. Most clinics run the bath between 40 and 55 degrees C, where cavitation is more energetic and enzymatic solutions work at their designed rate. Stay below roughly 60 degrees C, because hotter water can bake protein soil onto the surface and make the debris harder to remove, not easier.
If you want to go deeper into the physics, including how frequency, power and solution chemistry interact, the article on the working principle of ultrasonic cleaning machines breaks the process down in detail.
Cleaning is the first link in a chain, and each link protects the next. A chairside-to-sterile workflow that holds up under daily use looks like this:
Notice what the bath replaces: the riskiest task in this chain, which is scrubbing sharp instruments by hand. A slip during manual cleaning is the most common route to an exposure incident in a dental practice, and automated cleaning removes most of that handling.
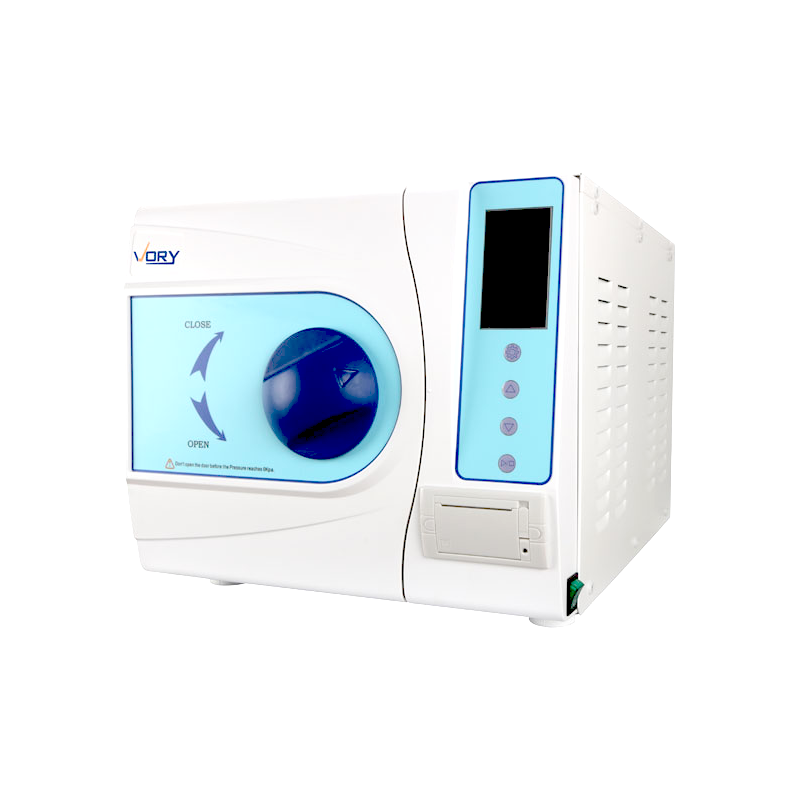
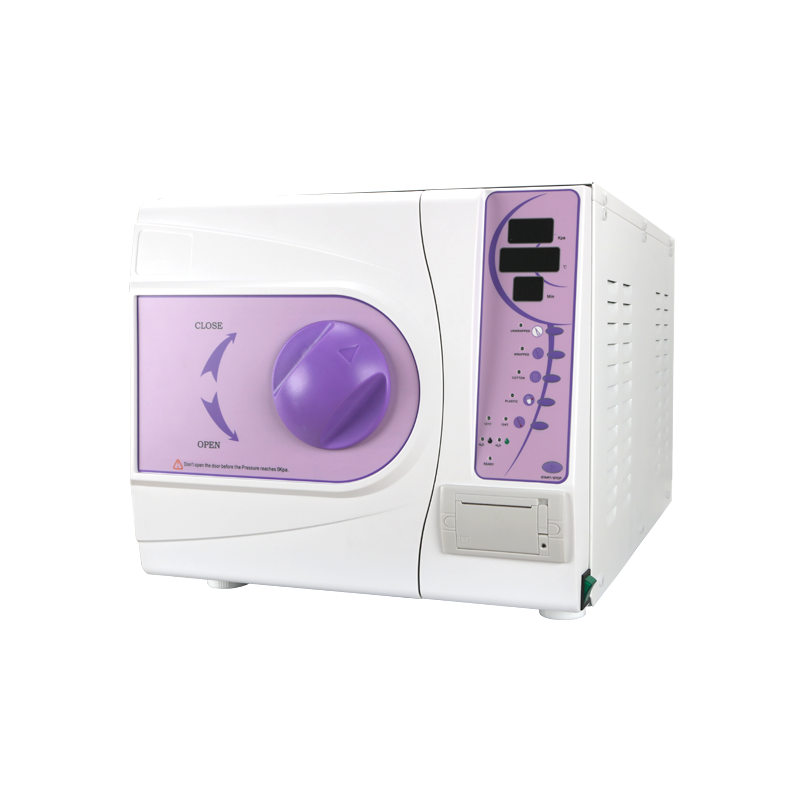
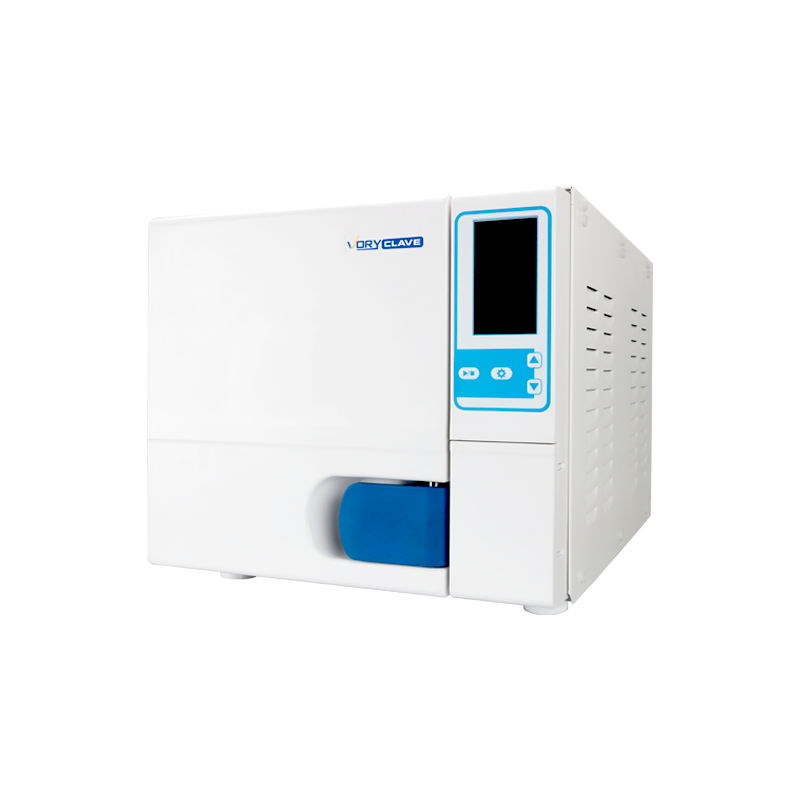
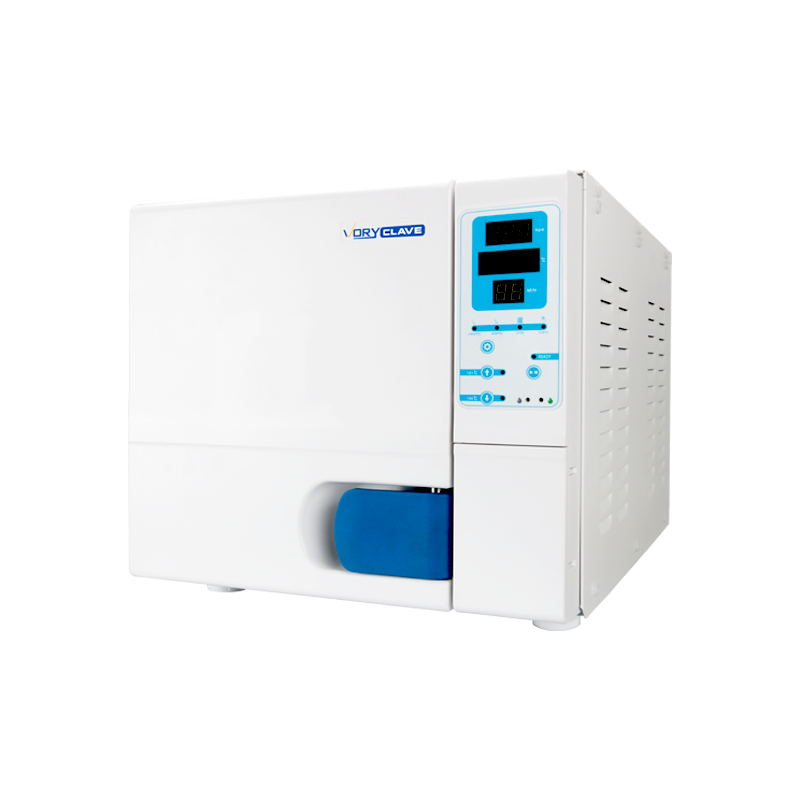
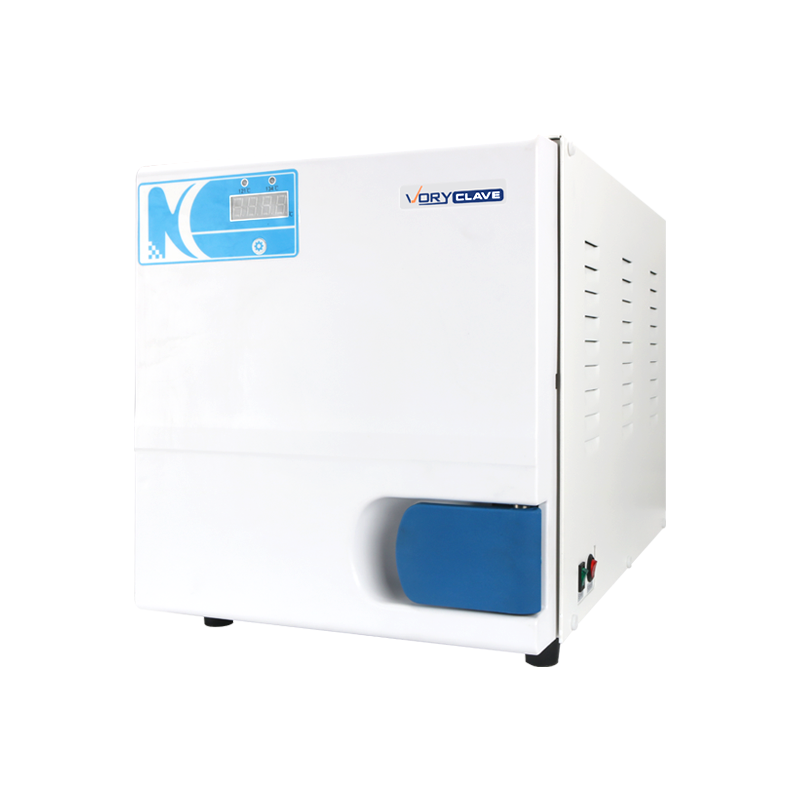
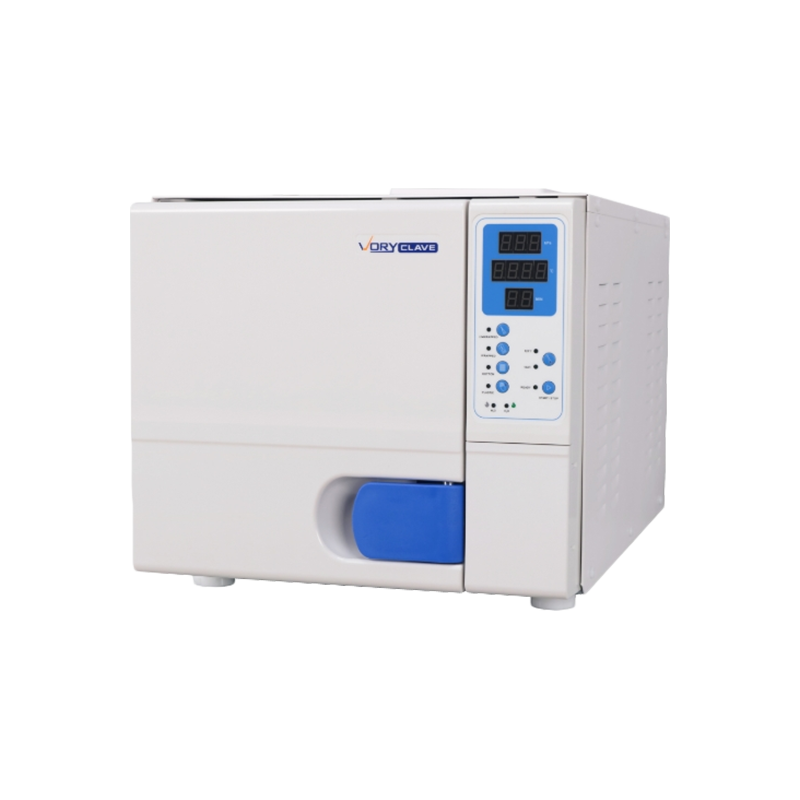
Once instruments are dry and packaged, they are ready for the final step. A compact benchtop steam sterilizer such as the Model VORYBA below handles the daily pouch load of a one to three chair practice from a standard power outlet.
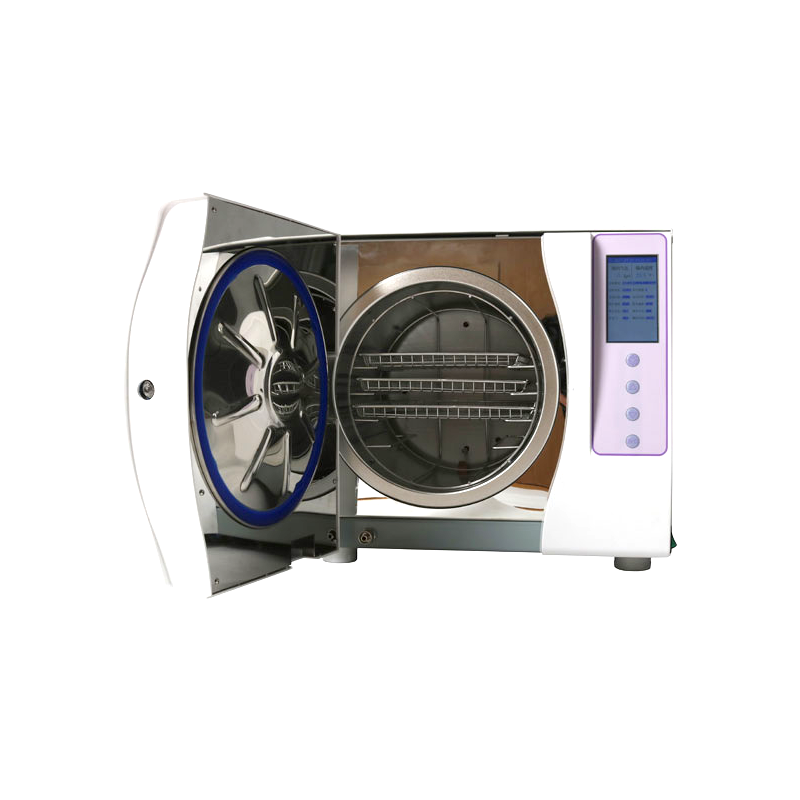 Class B Benchtop Steam Sterilizer with LCD DisplayThis compact autoclave uses pulsating vacuum for wrapped instrument loads and runs from a standard outlet, making it a practical final sterilization step for small dental practices after cleaning and packaging.View Product →
You do not need a laboratory-grade industrial unit on your prep counter. What you need is a heated benchtop bath sized for your trays. Compare candidates on these five points before you look at anything else:
| Specification | Typical range for dental use | Why it matters |
|---|---|---|
| Tank capacity | 2 to 6 liters | A standard instrument tray fits in one layer without overlapping; cassettes need the larger end. |
| Frequency | 35 to 45 kHz | Strong cavitation for steel instruments while staying gentle enough for finer items. |
| Heating | Ambient to about 65 degrees C, normally set at 40 to 55 | Warm solution cleans faster and lets enzymatic chemistry work as designed. |
| Timer | 1 to 30 minutes, digital preferred | Repeatable cycles, plus a mode long enough to degas fresh solution. |
| Tank fittings | Stainless steel tank, mesh basket, lid, drain valve | The basket keeps items off the tank floor, the lid blocks aerosols, the drain saves heavy lifting. |
Two practical notes on size. A 3 liter tank takes a single standard tray and suits a one or two chair practice, while a five to six liter tank absorbs a full clean-up load from three chairs without a second run. Above 3 liters, a drain valve is worth having, because a filled tank of that size is awkward and heavy to carry to a sink.
A machine built for medical instrument cleaning will also serve you far better than a general hobby cleaner, because tank depth, basket fit and heating range are all designed around trays of steel instruments rather than jewelry or glasses.
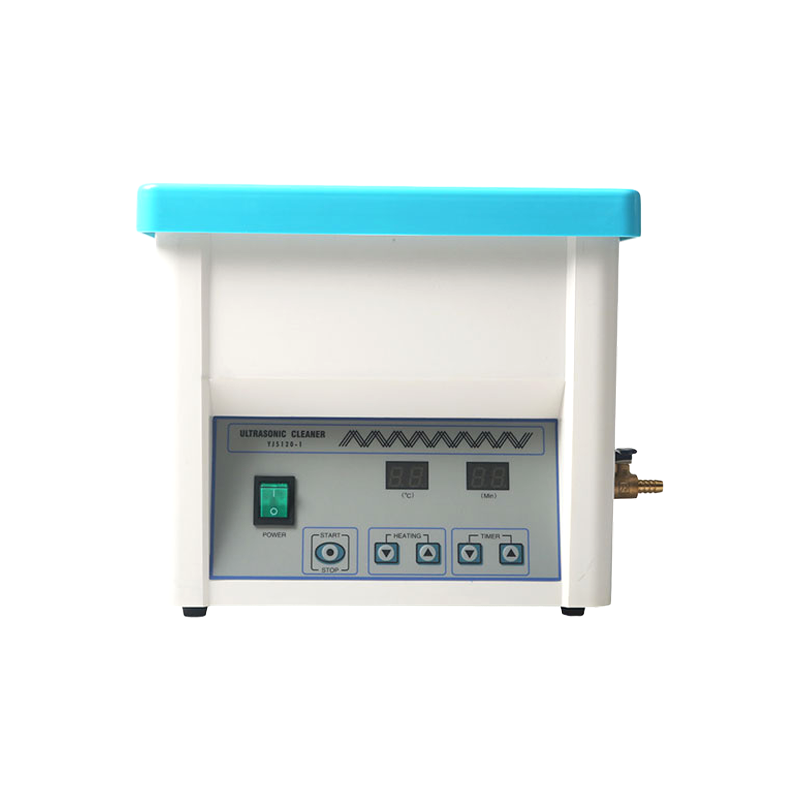
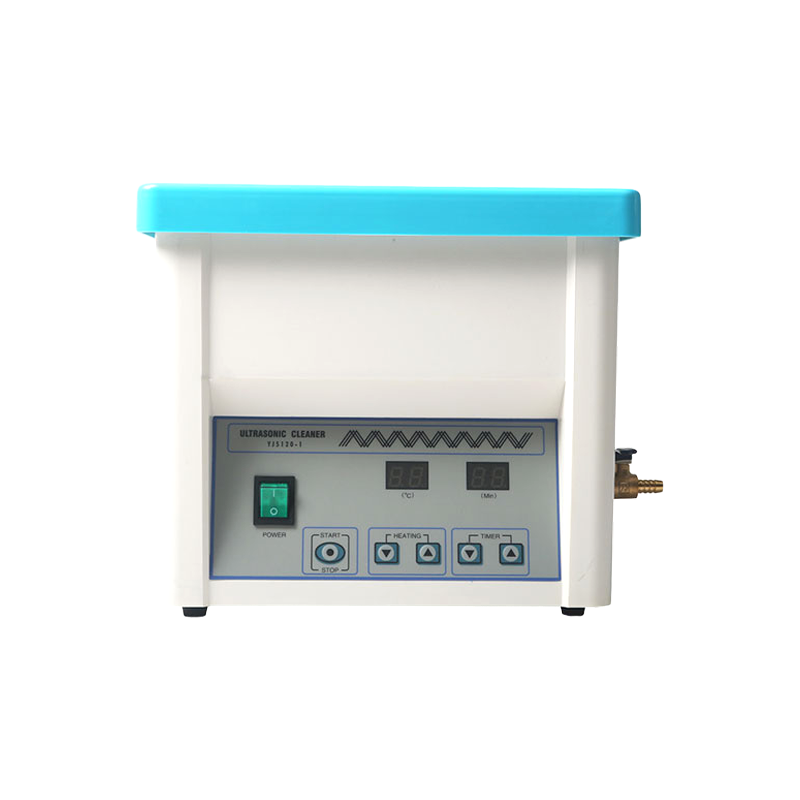 Ultrasonic Cleaner for Dental InstrumentsDesigned around trays of steel instruments, this ultrasonic bath removes soil safely and efficiently before packaging, with short repeatable cycles that suit a busy clinic prep area.View Product →
A correct cycle is short and repeatable, which is exactly what you want in a busy prep area. Work through this sequence:
The solution deserves as much attention as the machine. Use a concentrate formulated for medical instruments, keep the pH neutral to mildly alkaline, and never pour bleach, surface disinfectant or dish soap into the tank. If you are comparing products, our notes on six elements for selecting cleaning fluid and detergent explain what actually separates a good formulation from a cheap one.
Rinse water quality matters more than most buyers expect. Tap water leaves dissolved minerals behind as it evaporates, and those white spots settle into serrations and hinge areas where they hold soil and moisture. A final rinse in distilled water ends the problem, which is why a benchtop distiller earns its spot next to the bath in clinics with hard tap water.
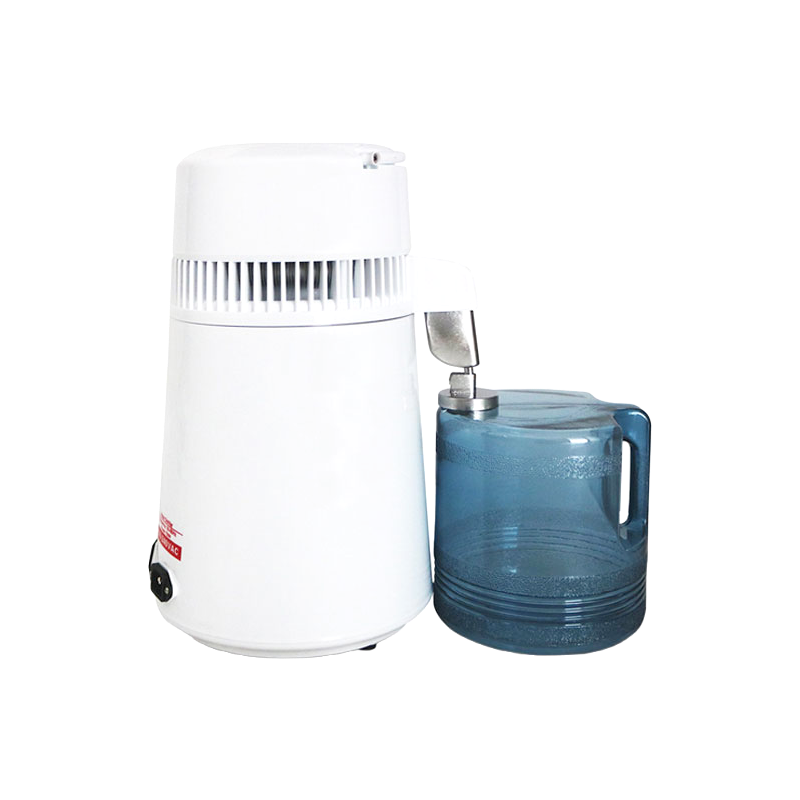 Benchtop Water Distiller for Autoclave Feed WaterBecause autoclaves require distilled water to prevent mineral deposits and clogged lines, this distiller provides a reliable final rinse and supply source in clinics with hard tap water.View Product →
Three to ten minutes covers routine loads, and heavily soiled cassettes may need up to fifteen. Longer is not better: extended exposure adds corrosion risk without removing more soil, because cavitation has already done what it can do within the first few minutes.
No. It removes soil so that steam sterilization can work. Sterilization happens in the autoclave, after rinsing, drying and packaging. Skipping the cleaning step is the most common reason instruments come out of a sterilizer with residue still on them.
An enzymatic or neutral pH ultrasonic concentrate made for medical instruments, diluted exactly as the label directs. Never run plain water alone, and never use household bleach, surface disinfectants or dish soap, all of which can damage both instruments and the tank.
Only parts that the handpiece manufacturer explicitly approves for immersion. High-speed turbines, bearings and electric motors are ruined by water, so follow the handpiece instructions for surface cleaning and lubrication instead.
Work through the usual suspects in order: dissolved air in a fresh fill that needs degassing, a water level below the line, a solution that is past its useful life, an overloaded basket, or an item resting directly on the tank floor where cavitation is weakest.
At least once per day, and more often in a busy practice. Change it immediately when it turns cloudy or after processing a heavy surgical load, and never top up old solution with fresh. Drain, rinse the tank, then refill.
If you have any question for the installation
or need support, please feel free to contact us.
86-15728040705
86-18957491906


