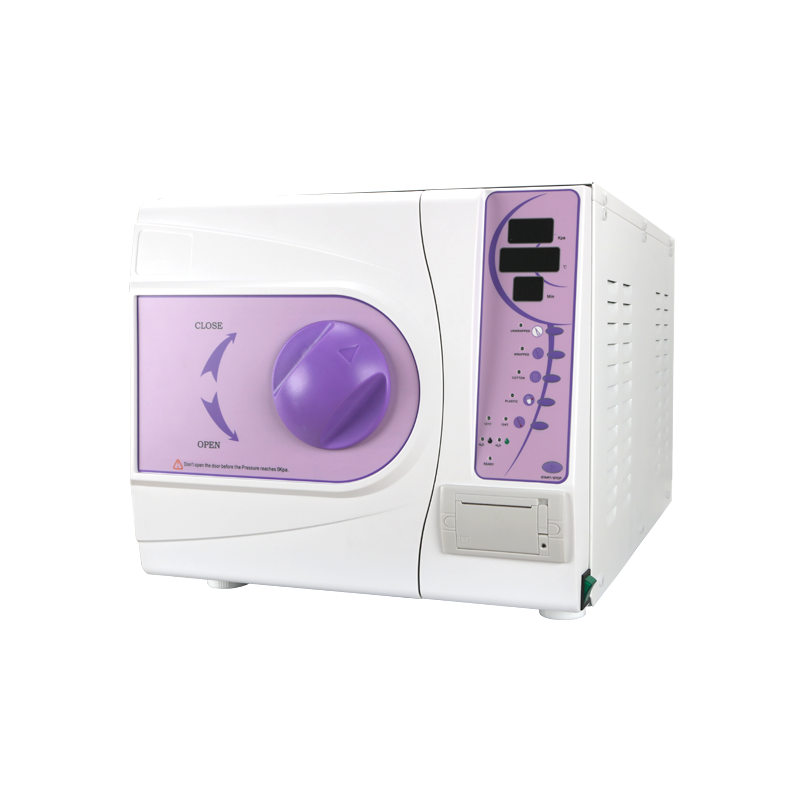
Content
Here's a practical guide to sterilizing dental burs using an autoclave:
Clean Thoroughly → Scrub burs under running water with a small brush to remove debris. → Soak in enzyme cleaner if dried material is stuck.
Rinse & Dry Completely → Rinse under distilled water (tap water leaves spots). → Pat dry with lint-free cloth or air-dry overnight.
Use Burs-Specific Pouches → Choose small pouches with self-sealing flaps or paper-plastic combo. → Never reuse pouches.
Load Sparingly → Place 1-5 burs per pouch – don't overcrowd. → Seal tightly, leaving no air gaps.
Stand Pouches Upright → Place in autoclave tray like books on a shelf.
Avoid Metal Contact → Keep pouches away from chamber walls or metal trays.
Separate from Heavy Items → Don't pack under instrument trays – burs get crushed.
For Gravity Autoclaves: → Use "Unwrapped Solid" cycle (if pouches are paper-side dominant).
For B-Class/Vacuum Autoclaves: → Choose "Wrapped" or "Hollow Items" cycle.
Never use "Flash" cycles – too harsh for small tools.
| Error | Result |
|---|---|
| Overfilling pouches | Steam can't penetrate → burs remain unsafe |
| Skipping drying step | Rust forms on cutting edges |
| Mixing with other tools | Burs chip or blunt other instruments |
| Using tape on pouches | Melts and traps moisture |
Cool Down → Wait 10+ minutes before touching pouches.
Check Indicators → Confirm color change on pouch strips.
Inspect Burs → Look for rust, discoloration, or moisture → discard if damaged.
Label pouches with date sterilized.
Store in dry, closed drawers – not near sinks.
Use within 30 days or resterilize.
If you have any question for the installation
or need support, please feel free to contact us.
86-15728040705
86-18957491906
 English
 عربى
عربى